Quick answer: An embroidery kit bundles a hoop, fabric, thread or floss, a needle, and instructions into one package, removing the guesswork of sourcing supplies separately for a first project. Choosing a kit that matches your skill level and offers clear instructions makes the difference between an encouraging first experience and a frustrating one.
Embroidery kits have become one of the easiest ways to get started with hand embroidery, bundling everything a beginner needs into a single package instead of leaving you to guess what to buy separately. If you’ve been curious about embroidery but felt overwhelmed by the notions wall or online options, a kit takes a lot of the guesswork out of that first project. This guide covers what’s actually inside a typical embroidery kit, how to pick one that matches your skill level, and what makes sense to do once you’ve finished your first project. Bee’s Quilt Shop has walked plenty of first-time stitchers through choosing their first kit, and the short version is that a good kit should feel approachable, not intimidating, right out of the package.
What Comes In A Typical Embroidery Kit
A typical embroidery kit includes a hoop, pre-marked or stamped fabric, a selection of thread or floss in the colors needed for the design, a needle, and a printed pattern or instruction sheet. The hoop holds the fabric taut while you stitch, and kits usually include one sized specifically for the included design so you’re not guessing at proportions. Fabric in a kit is often cotton or linen blend, sometimes pre-stamped with the design printed directly on it, which removes the transfer step that trips up a lot of first-timers working from a pattern alone. Thread is generally cut to appropriate lengths or wound on small cards labeled by color, matched precisely to what the design calls for so there’s no need to buy extra floss or guess at strand counts. The instruction sheet typically walks through which stitches to use where, often with simple diagrams, and better kits include a basic stitch guide for anyone who’s never picked up a needle before. Some kits also toss in a small pair of embroidery scissors or an extra needle or two, small conveniences that matter more than they might sound like on paper, since scrambling to find the right scissors partway through your first project can genuinely stall momentum for a beginner still building the habit.
Choosing A Kit As A Complete Beginner
Choosing a kit as a complete beginner comes down mostly to two things, difficulty level and instruction quality, and it’s worth checking both before buying. Difficulty is usually indicated somewhere on the packaging or listing, often labeled as beginner, intermediate, or advanced, and a true beginner kit should use a small handful of basic stitches like backstitch, satin stitch, and French knots rather than anything more technical. Instruction quality varies a lot between kits, and this is honestly where a lot of frustration comes from, some kits include only a diagram with no written explanation, which can be genuinely confusing for someone who’s never embroidered before. Looking for reviews or photos of the actual instruction sheet before buying, when that’s possible, helps avoid ending up with a kit that assumes more prior knowledge than you actually have. Many stitchers find that a smaller design with fewer colors makes a much more encouraging first project than an ambitious, densely stitched piece, even if the bigger design looks more appealing in photos. Checking the estimated stitch count or completion time listed in the description, when it’s provided, gives a useful gut check too, since a design estimated at twenty or more hours is a big commitment for a first attempt at a brand new craft, no matter how manageable the individual stitches sound.
Hand Embroidery Kits Vs Machine Embroidery Kits
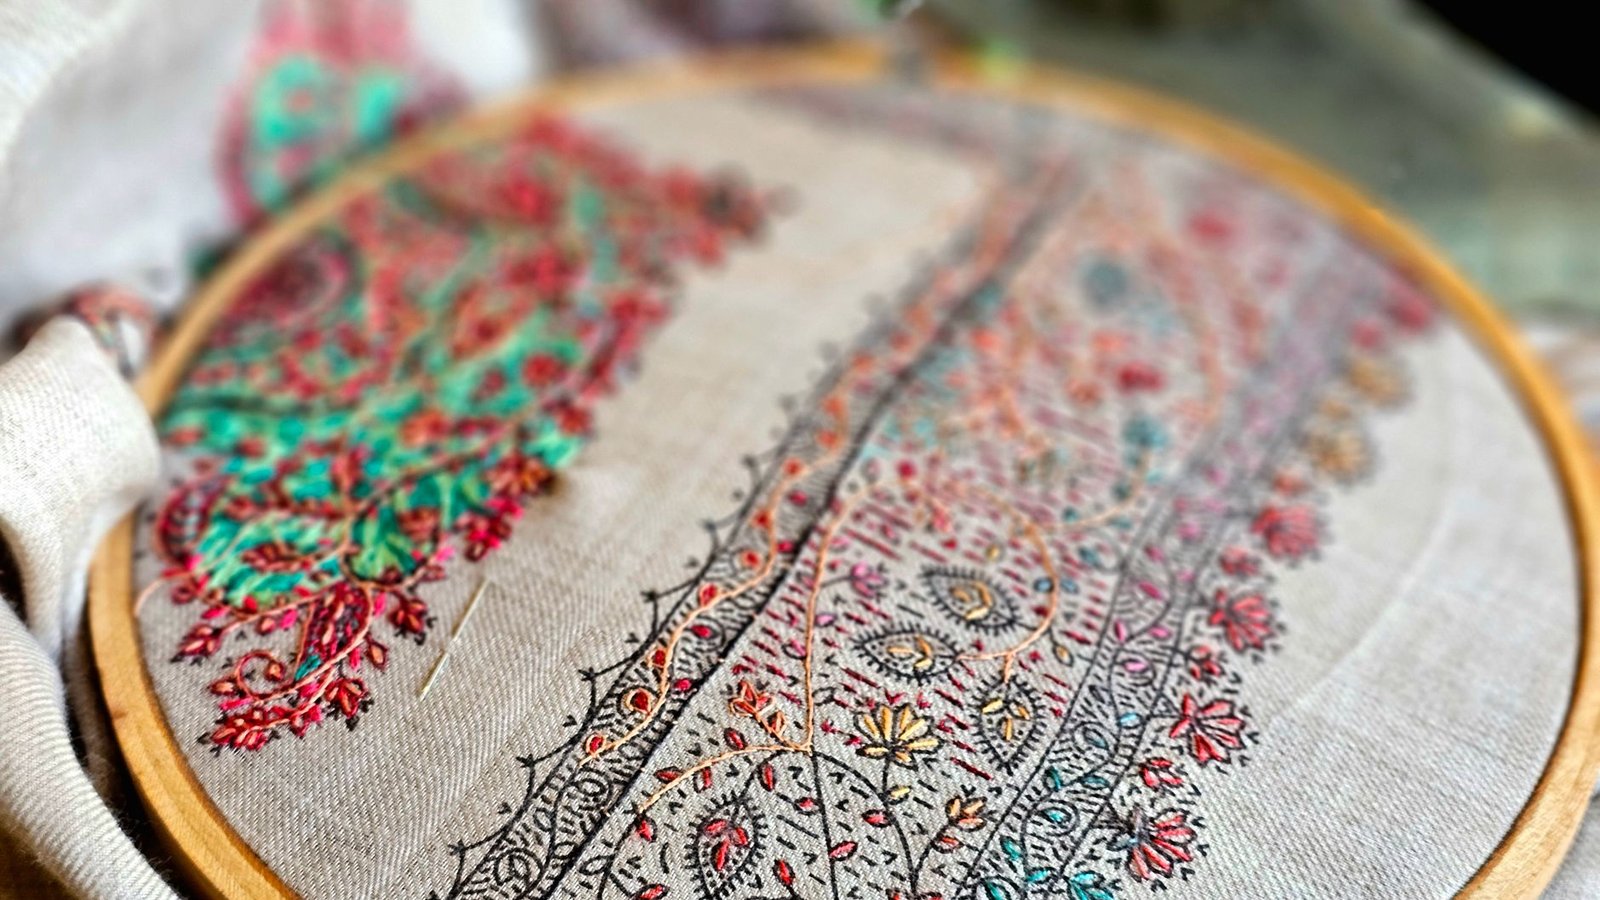
It’s worth clarifying upfront that hand embroidery kits and machine embroidery kits are two genuinely different categories, even though both get marketed simply as embroidery kits, and mixing them up leads to real disappointment. Hand embroidery kits, the focus of most of this guide, include fabric, hoop, needle, and thread meant to be stitched entirely by hand, no machine required. Machine embroidery kits, on the other hand, usually refer to digital design files or pre-cut stabilizer and thread packs meant to be loaded into an embroidery machine, and they require owning that specific equipment to use at all. If a kit listing mentions file formats, machine compatibility, or hooping for a machine rather than a hand hoop, it’s almost certainly meant for machine use, so it’s worth reading the description carefully before purchasing if you’re planning to stitch entirely by hand. The two crafts also differ quite a bit in upfront cost and learning curve, hand embroidery kits are typically inexpensive and require no equipment beyond the kit itself, while machine embroidery involves owning a compatible machine and learning its hooping and digitizing process before a single design gets stitched out.
Are Embroidery Kits Worth It Compared To Buying Separately
Whether embroidery kits are worth it compared to buying supplies separately really depends on what you’re optimizing for. Buying a kit means paying a bit of a premium over sourcing each component individually, since you’re paying for the convenience of pre-selected, coordinated materials, but it also removes a real barrier for beginners who don’t yet know what thread weight or hoop size a project needs. Buying separately gives more control over exact colors, fabric type, and design choice, and tends to be more cost-effective once you already know your preferences and have a rough sense of what a project requires. For a genuine first project, most stitchers find the kit route worth the extra cost simply because it removes so many small decisions that can otherwise stall a beginner before they even start stitching, while more experienced embroiderers often prefer sourcing components themselves once they have a clearer sense of what they like to work with.
Popular Kit Themes And Styles
Kit themes and styles cover a huge range at this point, and picking a theme you’re genuinely excited about matters more than most people expect for actually finishing a project. Floral designs remain hugely popular and tend to be forgiving for beginners since imperfect petal shapes still read as recognizably floral. Sampler-style kits, which combine several different stitches into one piece, are a nice option if the goal is learning technique rather than finishing a polished decorative piece, since they’re designed specifically to introduce variety. Modern minimalist designs, often featuring simple line work, single-color palettes, or geometric shapes, have grown in popularity for stitchers who want a contemporary look rather than a traditional floral or sampler aesthetic. Seasonal kits, tied to specific holidays or times of year, are popular as gifts or for stitchers who like working on a rotating theme throughout the year, though it’s worth checking the design’s complexity against your skill level rather than choosing based on the seasonal theme alone.
What To Do After Finishing Your First Kit
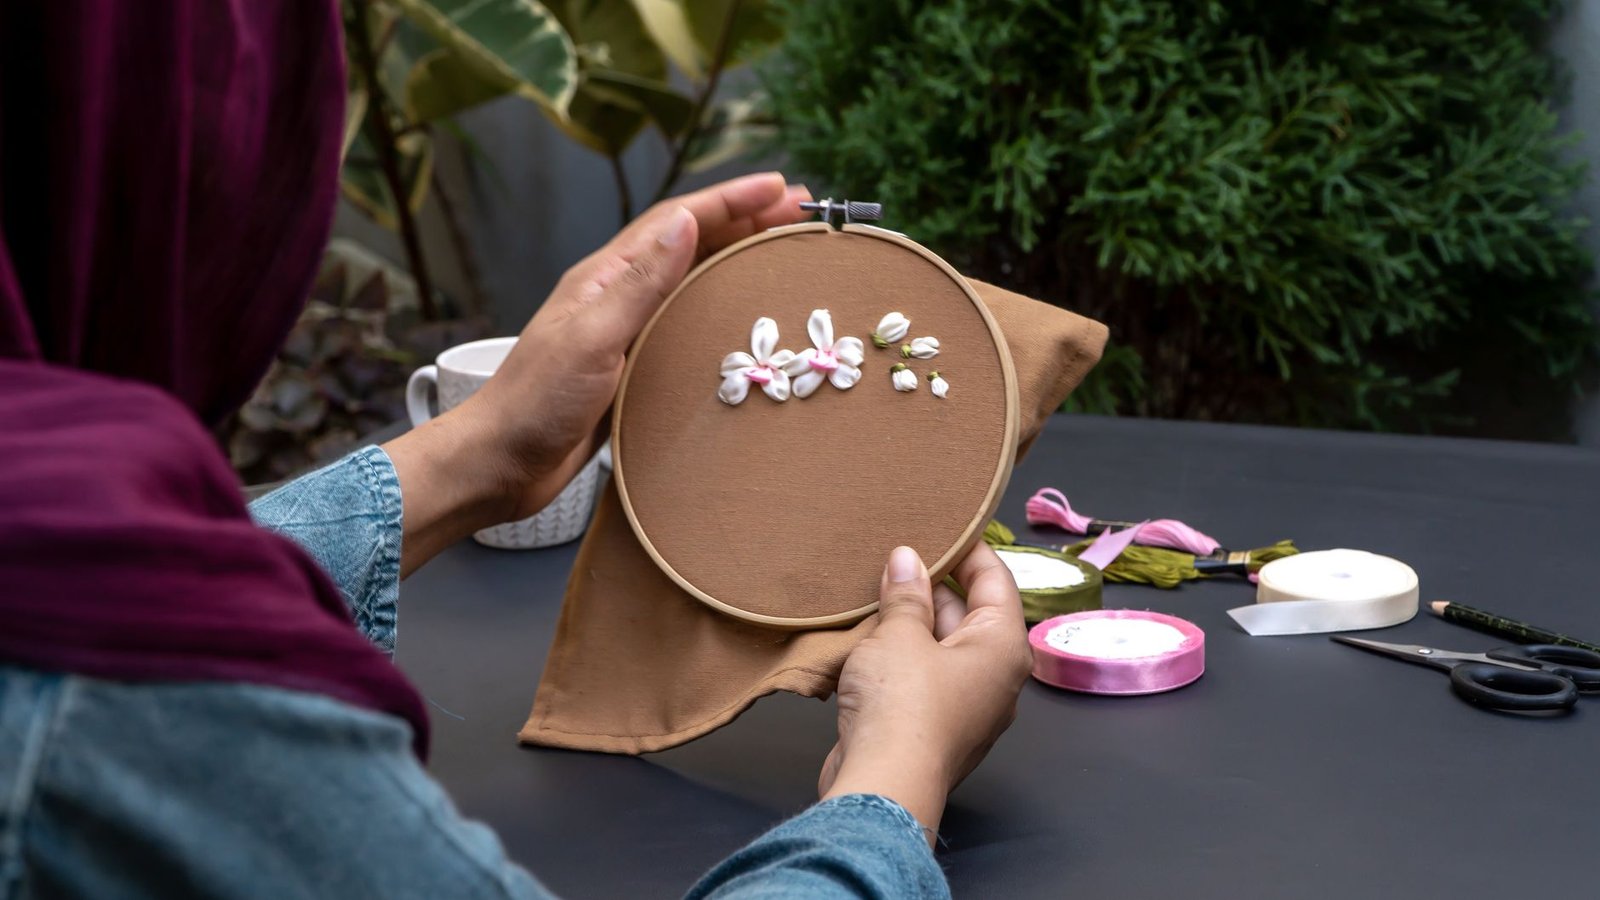
Finishing your first embroidery kit is genuinely a milestone worth building on, and there are a few natural next steps depending on what you enjoyed most. If you liked the process but want more variety, moving to a pattern without a kit, buying your own fabric, hoop, and floss separately, is a natural next step that opens up far more design options than any single kit offers. If a particular stitch felt satisfying to work, seeking out a project or class that focuses more heavily on that technique, whether it’s French knots, satin stitch shading, or needle painting, helps build real skill in a direction you already enjoy. Some stitchers move toward designing their own simple patterns once they’re comfortable with basic stitches, transferring a favorite image onto fabric rather than relying on pre-stamped designs. At Bee’s Quilt Shop, our guides on embroidery hoops, floss, and thread are a good next stop for anyone who’s finished a first kit and wants to understand the individual components better before building their own project from scratch. Joining an online stitching community or a local group is another route worth considering, since seeing other beginners’ finished kits, mistakes included, tends to be far more encouraging than comparing your first attempt to polished photos from experienced stitchers online. Sharing a finished project, imperfections and all, often invites helpful feedback and encouragement that makes the next kit feel a little less intimidating to start.
Ready to pick out your first embroidery kit? Browse our Fabric Guides here at Bee’s Quilt Shop for more beginner-friendly advice, and check out our embroidery hoops and thread guides once you are ready to build your own supply kit from scratch. Explore more Embroidery & Monogramming guides on the blog, or browse our Kits collection to see what is currently available.
Frequently Asked Questions
What comes in a beginner embroidery kit?
A typical kit includes a hoop, fabric (sometimes pre-stamped with the design), thread or floss cut to the right colors, a needle, and an instruction sheet. Better kits also include a basic stitch guide for anyone who has never picked up a needle before.
Do I need any other supplies besides the kit itself?
Most beginner kits include everything needed to finish the included project, though a small pair of embroidery scissors is worth having on hand if the kit does not provide one. Some stitchers also like a bit of extra floss on hand in case a color runs short.
How long does a first embroidery kit take to finish?
It varies a lot depending on the design’s size and stitch count, but a genuinely beginner-friendly kit is often designed to be completed in a few sitting sessions. Checking the estimated stitch count or completion time in the listing, when available, helps set realistic expectations before starting.
Are hand embroidery kits and machine embroidery kits the same thing?
No, hand embroidery kits include fabric, hoop, needle, and thread meant to be stitched entirely by hand, while machine embroidery kits usually refer to digital files or supplies meant for an embroidery machine. Reading the listing carefully before buying helps avoid picking up the wrong type.
What should I do after finishing my first embroidery kit?
Many stitchers move on to a pattern without a kit, buying fabric, hoop, and floss separately for more design freedom, while others explore a specific stitch they enjoyed in more depth. At Bee’s Quilt Shop, our hoops, floss, and thread guides are a good next stop once you are ready to build your own project from scratch.
This article is intended for general educational and informational purposes only, based on common hand embroidery practices. Results vary by skill level, kit brand, and materials used, so following the specific instructions included with your kit is always recommended. Bee’s Quilt Shop shares this guide as part of our ongoing library of quilting and sewing resources.