Quick answer: Embroidery floss is a stranded cotton thread made of six loosely twisted strands that can be separated for different stitch effects, from fine detail work to bold, full coverage. Reading color numbers, choosing a strand count, and keeping a growing collection organized are the main skills that turn floss from confusing to genuinely manageable.
Embroidery floss is the thread most hand stitchers reach for first, and understanding what it’s actually made of and how to use it well makes a real difference once you get past the basics. If you’ve ever opened a bundle of floss and wondered why it’s made of six loose strands instead of one solid thread, or puzzled over a four-digit color number on the label, this guide walks through what floss is, how to work with it, and how to keep a growing color collection organized. Bee’s Quilt Shop has spent years helping stitchers navigate floss choices for everything from simple cross stitch to detailed hand embroidery, and the short answer is that floss is more flexible than most beginners realize once you understand the strand system behind it.
What Embroidery Floss Is Made Of
Embroidery floss is a stranded cotton thread, meaning six thin individual strands are loosely twisted together into one length, which is what sets it apart from machine embroidery thread or perle cotton, which come as a single solid strand that isn’t meant to be split. That six-strand construction is the whole point of floss, it gives stitchers control over thickness without needing to buy a dozen different weights, since you simply separate however many strands a project calls for. Most floss is made from mercerized cotton, a treatment process that gives it a slight sheen and better dye absorption than untreated cotton, which is why floss colors tend to look rich and saturated compared to some other hand-stitching threads. Machine thread, by contrast, is engineered specifically to run through tension discs and a needle at high speed without snagging or breaking, and it’s typically a single continuous strand rather than something designed to be pulled apart, so the two aren’t really interchangeable despite both being used for embroidery. Perle cotton, a related but distinct thread some stitchers reach for, has a higher twist and noticeable sheen of its own, and it’s meant to be used exactly as it comes off the skein rather than separated, making it a nice alternative when a project calls for a consistent, slightly glossy line without the strand-splitting step floss requires.
How Many Strands To Use
Deciding how many strands to use comes down to the effect you want and the fabric you’re stitching on, and there’s genuinely no single right answer here, it varies by project. Two strands is a common starting point for fine detail work, delicate lettering, or anything where you want a light, precise line rather than bold coverage. Three or four strands build up more visible texture and coverage, often used for filling in larger shapes or adding emphasis to a design’s focal point. All six strands together create a thick, bold line, popular for outlining or for a chunky, graphic look on looser weave fabrics like aida cloth used in cross stitch. Many stitchers find that separating strands before threading the needle, rather than pulling them straight off the skein together, gives a smoother, flatter finished stitch since the strands lie next to each other more evenly instead of twisting around one another as you sew.
Reading Floss Color Numbers
Reading floss color numbers is where a lot of beginners get stuck, since two major systems dominate the market and they don’t line up with each other. DMC uses a numbering system that isn’t sequential by color family, meaning number 321 and number 322 aren’t necessarily related shades, the numbers were assigned historically rather than by a logical color order, so a chart is genuinely necessary rather than optional. Anchor uses its own separate numbering system entirely, and while conversion charts exist to find the closest Anchor equivalent to a given DMC number, the dye formulas differ between brands, so even a listed “equivalent” color is rarely a perfect match in person. This matters most when you’re working from a pattern that specifies one brand’s numbers but you only have the other brand’s floss on hand, in which case a conversion chart gets you close, but it’s worth holding both spools up to the light together if getting an exact match really matters for your project. Sticking with one brand throughout a single project is the simplest way to sidestep the whole substitution question if matching precisely isn’t essential to the design. It’s also worth remembering that floss labeled solely by a color name rather than a number, something you’ll occasionally see on budget or off-brand skeins, offers no reliable way to reorder the exact same shade later, so jotting down the number the moment you open a new skein saves real frustration down the line.
Organizing And Storing Floss
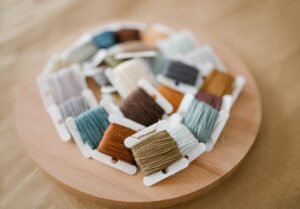
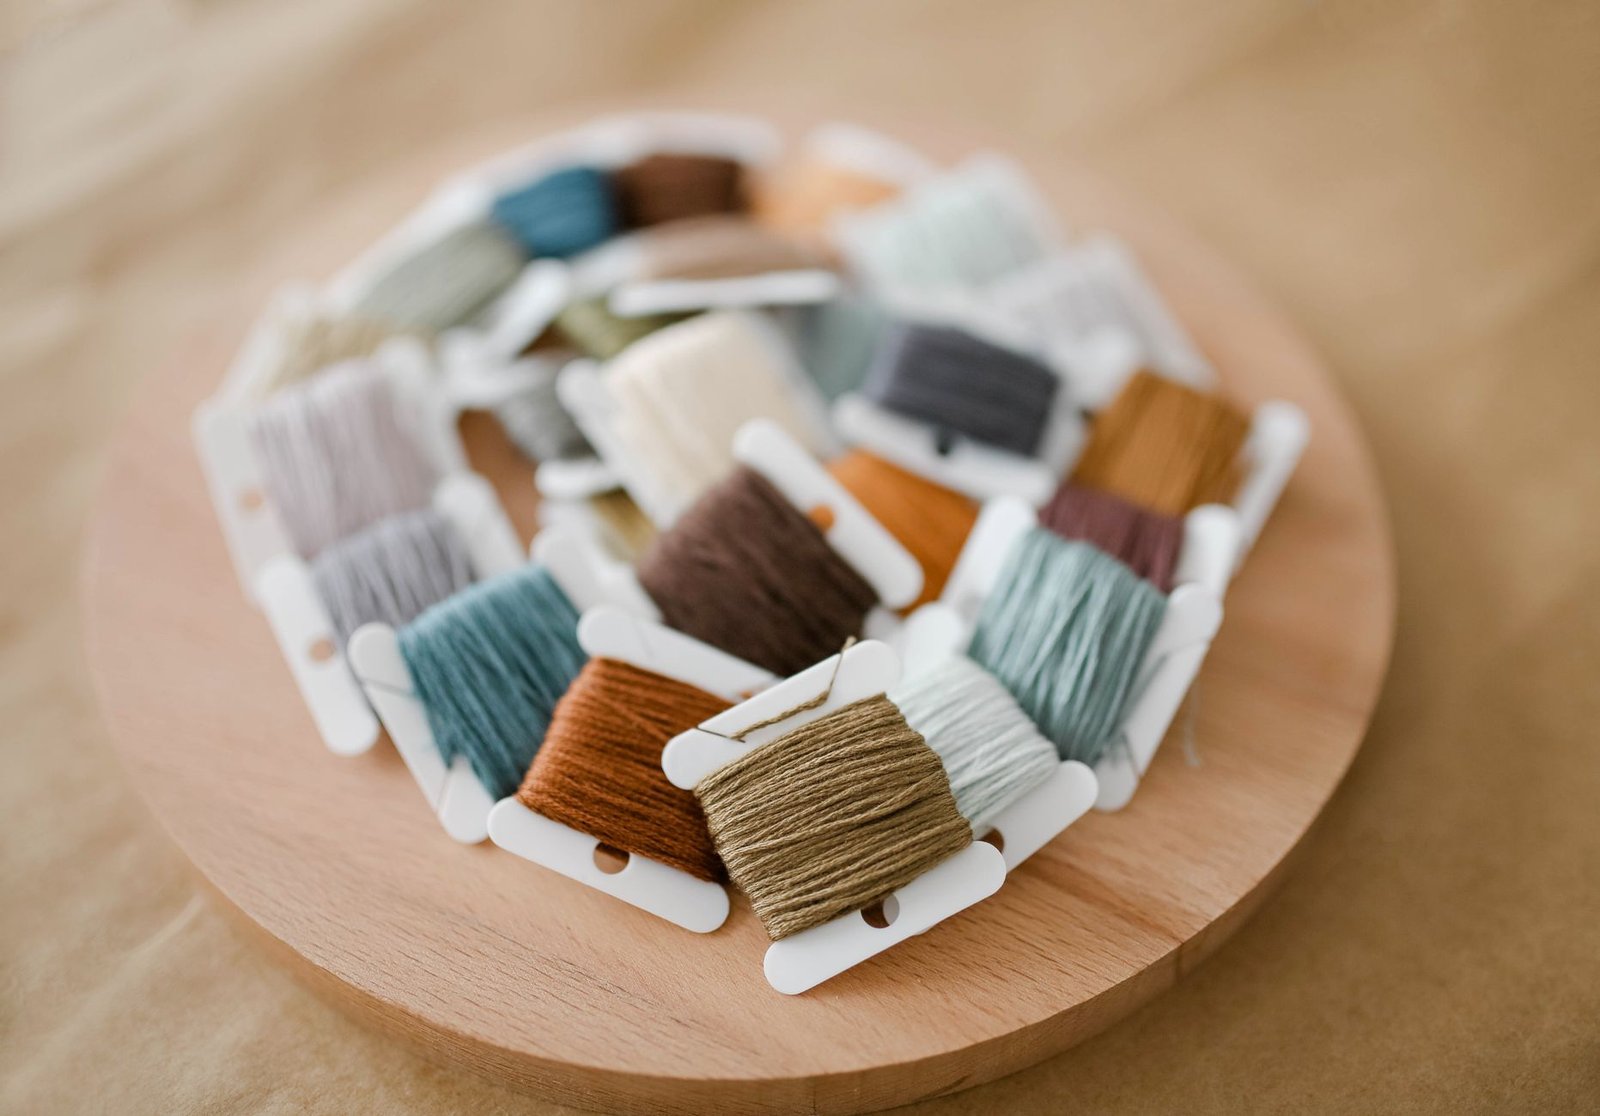
Organizing a floss collection is worth taking seriously once it grows past a starter set, since loose skeins tangle into a genuinely frustrating knot pile faster than most people expect. Floss bobbins, small flat cards with a notch to wind thread around, are the most common storage solution, and labeling each one with its color number as you wind it saves real time later when restocking or matching a shade for a repair. Floss cards or binder-style organizers group bobbins by color family, which makes gathering a palette for a new project much faster than digging through a bag of loose skeins. Project bags, ideally clear ones, are useful for keeping the specific floss colors needed for one active piece together and separate from the main stash, especially helpful if you’re working on more than one project at a time and don’t want colors getting mixed between them.
Floss For Cross Stitch Vs Hand Embroidery
Floss gets chosen and prepped a bit differently depending on whether you’re working cross stitch or general hand embroidery, and it’s worth knowing the difference before starting a new project. Cross stitch typically uses a consistent strand count throughout an entire piece, usually determined by the aida cloth’s count number, and patterns will specify the exact strand count needed so there’s less individual judgment involved once you know the fabric. General hand embroidery tends to vary strand count within a single piece depending on the stitch and the effect being built, satin stitch filling a large shape might use more strands than a fine stem stitch outline right next to it, so more decision-making happens as you go rather than being fixed at the start. Both crafts benefit from cutting floss lengths to a manageable size, roughly eighteen to twenty four inches, since longer lengths tend to tangle and fray more from repeated passes through the fabric.
Where Beginners Go Wrong With Floss
Beginners tend to run into a handful of predictable issues with floss, and most are easy to fix once you know what’s happening. Over-tight stitching, where the thread is pulled so firmly it puckers the fabric, is one of the most common early mistakes, and consciously leaving stitches slightly looser than feels natural usually corrects it within a few practice pieces. Mismatched strand counts across a single motif, where one petal ends up noticeably thicker or thinner than its neighbor because the strand count drifted partway through, is another frequent stumble, and double checking the pattern’s strand instructions before starting each new section helps avoid it. Twisting is a subtler problem, floss naturally wants to twist as you stitch, and an over-twisted thread lies unevenly and looks rougher than it should, so periodically letting the needle hang and spin freely to release the twist keeps stitches lying flat. At Bee’s Quilt Shop, we tell beginners that these hiccups are a completely normal part of learning floss handling, and most stitchers develop a feel for tension and strand count naturally within their first few finished pieces. Knotting is another common frustration, especially when working with longer lengths or fresh-off-the-skein floss that hasn’t had its twist relaxed, and running the full length of floss through a bit of thread conditioner or beeswax before stitching cuts down on tangling considerably for stitchers who find it a recurring problem. Working with shorter lengths and re-threading more often, rather than fighting a stubbornly twisted long strand to the very end, is usually faster overall despite feeling like extra work at first.
Looking to build out your floss collection? Browse our Fabric Guides here at Bee’s Quilt Shop for more thread and notions advice, and check out our embroidery hoops guide for the rest of your stitching setup. Explore more Embroidery & Monogramming guides on the blog, or browse our Embroidery Thread collection to see what is currently available.
Frequently Asked Questions
How many strands of embroidery floss should I use?
It depends on the effect you want, two strands work well for fine detail, three or four for filling in shapes, and all six for a bold, chunky outline. Most patterns will specify a strand count, but experimenting on a scrap swatch is a great way to see what you prefer.
Is DMC or Anchor floss better?
Neither brand is objectively better, they simply use different numbering systems and slightly different dye formulas, so the “right” one often comes down to what a specific pattern calls for or personal preference. At Bee’s Quilt Shop, we carry options from multiple brands since stitchers tend to have strong individual preferences.
Can I substitute one brand of floss for another?
Yes, conversion charts exist to find the closest match between DMC and Anchor numbers, though the exact shade may differ slightly since the two brands use different dyes. Holding both spools up to the light together is the best way to check if an exact match really matters for your project.
Why does my embroidery floss keep tangling?
Floss naturally wants to twist as you stitch, and letting the needle hang and spin freely every so often releases that twist before it turns into a knot. Cutting shorter working lengths, around eighteen to twenty four inches, also helps reduce tangling significantly.
What is the best way to store embroidery floss?
Winding floss onto labeled bobbins, either purpose-made or cut from cardstock, keeps colors from tangling together and makes it easy to find a specific shade later. Grouping bobbins by color family in a small compartment box or binder makes gathering a palette for a new project much faster too.
This article is intended for general educational and informational purposes only, based on common hand embroidery and cross stitch practices. Results vary by skill level, fabric, floss brand, and technique, so testing on a scrap piece is always recommended. Bee’s Quilt Shop shares this guide as part of our ongoing library of quilting and sewing resources.