Quick answer: An embroidery hoop holds fabric taut and stable while stitching, which produces more even tension and a smoother finished result. Wood, plastic, and spring tension hoops each work a little differently, and picking the right size and material comes down to your project’s scale and personal working style.
Embroidery hoops seem like the simplest piece of equipment in a stitcher’s kit, but choosing the right one and using it correctly makes a genuine difference in how evenly your finished work turns out. If you’ve ever wondered why some hand embroidery looks smooth and even while other pieces pucker or show visible marks, the hoop and how it’s used is often part of the answer. This guide covers what a hoop actually does, the differences between common hoop materials, how to pick the right size, and how to avoid leaving marks on finished fabric. Bee’s Quilt Shop carries embroidery hoops for stitchers at every level, and the short version is that a good hoop should feel like it disappears into the background of your process, not something you’re constantly fighting with.
What An Embroidery Hoop Does
An embroidery hoop’s main job is to hold your fabric taut and stable while you stitch, which makes a real difference in stitch consistency. Fabric that shifts or sags while you’re working tends to produce uneven tension from stitch to stitch, since the needle is pulling against fabric that isn’t uniformly stretched. A properly tensioned hoop keeps the working surface flat and evenly taut, which lets each stitch pull to the same tension as the ones around it, giving a smoother, more professional-looking finish overall. Hoops also make it physically easier to stitch by freeing up both hands, one to guide the needle from the top and one to receive it from below, rather than trying to hold fabric taut with one hand while stitching with the other. For beginners especially, a hoop takes a lot of the guesswork out of maintaining consistent tension, which is one of the trickier skills to develop by feel alone. Some stitchers do work without a hoop entirely, particularly on smaller or simpler motifs, but most find that skipping the hoop makes stitch tension noticeably harder to control, especially across larger filled areas where even a small amount of fabric sag becomes visible in the finished piece.
Wood Vs Plastic Vs Spring Tension Hoops
Wood, plastic, and spring tension hoops each work a bit differently, and picking between them often comes down to personal preference and project type. Wood hoops are the traditional choice, consisting of two rings, an outer ring with a tightening screw and an inner ring that the fabric stretches over, and they’re widely available and generally inexpensive. Plastic hoops work on the same two-ring principle but tend to be lighter weight and sometimes include a locking mechanism instead of a screw, which some stitchers find faster to adjust between projects. Spring tension hoops, often called Q-snap alternatives or flexi hoops, use a flexible outer ring that snaps fabric into place against an inner frame without any screw at all, and they’re popular for their speed and consistent, even tension across the whole hoop. None of these is objectively better across the board, wood hoops tend to hold tension well over long stitching sessions, plastic ones are often more budget friendly, and spring tension hoops appeal to stitchers who value quick setup and consistent grip, so it’s worth trying more than one style if you’re not sure what suits your habits. Some stitchers also add a wrapped fabric or bias tape binding around the inner ring of a wood hoop, a small step that both cushions the fabric slightly and helps the hoop grip more securely, reducing slippage over the course of a longer stitching session.
Choosing The Right Hoop Size
Choosing the right hoop size comes down to matching the hoop to your project’s scale and how portable you want the work to be. A small hoop, in the four to six inch range, suits small motifs, monograms, or detail work, and it’s easier to hold comfortably and carry along if you like to stitch away from home. A larger hoop, eight inches or more, accommodates bigger designs without needing to reposition and re-hoop the fabric partway through, which saves time on large projects but is bulkier to hold for extended periods. Many stitchers find that owning a couple of different sizes covers most needs better than trying to make one hoop work for every project, since re-hooping a large design in a small hoop means moving it multiple times, which increases the risk of hoop marks or misaligned stitching.
Hooping Fabric Without Leaving Marks
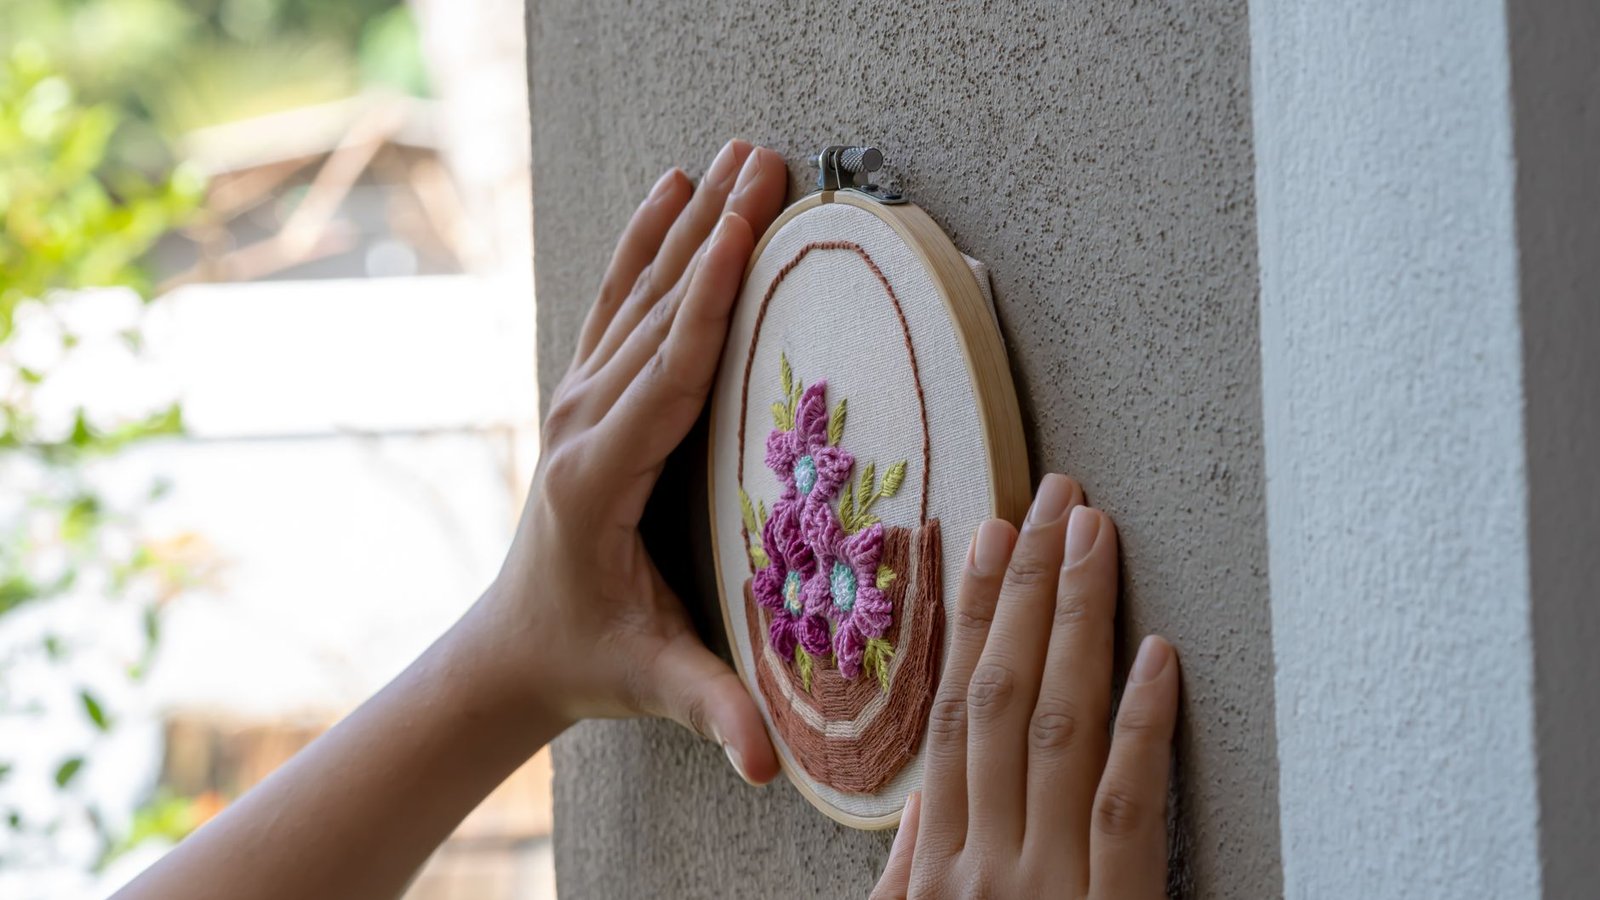
Hooping fabric without leaving visible marks is one of those small technique details that makes a noticeable difference in finished work, especially on delicate fabrics. Loosening the hoop screw fully before placing fabric, rather than trying to stretch fabric into an already-tight hoop, prevents excess strain right from the start. Working the fabric evenly, pulling gently from all sides rather than cranking down hard on one edge, helps distribute tension across the whole hoop instead of concentrating stress in one spot where a mark is more likely to form. Removing the hoop between stitching sessions, rather than leaving fabric stretched in the hoop for days at a time, significantly reduces the chance of a permanent crease line, since fabric that’s under constant tension for extended periods is more prone to holding that shape even after the hoop comes off. If a mark does appear, gently steaming the fabric from a slight distance, or lightly misting it with water and letting it air dry flat, often relaxes the fibers enough to smooth the mark out. Delicate fabrics benefit from an extra layer of protection too, some stitchers wrap the inner hoop ring with a strip of muslin or cotton tape before hooping anything fine or slippery, which cushions the contact point and spreads pressure more evenly across the fabric’s surface.
Machine Embroidery Hoops Vs Hand Embroidery Hoops
It’s worth clarifying that machine embroidery hoops are a genuinely different category from the hand embroidery hoops covered throughout this guide, even though they share a name. Machine hoops are brand and model specific, designed to lock precisely into a particular embroidery machine’s hooping arm, and they typically include a separate stabilizer layer sandwiched with the fabric to keep everything rigid during high-speed machine stitching. Hand embroidery hoops, by contrast, work with essentially any hand stitching project and aren’t tied to a specific piece of equipment. If you’re shopping for hoops specifically to pair with an embroidery machine, it’s important to buy the size and brand compatible with that exact machine model rather than a general hand embroidery hoop, since the two aren’t interchangeable.
Caring For And Storing Your Hoops
Caring for hoops properly extends their useful life and keeps them performing well over years of regular use. Wood hoops benefit from being stored unscrewed and open, rather than left tightened between projects, since constant tension on the screw mechanism can gradually warp the wood or strip the threading over time. Wiping wood hoops occasionally with a barely damp cloth, and making sure they’re fully dry before storing, prevents warping from humidity, particularly in more humid climates. Plastic and spring tension hoops hold up well to more casual storage but benefit from being kept out of direct heat sources, like near a sunny window or a heating vent, which can cause plastic components to become brittle over time. Keeping a small set of hoops together in a dedicated bag or drawer, rather than scattered loose in a general craft bin, also helps prevent the kind of small chips or cracks that come from hoops knocking against heavier tools. A quick check of the tightening screw or locking mechanism every so often is worth doing too, since a stripped screw or a loosened locking ring is one of the more common reasons a hoop stops holding tension reliably, and catching that early is a lot less frustrating than discovering it mid-project. Replacing a worn screw or ring is generally inexpensive and worth doing rather than working around a hoop that no longer holds tension the way it should. A quick wipe down after each project, before hoops go back into storage, also keeps dust and stray thread fibers from building up in the screw mechanism over time.
Ready to find the right embroidery hoop for your next project? Browse our Fabric Guides here at Bee’s Quilt Shop for more notions advice, and check out our thread and floss guides to round out your stitching setup. Explore more Embroidery & Monogramming guides on the blog, or browse our Notions collection to see what is currently available.
Frequently Asked Questions
What size embroidery hoop should a beginner buy?
A four to six inch hoop suits small motifs and detail work and is easy to carry along, while an eight inch or larger hoop works better for bigger designs. Many stitchers find that owning a couple of different sizes serves their needs better than trying to make one hoop work for everything.
Are wood or plastic embroidery hoops better?
Neither is objectively better, wood hoops tend to hold tension well over long sessions, while plastic hoops are often lighter and more budget friendly. It really comes down to personal preference and how each one feels in your hands over a long stitching session.
How do I stop my embroidery hoop from leaving marks on fabric?
Loosening the hoop screw fully before placing fabric, then pulling gently and evenly from all sides rather than cranking down on one edge, helps prevent marks. Removing the hoop between stitching sessions instead of leaving fabric stretched for days also makes a real difference.
Can I use a hand embroidery hoop for machine embroidery?
No, machine embroidery hoops are brand and model specific, designed to lock into a particular machine’s hooping arm, and they are not interchangeable with hand embroidery hoops. Buying the exact size and brand compatible with your machine is important if you are shopping for machine hoops.
How do I remove a hoop mark that is already on my fabric?
Gently steaming the fabric from a slight distance, or lightly misting it with water and letting it air dry flat, often relaxes the fibers enough to smooth the mark out. At Bee’s Quilt Shop, we recommend testing this on a scrap first if you are working with a more delicate fabric.
This article is intended for general educational and informational purposes only, based on common hand embroidery practices. Results vary by skill level, fabric, and hoop type, so testing on a scrap piece is always recommended. Bee’s Quilt Shop shares this guide as part of our ongoing library of quilting and sewing resources.