Quick answer: A presser foot is the part of a sewing machine that holds fabric flat against the feed dogs during stitching, and specialized types like zipper, walking, and free motion feet each solve a specific sewing or quilting task. Choosing the right one for your project improves feed and stitch quality noticeably.
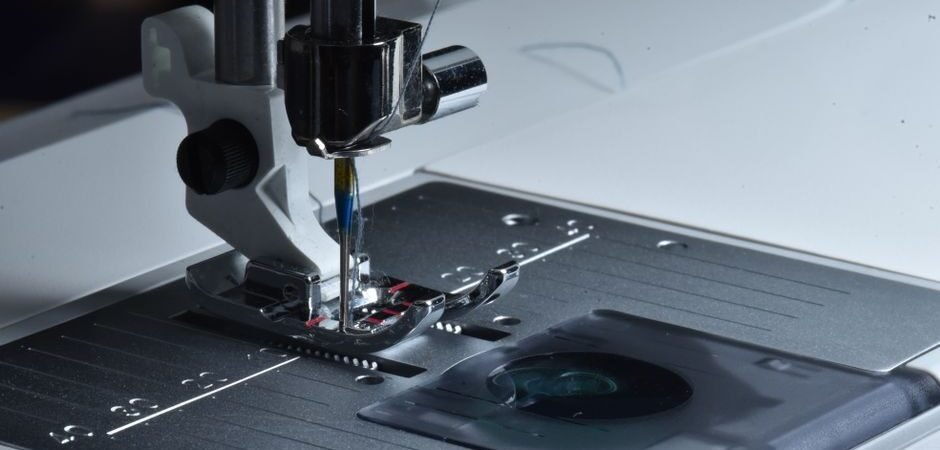
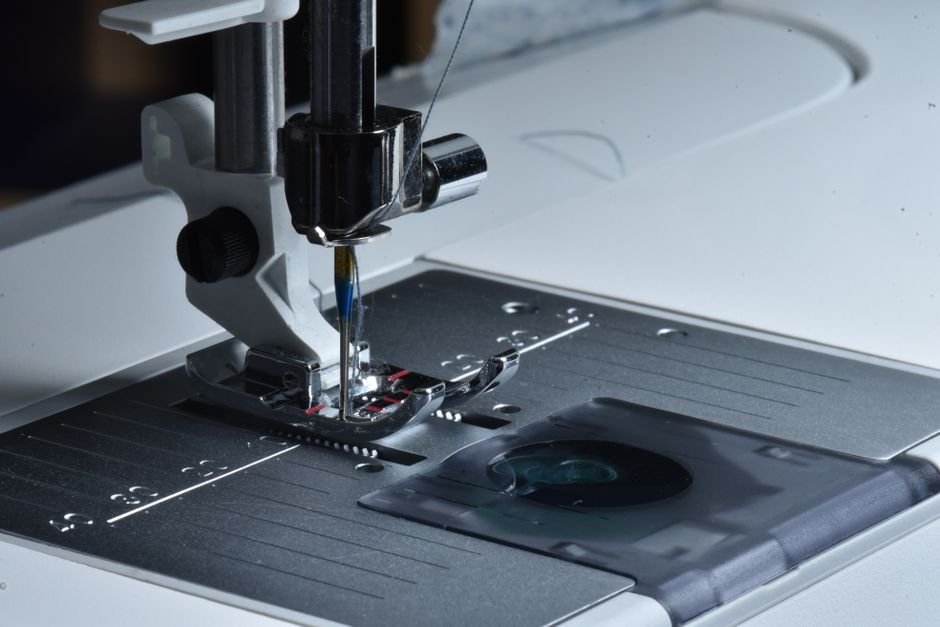
If you’ve ever wondered why a seasoned sewist keeps a small box of oddly shaped metal and plastic attachments next to their machine, that collection is almost certainly presser feet, and each one exists to solve a specific stitching problem the standard foot doesn’t handle well. A presser foot is the part of a sewing machine that holds fabric flat against the feed dogs while stitching, applying even downward pressure so the fabric feeds through smoothly and consistently rather than bunching, shifting, or riding up as the needle moves. While every sewing machine comes with a standard, general-purpose foot installed by default, swapping in a specialized foot for a specific task, like inserting a zipper or free motion quilting, genuinely changes how manageable and professional-looking that task turns out. This guide covers what a presser foot actually does, the common types available, and how to choose, change, and care for them well. Even sewists who’ve been at this for years often discover a specialty foot they didn’t know existed once a particular technique or fabric starts giving them trouble, so it’s worth revisiting this part of your toolkit periodically rather than assuming you already own everything useful. Bee’s Quilt Shop keeps a range of presser feet in stock since they’re such a practical upgrade for so many common tasks.
What A Presser Foot Does
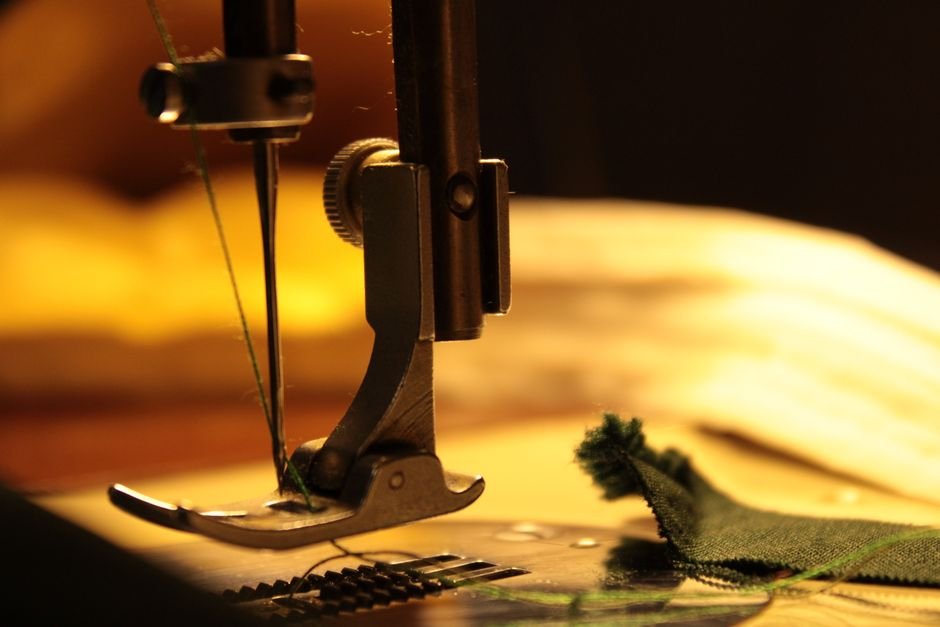
A presser foot’s primary job sounds simple, holding fabric flat and feeding it evenly during stitching, but the mechanics behind that job matter more than they might seem. As the machine’s feed dogs move fabric forward beneath the needle, the presser foot applies consistent downward pressure from above, keeping the fabric in firm contact with those feed dogs so it advances at a steady, even rate rather than slipping or lagging behind the needle’s motion. Without adequate pressure or a properly fitted foot, fabric can bunch up, feed unevenly between layers, or shift out of alignment mid-seam, all problems that show up as puckered, uneven, or crooked stitching in the finished project. Different presser feet are shaped and weighted to handle specific fabric types or specialized techniques, which is exactly why a single standard foot, while functional for everyday straight stitching, isn’t optimized for every task a sewing machine gets asked to do. Pressure adjustment, available as a dial or setting on many machines, works alongside the foot itself, and fine-tuning that pressure for a specific fabric weight can noticeably improve results even before swapping to a specialty foot.
Common Types Of Presser Feet
The range of specialized presser feet available covers a surprisingly wide set of sewing and quilting tasks. A standard, all-purpose foot handles general straight and zigzag stitching on typical fabric weights and is what most machines come with installed by default. A zipper foot features a narrow profile with stitching room on just one side, letting the needle stitch close alongside a zipper’s teeth or coil without the foot itself getting in the way. A walking foot adds its own feed mechanism on top of the fabric, working in coordination with the machine’s regular feed dogs from below, which helps multiple layers, like a quilt sandwich, feed through evenly together rather than shifting relative to each other, a common problem with heavier or slippery fabric combinations. A free motion quilting foot, sometimes called a darning or hopping foot, hovers just above the fabric rather than pressing down firmly and constantly, allowing the sewist to move fabric freely in any direction for decorative or custom quilting designs rather than following the machine’s default straight-line feed. Rolled hem and gathering feet round out the more common specialty options, each using a curled or ridged design that folds fabric automatically as it feeds through, turning what would otherwise be a slow, careful manual task into something handled largely by the foot itself.
Choosing The Right Presser Foot For A Project
Choosing the right presser foot for a specific project comes down to matching the foot’s design to the task rather than guessing. For garment sewing, a zipper foot is essential whenever a project calls for zipper installation, while a standard foot handles the majority of general seams and construction just fine. For quilting specifically, a walking foot is widely recommended for machine quilting straight lines or simple patterns through a full quilt sandwich, since it significantly reduces the shifting and puckering that can happen with a standard foot on thick, multi-layer fabric. Free motion or darning feet come into play once a quilter wants to move beyond straight-line quilting into more decorative, custom stitching patterns that follow the fabric’s movement rather than a straight feed. Beyond these common categories, specialty feet exist for tasks like blind hemming, gathering, or edge stitching, and it’s genuinely worth researching whether a specific recurring task in your sewing has a dedicated foot designed to make it easier before assuming the standard foot is your only option.
Changing A Presser Foot Safely
Changing a presser foot is a routine task on most modern machines, generally accomplished through a simple snap-on mechanism or a small screw depending on the machine’s design. Most contemporary machines use a snap-on system, where lifting the presser foot lever raises the shank high enough to release the current foot with a gentle press of a small lever or button, and the new foot snaps into place by aligning it under the shank and lowering the lever until it clicks securely. Older or more basic machines sometimes use a screw-mounted system instead, requiring a small screwdriver to loosen and remove the foot, then align and tighten a replacement, a slightly slower process but still straightforward with a little practice. Always changing feet with the machine powered off, or at minimum with the needle raised to its highest position and away from the fabric, is a reasonable common-sense precaution regardless of which mounting system your machine uses. Consulting your specific machine’s manual for the exact foot-changing process is worth doing at least once, since small mechanical details do vary between brands and models.
Presser Foot Compatibility Across Machine Brands
One detail that catches a lot of sewists off guard is that presser feet are often brand and model specific, meaning a foot designed for one manufacturer’s machine frequently won’t fit or function correctly on a different brand, and sometimes not even on a different model within the same brand. Shank height, the distance and mounting style connecting the foot to the machine, varies enough between manufacturers that a foot needs to match your specific machine’s shank type to attach and function properly. Some third-party and generic presser feet are designed to work across multiple shank types or brands, often marketed specifically as universal or low-shank compatible, but confirming actual compatibility with your particular machine before purchasing saves the frustration of an unusable foot arriving in the mail. When in doubt, checking your machine’s manual for its shank type, or reaching out to the manufacturer or a dealer directly, is the most reliable way to confirm a specific specialty foot will actually work with your machine before spending money on it.
Caring For Your Presser Feet
Caring for presser feet doesn’t require much beyond basic cleanliness and gentle handling, but a few habits help keep them functioning well over time. Wiping feet down periodically to remove lint, thread fragments, and any fabric residue that accumulates during regular use helps prevent buildup that can eventually interfere with smooth fabric feeding. Storing feet in a dedicated case, small labeled containers, or a organized box rather than loose in a drawer helps prevent scratches, bent components, or simply losing track of specialty feet you don’t use as often as the standard one. Periodically checking feet for wear, particularly on any moving parts like a walking foot’s internal mechanism, catches issues before they affect stitch quality on an important project. A little organization and routine cleaning goes a long way toward getting reliable, long-term use out of what’s often a modest but genuinely valuable investment in your sewing setup.
Ready to explore specialty feet for your next project? Explore our Sewing Machines and Repair library here at Bee’s Quilt Shop for more machine-specific advice, and browse our current machine collection to see what’s available. Explore more Sewing Machines & Repair guides on the blog, or browse our Sewing Machines collection to see what is currently available.
Frequently Asked Questions
Do I really need more than the standard presser foot?
For general sewing, the standard foot handles most tasks fine, but specialty feet like a zipper or walking foot make specific jobs noticeably easier and produce better results. Many quilters find a walking foot in particular makes a real difference once they start machine quilting.
Will any presser foot fit my sewing machine?
Not necessarily, since presser feet are often brand and sometimes model specific due to differences in shank height and mounting style. At Bee’s Quilt Shop we always suggest checking your machine’s manual or confirming compatibility before buying a specialty foot.
What is a walking foot used for?
A walking foot adds its own feed mechanism to help multiple fabric layers, like a quilt sandwich, move through the machine evenly together rather than shifting relative to each other. It’s especially helpful for machine quilting straight lines or simple patterns through thicker layers.
How do I know if my presser foot is snap-on or screw-mounted?
Most modern machines use a snap-on system with a small lever or button for quick changes, while older or more basic machines sometimes use a screw that needs a small screwdriver. Checking your machine’s manual is the quickest way to confirm which type yours uses.
How often should I clean my presser feet?
Wiping them down periodically to remove lint and thread residue, especially after a project involving a lot of cutting or fraying fabric, helps keep fabric feeding smoothly. There’s no strict schedule, just a general habit of checking them between projects.
This article is intended for general educational and informational purposes only, based on general sewing machine knowledge. Compatibility and results vary by machine brand and model, so checking your specific manual is always a good idea. Bee’s Quilt Shop shares this guide as part of our ongoing library of quilting and sewing resources.