Quick answer: Embroidery kits for adults bundle a hoop, fabric, stranded floss, a needle, and a sophisticated pattern featuring botanical, modern, or sampler-style designs. They suit both first-time stitchers and returning hobbyists looking for a guided project.
Embroidery kits for adults have moved well beyond the simple stamped-pattern sets many of us remember from childhood, offering sophisticated designs, richer color palettes, and finishing options that actually suit grown-up decor. If you’ve been curious about embroidery but weren’t sure where to start, a good kit removes most of the early friction by bundling everything you need into one package. This guide covers what makes a kit genuinely well-suited to adult embroiderers, the styles currently popular, what’s typically included, and how to choose based on your comfort level with a needle and thread, along with a few gifting angles many beginner guides skip past entirely. Whether you’re picking this up as a completely new hobby or returning to a craft you learned years ago, understanding what separates an adult kit from a kids’ craft box makes the whole shopping process easier. At Bee’s Quilt Shop, embroidery questions come up constantly from stitchers exploring the hobby for the first time, and a lot of it comes down to matching the right kit to the right person, and getting that match right the first time makes a real difference in whether someone sticks with the hobby.
What Makes A Kit Well-Suited For Adult Embroiderers
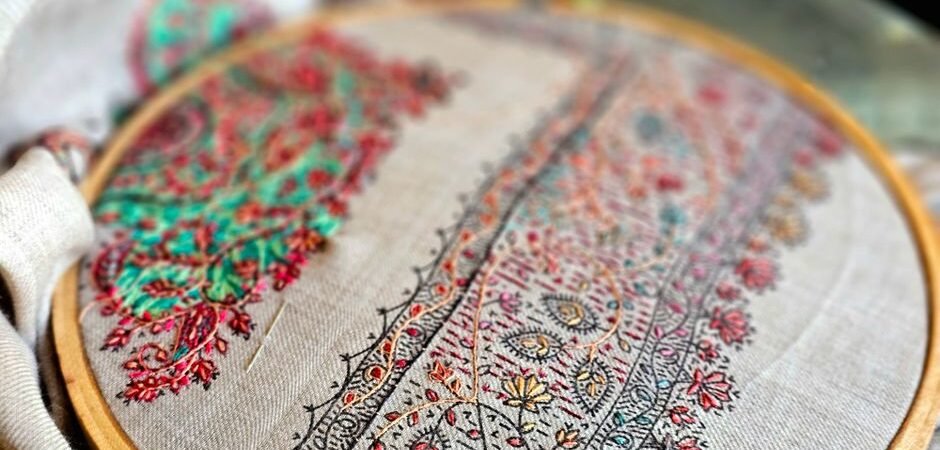
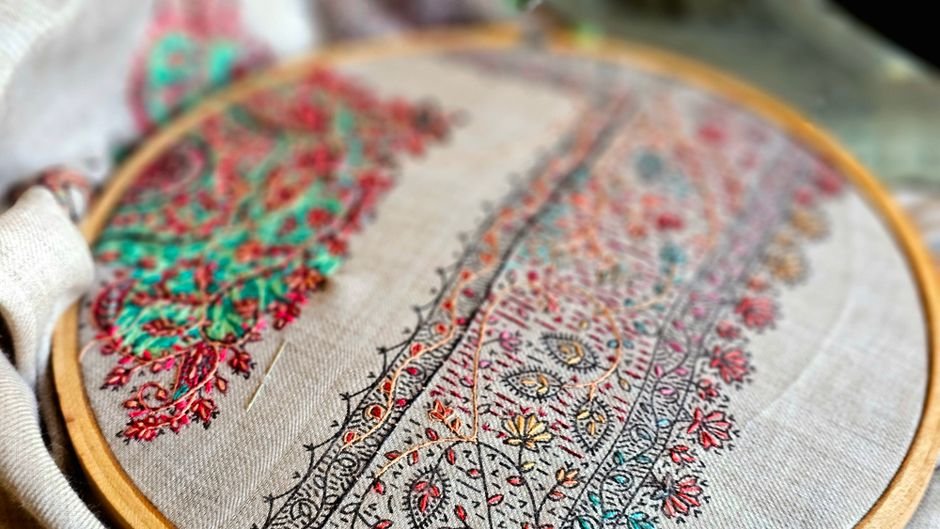
What separates a genuinely adult-oriented kit from a children’s craft set mostly comes down to design sophistication and stitch variety. Kids’ kits tend to use simple, blocky shapes worked almost entirely in basic stitches, while adult kits introduce more nuanced imagery, shading through color blending, and a broader vocabulary of stitch types within a single design. A well-made adult kit might combine satin stitch for solid fill areas, stem stitch for delicate line work, and French knots for texture, giving the finished piece visual depth that a single-stitch design simply can’t achieve. The color palettes tend to be more sophisticated too, favoring muted or curated tones rather than the primary colors typical of kids’ craft kits. Instructions in adult kits also assume a level of independence, offering diagrams and stitch guides rather than heavily simplified step-by-step hand-holding, which suits hobbyists who want to actually learn the craft rather than just complete a predetermined project. Many adult kits also print instructions at a smaller, denser scale than children’s kits, trusting the stitcher to reference a stitch glossary as needed rather than repeating full explanations at every single step.
Popular Styles Of Adult Embroidery Kits
Popular styles among adult embroidery kits have expanded considerably in recent years. Botanical designs remain a perennial favorite, featuring detailed leaves, flowers, and houseplants that let a stitcher practice shading and color transitions within a naturally appealing subject. Modern line art kits take a more minimalist approach, often using a single thread color to create clean, almost sketch-like imagery that suits a contemporary home aesthetic better than a traditional busy floral. Sampler-style kits, which combine multiple small motifs or stitch types onto one piece of fabric, appeal to stitchers who want to practice a wider range of techniques within a single project rather than repeating the same stitch throughout. Many adults are drawn to whichever style best matches their existing home decor or personal taste, since a finished embroidery piece is often intended for display rather than practical use, so it’s worth browsing a few style categories before settling on a first kit. Seasonal and holiday-themed kits are also common, offering a lower-commitment way to try embroidery through a smaller project tied to a specific time of year rather than an open-ended decorative piece.
What Comes In A Typical Adult Embroidery Kit
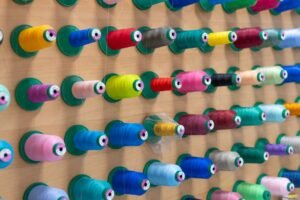
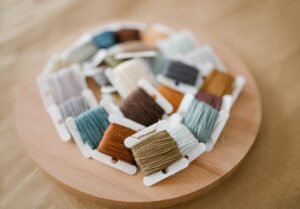
A typical adult embroidery kit includes an embroidery hoop, sized to fit the design with enough margin for finishing, along with a piece of cotton or linen fabric pre-marked or pre-printed with the pattern. Stranded embroidery floss comes next, usually organized on cards or bobbins and numbered to match a color key, plus a needle appropriate to the fabric weight and thread thickness. Written or illustrated instructions round out the kit, typically covering basic stitch diagrams for whatever techniques the specific design calls for. Some kits include water-soluble stabilizer for more delicate fabrics, and higher-end kits sometimes substitute a printed cotton or linen blend that holds its shape better under repeated hoop tension. The hoop included with most kits often doubles as the final display frame, which is a nice touch for anyone who’d rather not shop separately for finishing supplies. Reading through the included stitch list before starting gives you a sense of whether the kit matches skills you already have or whether you’ll be learning something new along the way. It’s also worth checking whether a kit includes extra floss for mistakes, since running short on a specific color partway through a project is a genuinely common frustration that a little extra length in each skein helps avoid.
Choosing A Kit For Your Skill Level
Choosing a kit for your actual skill level, rather than the one with the prettiest finished photo, makes a real difference in how enjoyable the process feels. Beginner-appropriate kits generally rely on two or three stitch types, most commonly backstitch and satin stitch, with a limited color palette and simpler shapes that don’t require precise shading. As you gain confidence, kits that introduce French knots, chain stitch, or more elaborate color blending give you room to grow without overwhelming you all at once. It’s worth being honest with yourself about how much detail work you’re ready for, since a design packed with tiny, closely spaced color changes can be genuinely tedious for a first project even if the technique itself isn’t difficult. Many experienced stitchers suggest starting with a kit that has a handful of distinct color blocks rather than dozens of subtly shaded tones, saving the more intricate portrait or landscape-style kits for once you’ve built up some hoop-time experience. Reading a handful of reviews on a specific kit before buying can also give you a more realistic sense of its actual difficulty than the marketed skill label alone, since labeling standards vary quite a bit between different kit brands.
Embroidery Kits As Gifts For Adults
Embroidery kits also make genuinely thoughtful gifts for hobbyist friends and family, in part because the finished product is something the recipient made themselves rather than something store-bought. A kit built around a recipient’s known interests, whether that’s a particular flower, a favorite quote, or a design that matches their home’s color scheme, tends to land better than a generic option. For someone brand new to the craft, pairing a beginner kit with a small note explaining that mistakes are a normal part of learning takes some of the pressure off a first attempt. Gifting a kit alongside a basic embroidery scissors set or a nicer hoop than what’s usually included can elevate the gift without much added cost. Many stitchers find that receiving their first kit as a gift is what actually got them started, since it removes the initial hesitation of not knowing what supplies to buy on their own.
What To Do After Finishing Your First Adult Kit
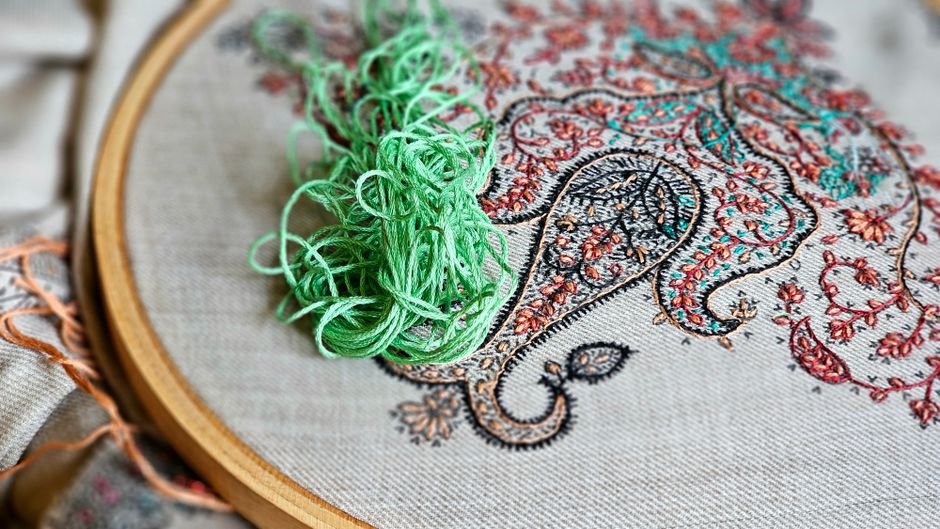
Finishing your first adult embroidery kit tends to spark curiosity about what comes next, and there are a few natural directions to take. Some stitchers move toward buying individual pattern designs rather than full kits, sourcing their own fabric and floss once they’ve built a supply of basics and want more design freedom. Others explore new stitch techniques specifically, seeking out kits or tutorials that introduce unfamiliar stitches like French knots, bullion knots, or needle painting to expand their skill set deliberately. Framing and displaying that first finished piece is worth taking seriously too, since seeing it on a wall is often what motivates the next project. Joining an online stitching community or following pattern designers can also help you discover new styles and stay motivated between projects, and many hobbyists find that the learning curve flattens out considerably after just a few completed kits. At that point, embroidery tends to become less about following someone else’s design and more about building a personal collection of techniques you can apply to whatever project catches your interest next.
Ready to start your next embroidery project? Explore our Embroidery and Monogramming guides here at Bee’s Quilt Shop for more stitching advice, and browse our current kits collection to see what’s available right now. Explore more Embroidery & Monogramming guides on the blog, or browse our Kits collection to see what is currently available.
Frequently Asked Questions
What stitches do I need to know before starting an embroidery kit?
Most beginner kits rely on just two or three stitches, commonly backstitch and satin stitch, with clear diagrams included in the instructions. You don’t need any prior experience to get started with a well-labeled beginner kit.
Are embroidery kits a good gift for someone who’s never stitched before?
Yes, a beginner-appropriate kit is a genuinely thoughtful gift, especially paired with a note letting the recipient know mistakes are a normal part of learning. Many stitchers at Bee’s Quilt Shop say a gifted kit is what got them started in the first place.
How much does a typical embroidery kit cost?
Prices vary quite a bit depending on design complexity and included materials, so it’s worth comparing a few options rather than assuming price reflects quality. A higher price sometimes just means a larger finished size or extra tools included.
Can I reuse the hoop from one kit for a different project later?
Absolutely, as long as the new project’s fabric fits comfortably within that hoop size. Many stitchers build up a small collection of hoops in different sizes over time as they take on new kits.
What if I run out of floss partway through a kit?
This happens occasionally, especially on detailed designs, and most floss brands are easy to match by color number at a fabric or craft shop. Checking whether a kit includes a bit of extra floss before starting can help you avoid this altogether.
This article is intended for general educational and informational purposes only, based on common embroidery practices. Results vary by skill level, materials, and pattern choice, so testing new stitches on scrap fabric first is always a good idea. Bee’s Quilt Shop shares this guide as part of our ongoing library of quilting and sewing resources.