Quick answer: The main types of embroidery stitch fall into outline stitches like backstitch and stem stitch, fill stitches like satin stitch, and decorative texture stitches like French knots and chain stitch. Most designs combine several types to create depth.
Understanding the different types of embroidery stitch available is one of the first real milestones in learning the craft, since each stitch produces a distinct look and serves a different purpose within a design. Rather than trying to memorize dozens of techniques at once, most beginners find it easier to build a foundation with a handful of core stitches and then expand from there as specific projects call for something new. This guide breaks down the most common embroidery stitches by category, from simple outlining techniques to more decorative fill stitches, and offers practical guidance on choosing the right one for a given design. Whether you’re working through your first embroidery kit or branching out into your own pattern designs, knowing your stitch vocabulary makes the whole process far less intimidating. At Bee’s Quilt Shop, we talk to a lot of stitchers who are surprised by just how much variety exists once they move past the two or three stitches most kits start with.
The Most Common Embroidery Stitches To Learn First
Most embroiderers start with the same small set of foundational stitches, and for good reason: they’re versatile, forgiving of small mistakes, and useful across nearly every design style. Backstitch is often the very first stitch beginners learn, producing a clean, continuous line that’s ideal for outlining shapes or adding fine detail like lettering. It’s worked by stitching backward into the endpoint of the previous stitch, which creates a solid, unbroken line rather than the gaps you’d get from a simple running stitch. Satin stitch comes next for most stitchers, used to fill in solid shapes with smooth, closely packed parallel stitches that give a design a clean, almost painted appearance. French knots round out this starter trio, creating small raised dots that work well for flower centers, eyes, or scattered texture, though they do take a little hand-eye coordination to master consistently. Getting comfortable with these three stitches alone opens up a surprising number of embroidery designs, since a huge share of beginner and even intermediate patterns are built almost entirely from backstitch, satin stitch, and French knots in various combinations.
Outline Stitches Vs Fill Stitches
Beyond the basics, it helps to think about embroidery stitches in two broad categories: outline stitches and fill stitches, since understanding this distinction makes choosing the right technique for a given design section much more intuitive. Outline stitches, which include backstitch, stem stitch, and chain stitch, are worked in a continuous line to define edges, add linear detail, or create the structural framework of a design before any filling happens. Fill stitches, on the other hand, are used to cover larger areas with color and texture, and they include satin stitch along with techniques like long and short stitch, which blends multiple thread colors together to create shading effects similar to painting. Most embroidery designs use a combination of both categories, with outline stitches defining the shape and fill stitches bringing it to life with color and dimension. Recognizing which category a stitch belongs to helps you read a pattern’s stitch guide more confidently, since you’ll immediately understand whether a given instruction is meant to define an edge or cover an area. It also makes it easier to substitute stitches when a pattern doesn’t specify an exact technique, since you can simply pick any outline stitch you’re comfortable with rather than feeling locked into one specific method.
Decorative And Texture Stitches
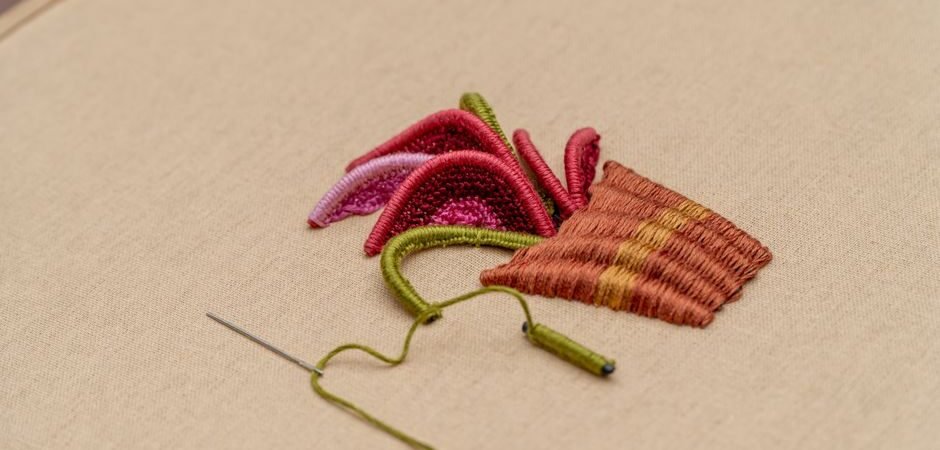
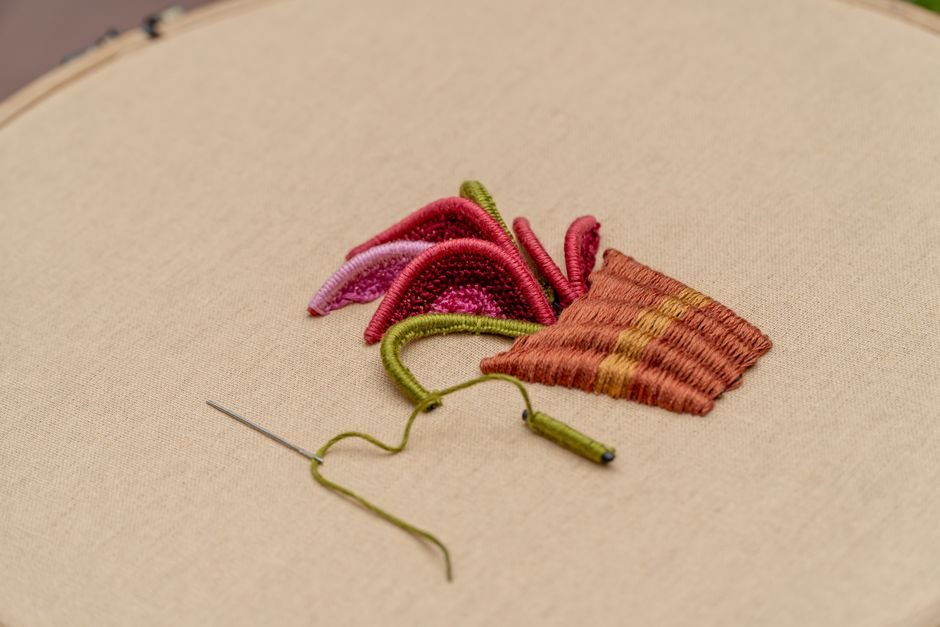
Decorative and texture stitches add personality and dimension beyond basic outlining and filling, and they’re often what gives a finished piece its distinctive character. Chain stitch produces a series of linked loops that create a slightly raised, textured line, making it a popular choice for bold lettering or decorative borders where you want more visual weight than a plain backstitch offers. Feather stitch creates a branching, feathery texture often used for decorative borders, plant stems, or whimsical accents, and it reads as more organic and flowing than the straighter lines of backstitch or stem stitch. Other embellishment-focused stitches, like bullion knots and woven wheel stitches, create raised, dimensional elements that work particularly well for flower petals or textured accents where you want the stitching to have physical depth rather than lying flat against the fabric. These decorative techniques generally take more practice to execute smoothly than the basic starter stitches, so many stitchers introduce them gradually as a natural next step once they’re comfortable with backstitch and satin stitch. It’s worth practicing a new decorative stitch a few times in a row before working it into a real project, since consistency in size and tension tends to come from repetition rather than getting it right on the very first attempt.
Choosing The Right Stitch For Your Design
Choosing the right stitch for a design really comes down to matching the technique to the effect you’re after in that particular section. If you need a clean, defined edge, an outline stitch like backstitch or stem stitch is almost always the right call. If you’re filling a solid shape and want a smooth, uniform look, satin stitch is usually the go-to choice, though it does require some practice keeping stitch length consistent to avoid an uneven, lumpy appearance. For areas where you want texture or a sense of dimension, whether that’s flower centers, foliage, or decorative accents, French knots, chain stitch, or bullion knots each bring a different kind of visual interest. Many stitchers find it helpful to look at a finished reference photo of a design and mentally map which sections call for outline versus fill versus texture before starting, rather than working through a pattern purely stitch by stitch without a bigger-picture plan in mind. It’s also fine to swap a suggested stitch for one you’re more confident with, since the overall visual effect usually matters more than sticking to one exact technique.
Practicing New Stitches Without Wasting Fabric
Practicing new stitches without burning through good fabric is a genuinely practical concern, especially once you’re trying to learn several new techniques at once. A dedicated practice cloth, whether that’s a plain piece of cotton or linen kept specifically for testing, lets you work through an unfamiliar stitch several times until the motion feels natural before attempting it on an actual project. Scrap fabric left over from other sewing or quilting projects works just as well for this purpose, so there’s rarely a need to buy fabric specifically for practicing. Some stitchers keep a running sampler cloth where they try out every new stitch they learn, which doubles as both practice material and a handy visual reference to look back on later. Working through a new stitch on scrap material first also takes the pressure off, since mistakes on a practice cloth cost nothing, while the same mistake on a gift project or a piece you’re planning to frame can be genuinely frustrating to fix. At Bee’s Quilt Shop, we generally suggest keeping a small remnant of whatever fabric you’re currently working with on hand specifically for this kind of testing, since matching weight and weave makes practice stitches behave the same way they will on the real project.
Combining Multiple Stitch Types In One Project
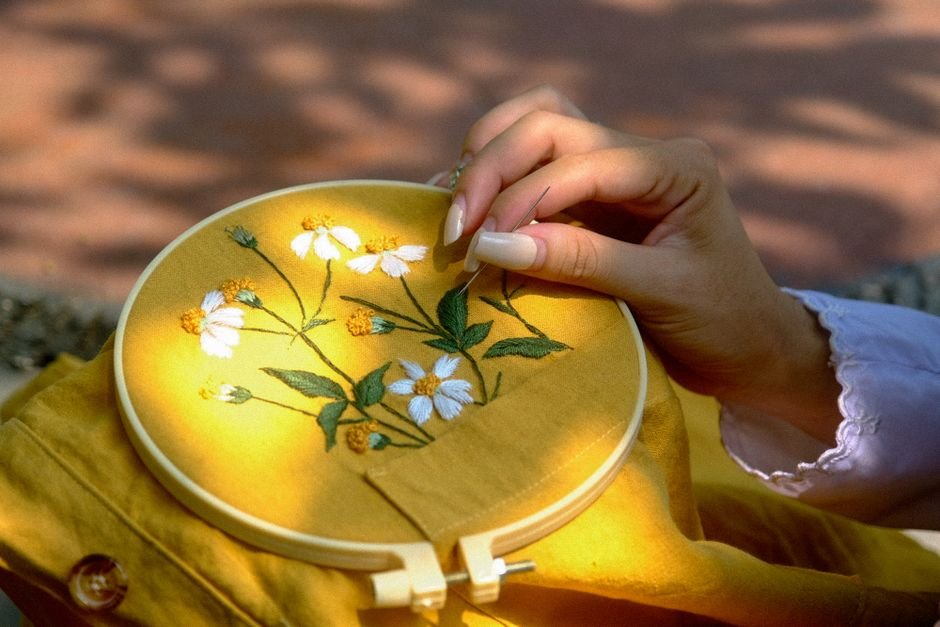
Once you’re comfortable with a range of individual stitches, combining multiple types within a single project is where embroidery really starts to feel expressive rather than purely technical. A single flower motif might use satin stitch for the petals, French knots for the center, stem stitch for the stem, and chain stitch for a decorative border around the whole design, and that layering of techniques is what gives finished embroidery its sense of depth and craftsmanship. Mixing stitches also lets you correct for a design’s limitations, since a section that looks flat in satin stitch alone might come alive once a few French knots or a touch of chain stitch texture are added around it. Many experienced embroiderers describe this stage as the point where the craft stops feeling like following instructions and starts feeling like genuine creative decision-making, since you’re choosing which stitch best serves each part of the design rather than simply executing a predetermined technique. Building this kind of stitch fluency takes time, but it happens naturally through repeated practice rather than requiring any dramatic leap in skill.
Ready to practice some new stitches? Explore our Embroidery and Monogramming guides here at Bee’s Quilt Shop for more stitching advice, and browse our current embroidery thread collection to see what’s available right now. Explore more Embroidery & Monogramming guides on the blog, or browse our Embroidery Thread collection to see what is currently available.
Frequently Asked Questions
Which embroidery stitch should I learn first?
Backstitch is the most common starting point, since it produces a clean outline and is used in nearly every design in some form. Satin stitch and French knots are usually the next two stitches most beginners pick up.
Is it okay to substitute one stitch for another in a pattern?
In most cases yes, especially between similar outline stitches or between different fill techniques, since the overall visual effect matters more than sticking exactly to one method. Many stitchers at Bee’s Quilt Shop swap stitches regularly based on personal preference.
Why do my satin stitches look uneven?
Uneven satin stitch usually comes down to inconsistent stitch length or tension, which is a common early hurdle. Practicing on scrap fabric before working on your actual project helps a lot here.
How many stitches do I really need to know as a beginner?
Just three, backstitch, satin stitch, and French knots, will let you complete a huge range of beginner and intermediate designs. You can add decorative stitches like chain stitch or feather stitch gradually as you gain confidence.
What’s the difference between an outline stitch and a fill stitch?
Outline stitches create continuous lines used for edges and detail, while fill stitches cover larger areas with solid color or texture. Most designs use both types together to build up the finished image.
This article is intended for general educational and informational purposes only, based on common embroidery practices. Results vary by skill level, materials, and technique, so practicing on scrap fabric first is always a good idea. Bee’s Quilt Shop shares this guide as part of our ongoing library of quilting and sewing resources.