Quick answer: A cross stitch kit typically includes aida cloth, floss, a blunt needle, and either a stamped or counted pattern to follow, giving beginners everything needed for a first counted-thread project. Understanding fabric count, reading a pattern chart, and knowing where to start stitching are the key skills that make the process click.
A cross stitch kit bundles everything you need to complete a counted-thread design into a single package, and understanding what’s inside and how to read the pattern makes that first project a lot less intimidating. Cross stitch has a devoted following precisely because the technique is simple to learn but endlessly varied in what you can create with it, from small ornaments to large framed pieces. This guide covers what a typical kit includes, the difference between counted and stamped styles, how to read a pattern chart, and how to pick the right fabric count for your project. Bee’s Quilt Shop has helped plenty of first-time stitchers pick their first cross stitch kit, and the short answer is that starting with a small, well-labeled kit makes the whole learning curve much gentler.
What’s Included In A Cross Stitch Kit
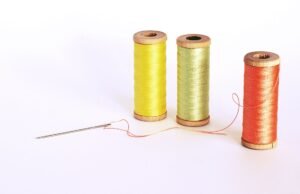
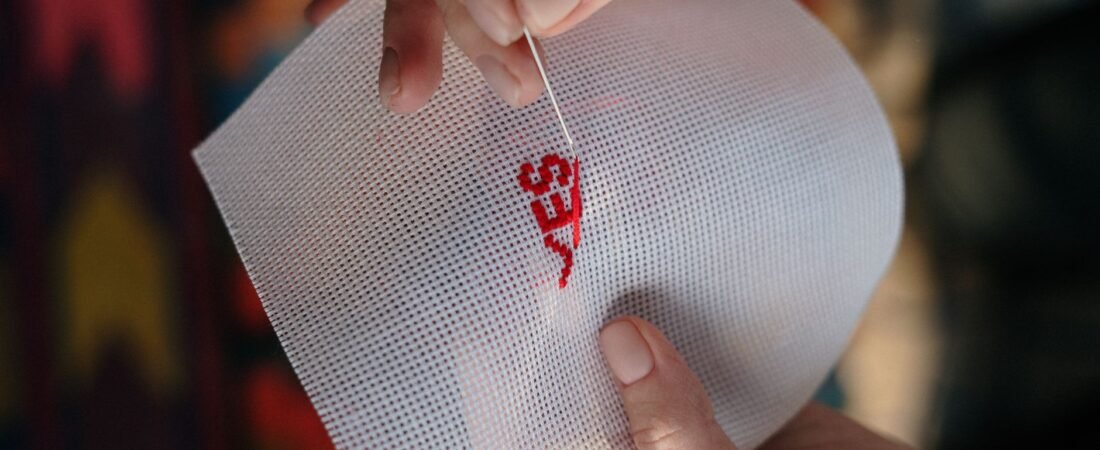
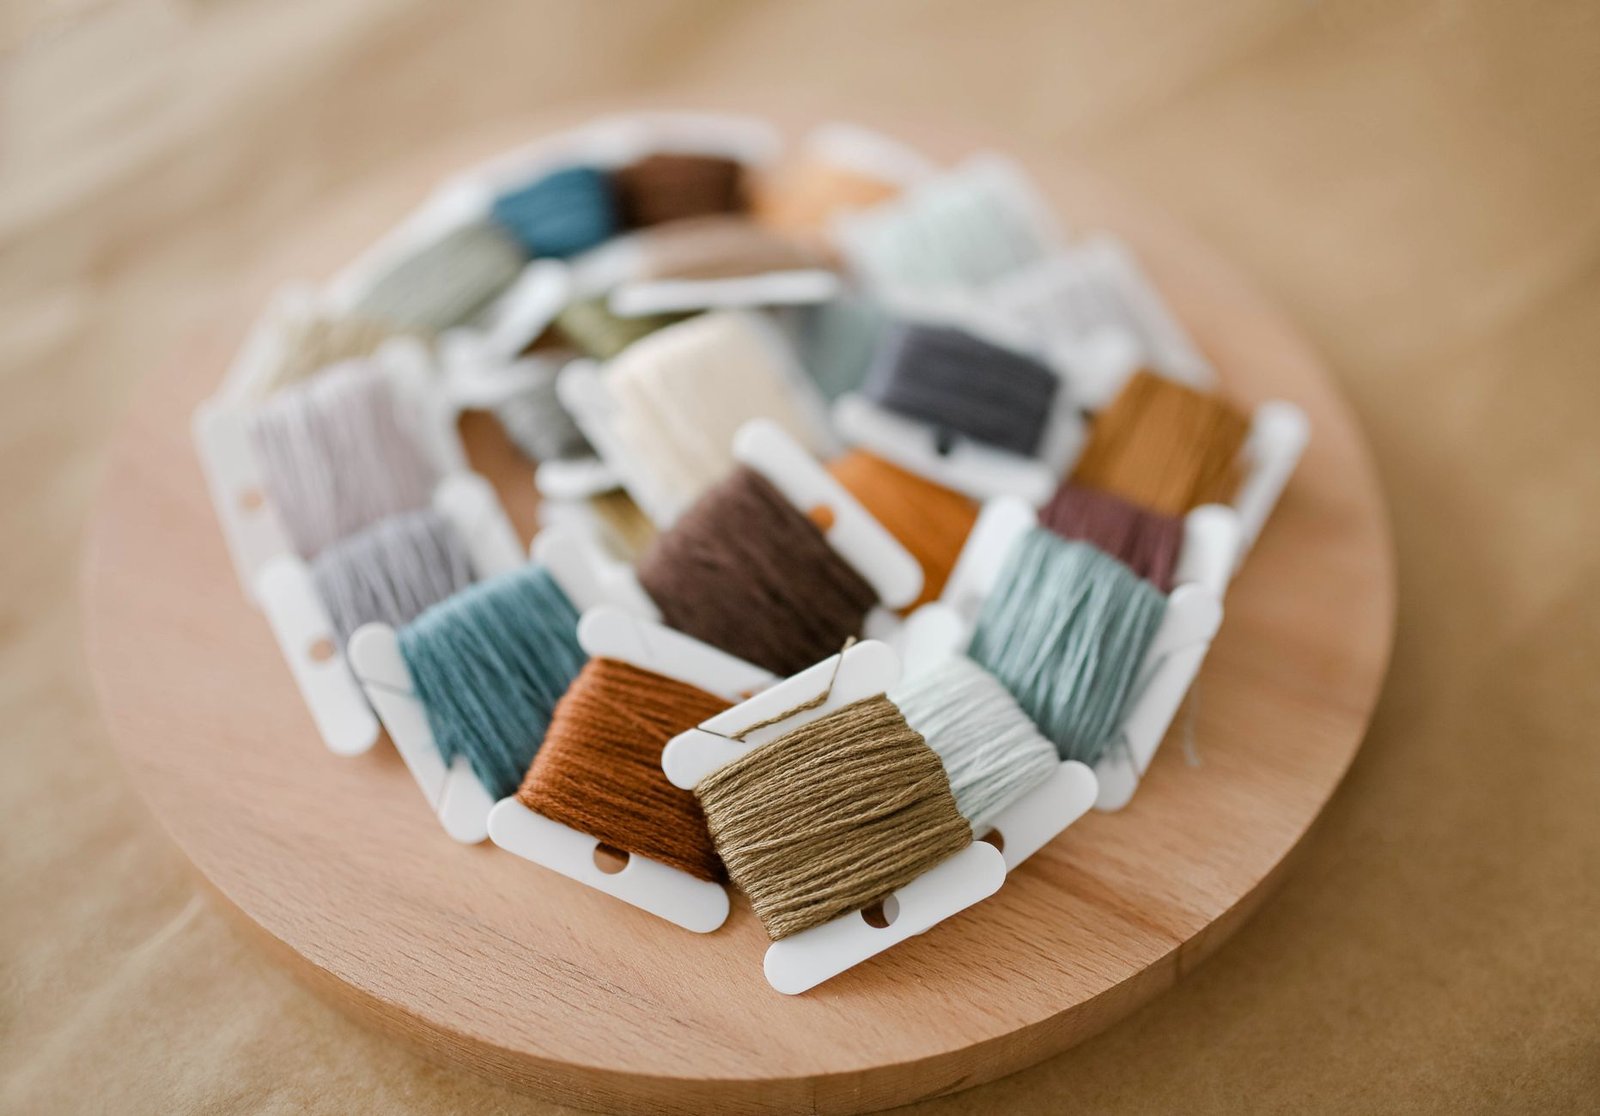
A cross stitch kit typically includes aida cloth, the evenly woven fabric with a visible grid pattern that makes counting stitches straightforward, along with embroidery floss in the colors the design calls for, a needle sized for cross stitch work, and either a printed or counted pattern to follow. Aida cloth comes in different counts, referring to how many squares fit per inch, and kits are matched to a specific count so the finished size lines up with what’s shown on the packaging. Floss in a kit is usually pre-sorted by color number and sometimes wound on small cards or bobbins, saving you the step of matching numbers yourself. The needle included is typically blunt-tipped, which is standard for cross stitch since it’s designed to pass between the fabric’s woven threads rather than piercing them, so it won’t split the aida’s woven fibers the way a sharp needle would. The pattern itself is the real heart of the kit, and how it’s presented, whether stamped directly on the fabric or provided as a separate counted chart, makes a meaningful difference in how the kit is worked. Some kits also throw in a small pair of embroidery scissors or a hoop sized for the specific design, though these extras vary quite a bit between brands, so it’s worth reading the full contents list before assuming a kit includes everything you’ll need to finish start to finish.
Counted Vs Stamped Cross Stitch Kits
Counted and stamped cross stitch kits work quite differently, and it’s worth understanding the distinction before choosing between them. In a counted kit, the fabric is blank aida cloth, and you follow a printed chart that shows exactly which squares get which color, counting rows and columns as you go to place each stitch correctly. In a stamped kit, the design is pre-printed directly onto the fabric in the correct colors or symbols, so you stitch directly over the marked areas without counting squares yourself. Counted kits generally suit stitchers who don’t mind following a chart closely and want more control over placement, while stamped kits remove the counting step entirely, which some true beginners find far less stressful for a first project. The trade-off is that stamped designs are less common for detailed or large projects, since printing accuracy becomes harder to maintain at scale, while counted charts dominate the more intricate and larger-format kits available. Neither format is objectively easier across the board, it really comes down to whether counting rows feels tedious or genuinely satisfying to you, and plenty of experienced stitchers still prefer stamped kits for quick, low-pressure projects even after years of working from counted charts.
Reading A Cross Stitch Pattern Chart
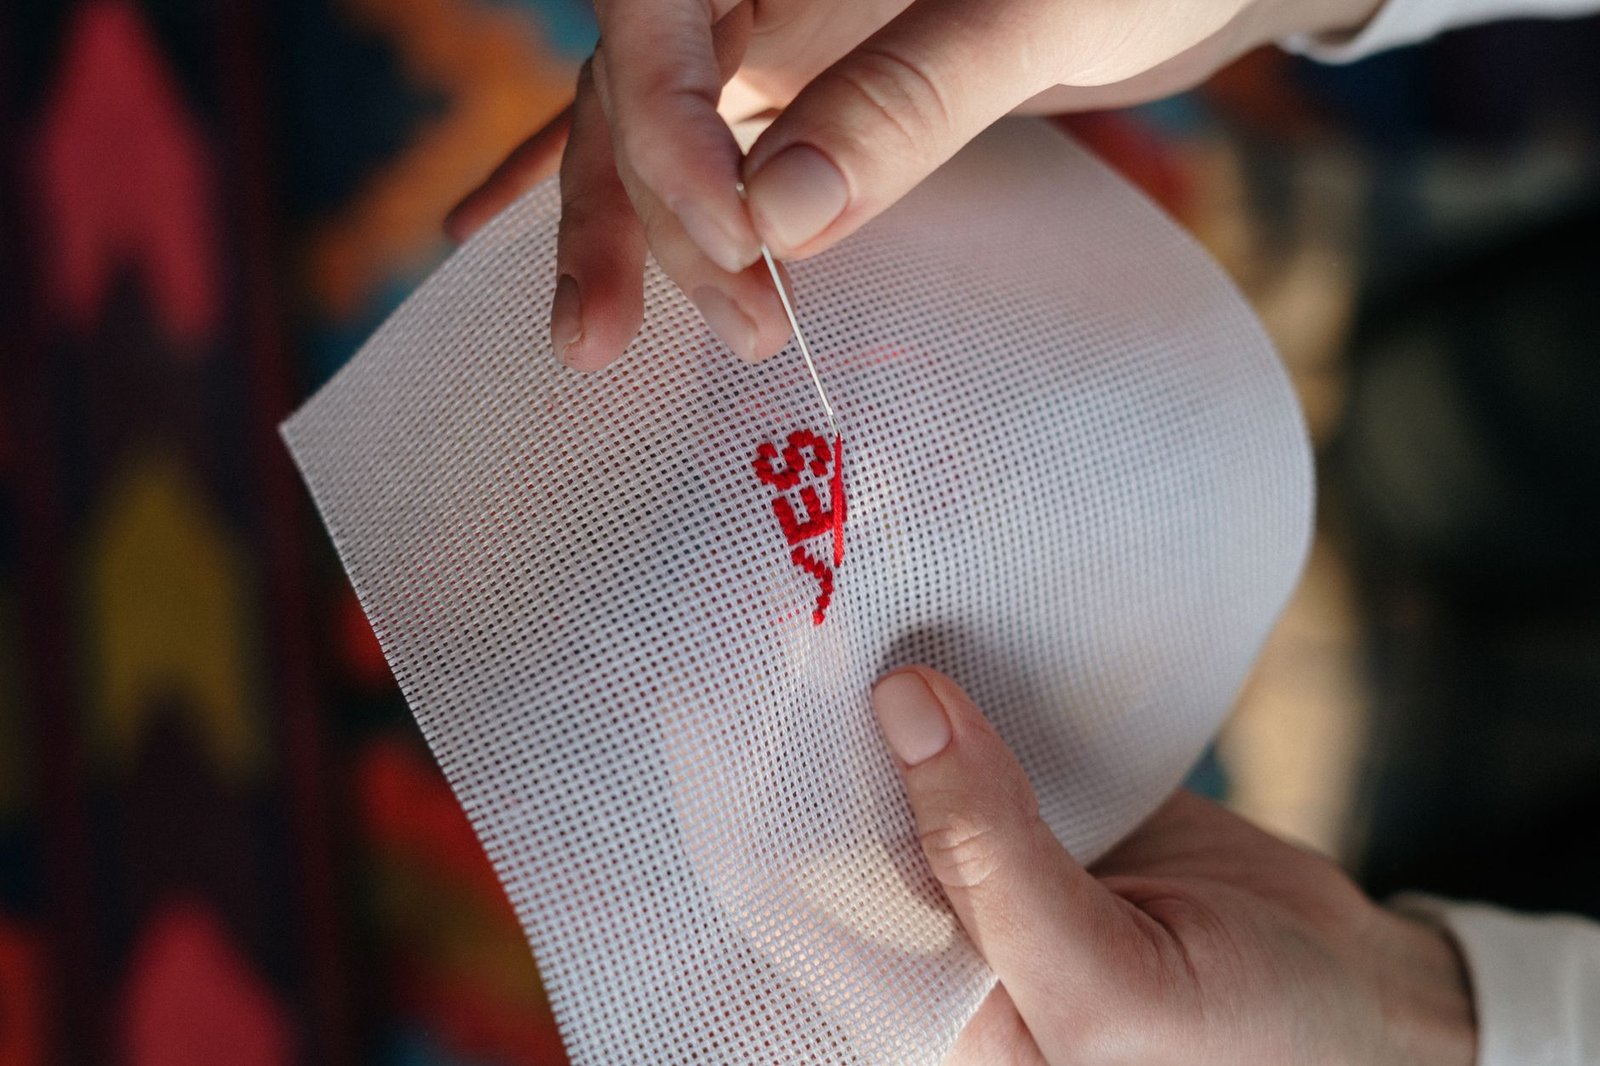
Reading a cross stitch pattern chart looks intimidating at first glance, a grid full of tiny colored squares and symbols, but the system is fairly simple once explained. Each square on the chart represents one stitch on the fabric, and the chart is typically organized with a color key along one edge, listing which floss number or symbol corresponds to which color used in the design. Symbols inside the squares, rather than just color blocks, are common in printed patterns since they photocopy and print more reliably in black and white, and most stitchers quickly learn to associate a handful of recurring symbols with their assigned colors. Finding your starting point matters too, most patterns recommend starting from the center of both the chart and the fabric, working outward, which helps keep the design centered on the fabric rather than running out of room on one side partway through.
Choosing The Right Fabric Count
Fabric count, the number of squares per inch on the aida cloth, directly affects both the finished size of a design and how difficult it feels to stitch. A lower count, like eleven count aida, has larger, more visible squares, which makes it easier to see what you’re doing and is generally recommended for beginners or anyone with vision concerns, though the finished piece will be physically larger for the same stitch count. A higher count, like eighteen or twenty two count, packs more detail into a smaller finished size, which experienced stitchers often prefer for intricate designs, but the smaller squares demand more careful counting and can be harder on the eyes over long stitching sessions. It’s worth matching fabric count to both your comfort level and the finished size specified on the kit’s packaging, since substituting a different count than the pattern was designed for will change the final dimensions of the piece. Fourteen count aida sits in a comfortable middle ground and is what a lot of kits default to, offering a reasonable balance between visible detail and manageable finished size, which makes it a sensible choice if you’re not sure yet which end of the spectrum you’ll prefer.
Common Beginner Mistakes With Cross Stitch Kits
Beginners run into a handful of predictable mistakes with cross stitch kits, and knowing what to watch for ahead of time helps sidestep most of them. Starting in the wrong spot, rather than the pattern’s designated center point, is one of the most common early errors, and it can lead to running out of fabric on one edge before finishing the design if it’s caught too late. Tension issues, stitches pulled either too tight or left too loose, create an uneven, puckered look across a finished piece, and consciously keeping consistent, gentle tension throughout helps the stitches lie flat and even. Floss tangling is nearly universal for beginners, since the working thread naturally twists as you stitch, and periodically letting the needle hang freely to untwist, along with cutting shorter working lengths, cuts down on tangles considerably.
Finishing And Framing Your Cross Stitch
Once a cross stitch piece is finished, a bit of care goes into making it look its best before display. Hooping a finished piece for framing, stretching the fabric taut over a backing board before it goes into a frame, keeps the stitching flat and prevents the puckering that can happen if it’s simply laid loose behind glass. Some stitchers prefer a simple frame with a mat, letting the fabric’s edges tuck neatly under the frame’s lip, while others mount finished pieces onto fabric-covered boards for a more textile-forward, unframed display. Gently pressing a finished piece from the back, with a cloth between the iron and the stitching to protect the thread, smooths out hoop marks or fold creases before mounting or framing. Washing a finished piece before framing is worth considering too, especially if it’s been handled a lot during stitching, a gentle hand wash in cool water followed by laying it flat to dry removes any oils or marks picked up along the way without risking damage to the floss colors. Many stitchers keep a small stash of finished pieces waiting to be framed, since framing costs can add up, and there’s no harm in letting a completed cross stitch sit safely stored until you’re ready to commit to a specific frame or display spot for it. Storing a finished piece flat, rolled loosely with acid-free tissue paper rather than folded, protects the stitching from developing sharp creases while it waits for its eventual frame.
Ready to pick out your first cross stitch kit? Browse our Fabric Guides here at Bee’s Quilt Shop for more beginner tips, and check out our embroidery floss and hoops guides to round out your stitching supplies. Explore more Embroidery & Monogramming guides on the blog, or browse our Kits collection to see what is currently available.
Frequently Asked Questions
Should a beginner start with a counted or stamped cross stitch kit?
Stamped kits remove the counting step entirely since the design is pre-printed on the fabric, which some true beginners find far less stressful for a first project. Counted kits give more control and are more common for larger or more detailed designs, so either is a reasonable starting point depending on your comfort level.
What fabric count is best for a beginner?
Fourteen count aida is a common middle-ground choice, offering a reasonable balance between visible detail and manageable finished size. Eleven count, with larger squares, can be even easier to see and is worth considering if you have any concerns about eye strain.
Where do I start stitching on a cross stitch pattern?
Most patterns recommend starting from the center of both the chart and the fabric, then working outward, which helps keep the design centered rather than running out of room on one edge. Finding the center point before making a single stitch is genuinely worth the extra few minutes.
Why does my cross stitch floss keep tangling?
Floss naturally twists as you stitch, and letting the needle hang and spin freely every so often releases that twist before it becomes a knot. Cutting shorter working lengths also helps reduce tangling for most stitchers.
How do I frame a finished cross stitch piece?
Stretching the fabric taut over a backing board before it goes into a frame keeps the stitching flat and prevents puckering. At Bee’s Quilt Shop, we also suggest gently pressing a finished piece from the back, with a cloth between the iron and the stitching, to smooth out any hoop marks first.
This article is intended for general educational and informational purposes only, based on common cross stitch practices. Results vary by skill level, kit brand, and fabric count, so following the specific instructions included with your kit is always recommended. Bee’s Quilt Shop shares this guide as part of our ongoing library of quilting and sewing resources.