Quick answer: Fabric shears are longer, more precisely angled scissors designed specifically for cutting fabric cleanly, unlike household scissors which quickly dull and leave ragged edges. Choosing the right type, size, and weight, and keeping them reserved for fabric only, makes cutting faster and noticeably more accurate.
Fabric shears are one of those tools that seem interchangeable with regular household scissors right up until you try cutting a stack of quilting cotton with a pair that’s been used on paper, and suddenly every cut looks ragged and uneven. A good pair of fabric shears makes cutting faster, more accurate, and honestly just more enjoyable, which matters a lot when cutting is often the least favorite step for a lot of quilters and sewists. This guide covers what actually sets fabric shears apart, the different types available, and how to choose, maintain, and eventually replace a pair that will serve you well for years.
What Makes Fabric Shears Different From Regular Scissors
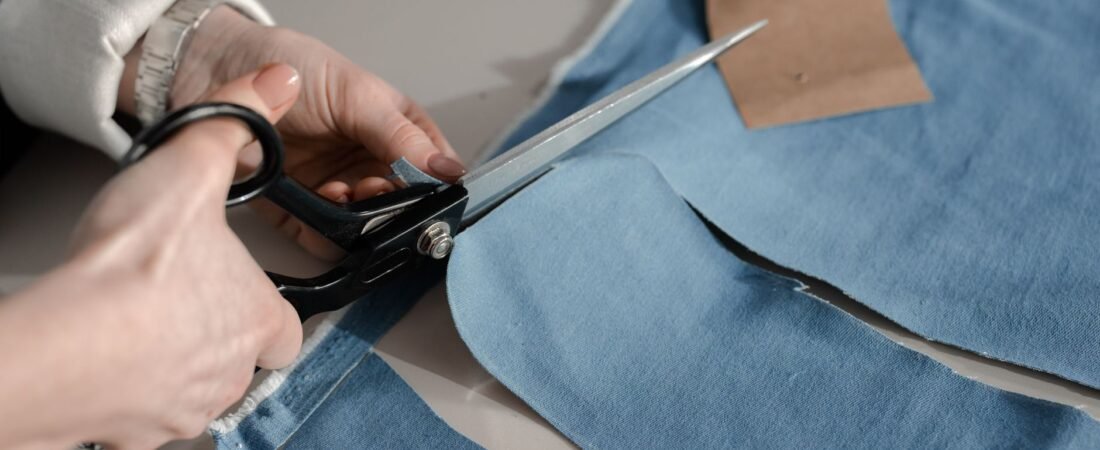
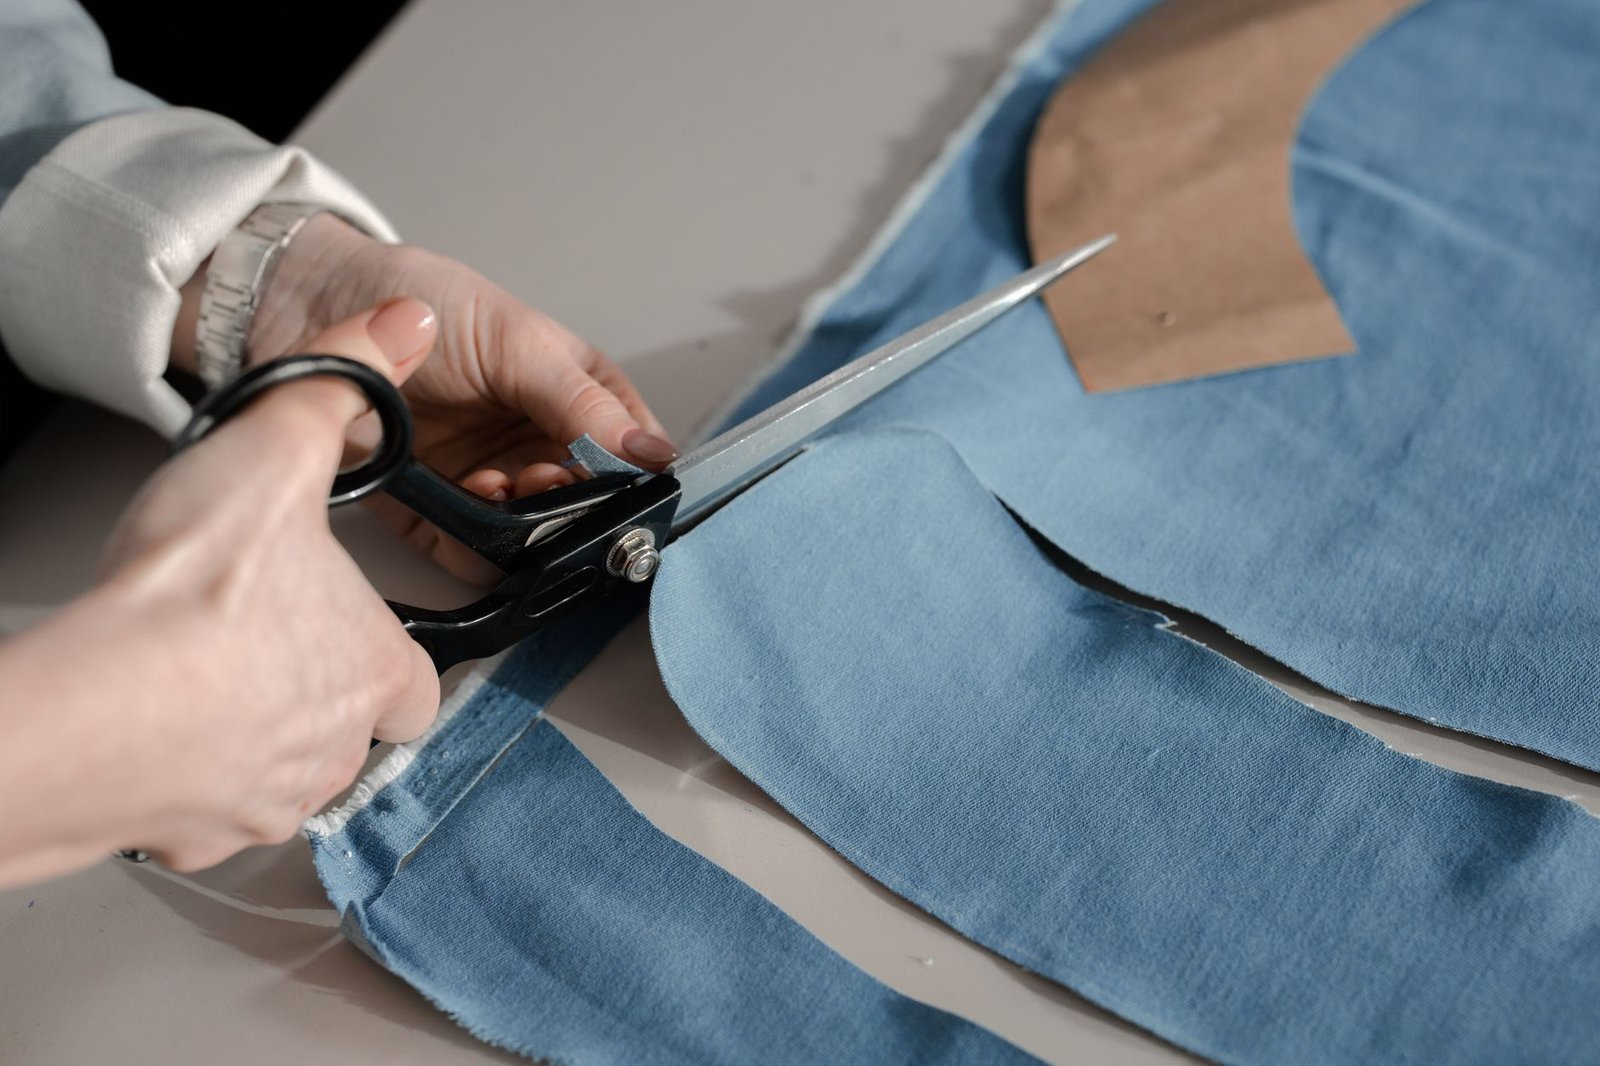
The biggest difference between fabric shears and regular scissors comes down to blade angle, length, and precision, even though they might look similar sitting side by side in a drawer. Fabric shears typically have longer blades than household scissors, which lets you make longer, smoother cuts through fabric without stopping and repositioning constantly, something that matters a lot when you’re cutting long straight edges for garment pieces or quilt backing. The blade angle on quality fabric shears is also ground more precisely, with a beveled edge designed specifically to grip and slice through woven or knit fibers cleanly rather than pushing the fabric ahead of the blade the way a duller or improperly angled edge does. Handle design differs too, with fabric shears often featuring a slightly offset handle that lets the bottom blade rest flat against a cutting table while you cut, keeping fabric flatter and reducing distortion along the cut line. Blade material matters as well, since forged stainless or high-carbon steel holds an edge considerably longer than the stamped, lightweight metal used in most inexpensive household scissors, which is a big part of why a quality pair of fabric shears costs noticeably more than a bargain pair from a general store. Some higher-end shears also use a chrome or titanium coating over the base steel, which adds a bit of corrosion resistance and can help the blades glide more smoothly through fabric over years of regular use.
Types Of Fabric Shears
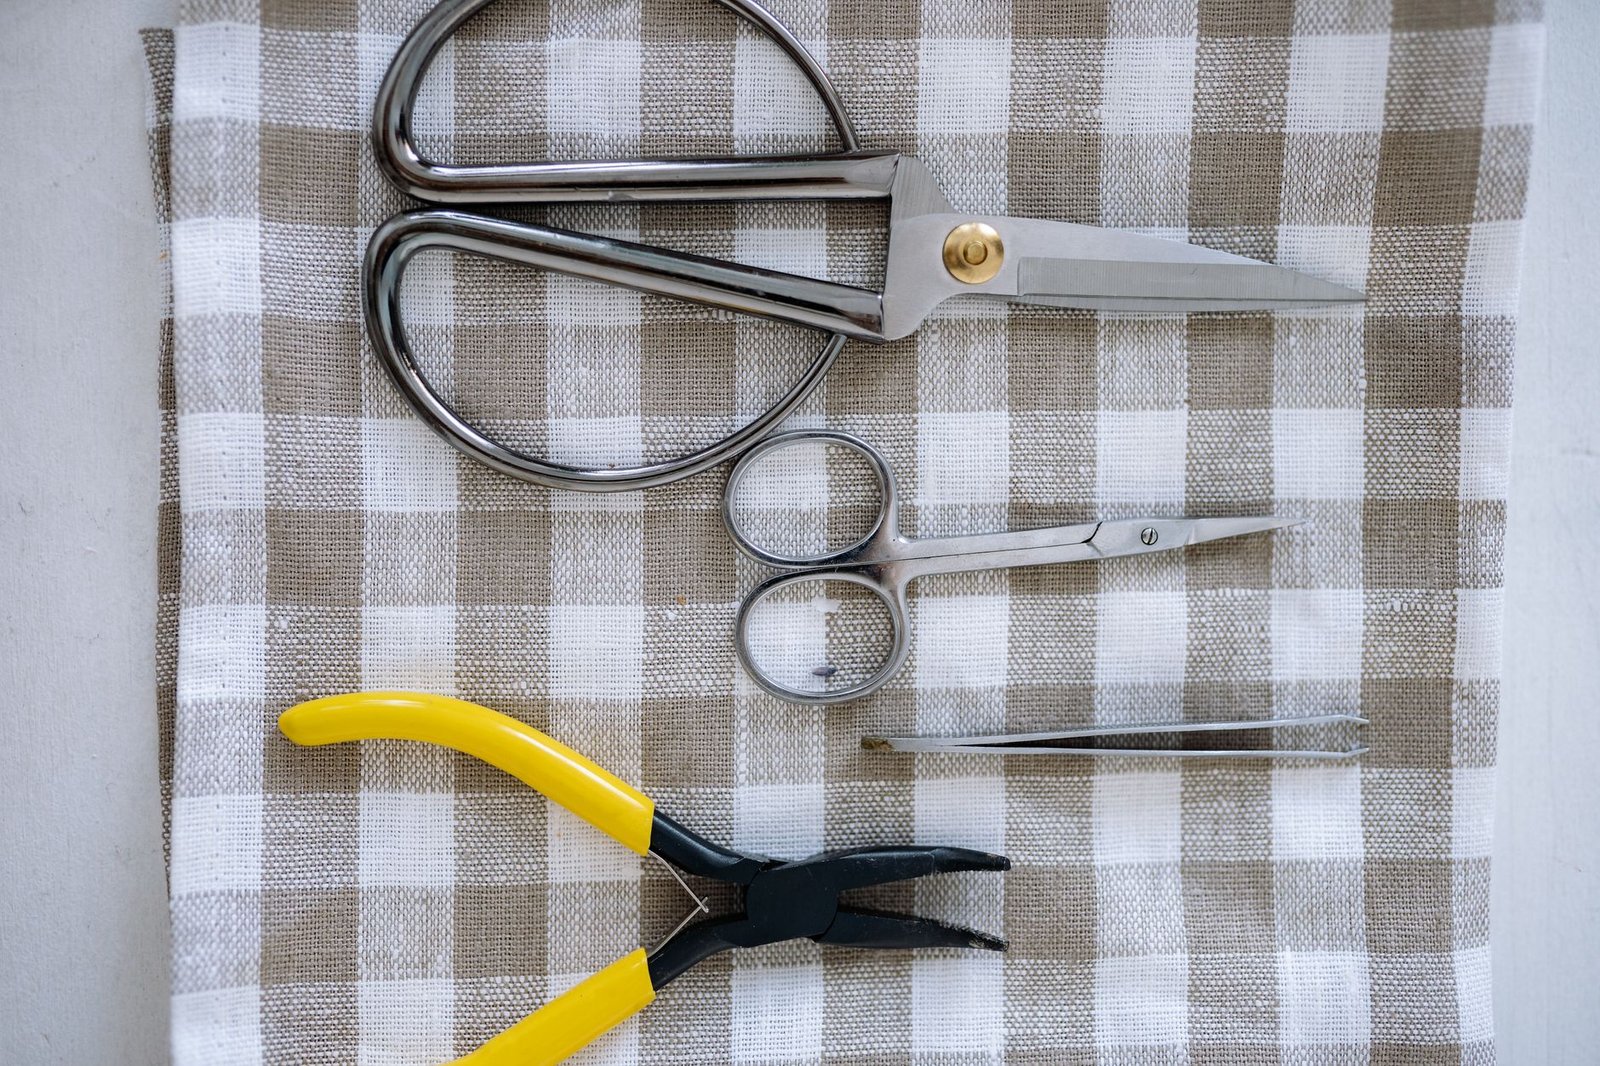
Dressmaker shears are the classic all-purpose choice most sewists reach for first, typically running anywhere from seven to ten inches long and suited to cutting garment patterns and larger fabric pieces with clean, confident strokes. Pinking shears cut a zigzag edge instead of a straight one, which helps prevent fraying on woven fabrics without needing to finish the seam another way, and they’re a popular secondary tool rather than a primary cutting shear for most projects. Small detail scissors, sometimes called embroidery or thread snips, handle the fine work that larger shears can’t manage well, like trimming threads close to a seam, clipping curves and corners, or snipping into tight applique details where a long blade would be clumsy and imprecise. Most well-equipped sewing rooms end up with at least two of these three types, since each genuinely serves a different purpose rather than one simply being a smaller version of another. Duckbill applique scissors, with one wide, rounded blade tip designed to slide safely under a top layer of fabric, round out a fourth common option for quilters who do a lot of applique or reverse applique work and need to trim close to a stitching line without risking a snip through the layer underneath.
Choosing The Right Size And Weight
Choosing the right size and weight of fabric shears depends a lot on your hand size and how much cutting you tend to do in a single sitting. Larger shears, generally eight inches and up, cut through more fabric per stroke and work well for people with larger hands or anyone doing a lot of yardage cutting, but they can feel unwieldy and tiring for smaller hands or shorter, detailed cuts. Lighter weight shears reduce hand fatigue during long cutting sessions, which becomes noticeably important when you’re cutting out an entire quilt’s worth of pieces in one sitting rather than just a quick project. It’s worth actually holding a pair before buying if you can, since the balance and grip comfort vary more between brands and models than the listed size and weight numbers alone would suggest. Some newer fabric shears also add a micro-serrated edge designed to grip slippery synthetic or knit fabric without letting it slide out ahead of the blade, which is worth considering if a lot of your projects move beyond plain quilting cotton into apparel or specialty fabric.
Keeping Fabric Shears Sharp And Reserved For Fabric Only
Keeping fabric shears sharp and reserved for fabric only is probably the single most repeated piece of advice among experienced sewists, and for good reason. Cutting paper, cardboard, or anything other than fabric dulls the blade edge much faster than fabric alone does, which is why many sewing rooms have a firm rule about labeling fabric shears clearly and keeping a separate pair of craft scissors nearby for paper patterns and other materials. Wiping blades down after use and storing them closed or sheathed helps prevent nicks and corrosion, and a light drop of sewing machine oil on the pivot point occasionally keeps the blades moving smoothly against each other. Professional sharpening, rather than a home sharpening tool, tends to preserve the precise factory bevel angle better on higher quality shears, so it’s often worth the cost for a pair you plan to keep using for years. If you regularly carry fabric shears to a class or a quilt guild meeting, a rigid blade guard or a padded travel sheath is a cheap way to protect the tips from getting knocked around loose in a tote bag, since a bent or chipped tip is one of the more common ways an otherwise good pair of shears gets damaged early. Storing shears flat rather than tip-down in a pencil cup or open bin also reduces the chance of an accidental drop, a small habit that adds up to real savings over the life of a good pair of fabric shears.
Left Handed And Ergonomic Options
Left handed and ergonomic fabric shears exist and are worth seeking out specifically if standard right handed shears have always felt awkward or uncomfortable to use. True left handed shears have the blades reversed so the cutting line stays visible to a left handed user, rather than being obscured the way it is when a lefty uses standard right handed scissors, and the difference in visibility and control can be significant once you try a proper pair. Ergonomic handle designs, including spring-assisted models that reduce the hand strength needed to reopen the blades after each cut, can also make a real difference for anyone dealing with hand fatigue, arthritis, or repetitive strain from long cutting sessions. These options tend to cost more than a basic pair, but for anyone who cuts fabric regularly, the comfort improvement is often worth the investment. Trying on a pair before buying, whether in a shop or by asking a fellow quilter at a guild meeting to let you make a few test cuts, is genuinely the best way to know whether a given handle shape and weight actually suits your hand, since specs on a box rarely capture how a pair feels mid-project.
When To Replace Or Sharpen Your Shears
Knowing when to replace or sharpen your fabric shears comes down to paying attention to how they actually perform rather than a fixed schedule. If your shears start snagging fabric, requiring extra force to cut through the same weight of material you used to breeze through, or leaving a slightly frayed rather than clean edge, that’s usually a sign the blades need sharpening rather than replacing outright. Visible nicks along the blade edge, a loose pivot screw that won’t tighten properly, or blades that no longer meet flush along their entire length are signs that professional repair or, in some cases, replacement is worth considering. Many quilters find that a genuinely good pair of fabric shears, cared for properly and sharpened as needed, lasts for many years or even decades, which is part of why investing in a solid pair upfront tends to pay off over the long run at Bee’s Quilt Shop and in most sewing rooms generally.
Ready to upgrade your cutting tools? Explore our Fabric Types and Guides library here at Bee’s Quilt Shop for more sewing room advice, and browse our scissors and cutters collection to see what’s currently available. Explore more Fabric Types & Guides guides on the blog, or browse our Scissors & Cutters collection to see what is currently available.
Frequently Asked Questions
Can I just use regular scissors instead of fabric shears?
You can for a quick, small project, but regular scissors dull faster on fabric and often leave a ragged rather than clean edge, especially on woven cotton. Most quilters find that investing in a dedicated pair of fabric shears makes a noticeable difference in cutting accuracy.
What size fabric shears should a beginner buy?
A mid-size pair, generally around seven to eight inches, tends to suit most beginners well since it balances cutting power with comfortable control. Bee’s Quilt Shop generally suggests holding a pair in person if possible, since hand size affects comfort more than the listed measurement alone.
Why do my fabric shears feel dull so quickly?
The most common cause is using them on paper or cardboard by accident, which dulls the blade edge much faster than fabric alone does. Keeping a separate, clearly labeled pair of craft scissors nearby for non-fabric cutting helps fabric shears stay sharp much longer.
Are pinking shears a replacement for regular fabric shears?
No, pinking shears cut a zigzag edge mainly to reduce fraying and work best as a secondary tool rather than an everyday cutting shear. Most sewing rooms keep both a standard pair for general cutting and pinking shears for finishing edges.
How do I know if my fabric shears need sharpening?
If they start snagging fabric, need extra force to cut through material they used to handle easily, or leave a slightly frayed edge, that usually points to a sharpening need. Visible nicks or a loose pivot are signs it may be time for professional repair instead.
This article is intended for general educational and informational purposes only, based on common sewing room practices. Results vary by brand, fabric weight, and maintenance habits, and normal common-sense handling is always recommended when using any cutting tool. Bee’s Quilt Shop shares this guide as part of our ongoing library of quilting and sewing resources.