Quick answer: A fabric marker comes in several types, including water soluble, air erasable, chalk, and heat erasable, each removed a different way once marking is done. Choosing the right one depends on your fabric’s color and whether you need it for quick marks or a project that might sit unfinished for a while.
A fabric marker seems like a simple enough tool until you actually stand in front of a wall of options at the shop, water soluble, air erasable, chalk, heat erasable, all promising to mark fabric clearly and then disappear without a trace when you’re done with them. Picking the wrong one for a project can mean permanent marks on a finished quilt or garment, which makes understanding the differences between these marker types genuinely worth the few extra minutes it takes. This guide covers the main types of fabric markers, how to choose based on your fabric, and how to test and remove them safely. Getting comfortable with a couple of reliable go-to options, rather than restocking whatever’s cheapest at the checkout counter, genuinely pays off the first time a marking line needs to hold steady through a long, careful piecing session.
Types Of Fabric Markers
Water soluble fabric markers are among the most popular choices for quilting specifically, marking clearly and then washing away completely with plain water once a project is finished. They tend to show up well on most quilting cotton and hold their line through normal handling during piecing or quilting, only disappearing once you actually rinse or spritz the marked area with water, which gives you plenty of working time without worrying about the mark fading prematurely. Air erasable markers work a bit differently, fading away entirely on their own after exposure to air, typically within a day or two depending on humidity and temperature, which makes them convenient for quick marking tasks but risky for any project that might sit unfinished for an extended period. Chalk markers, whether in pencil or powder form, mark fabric with a fine chalk line that brushes or washes away easily, and they’re a longtime favorite for marking quilting lines directly on a finished quilt top since chalk shows up clearly on both light and dark fabric depending on the chalk color chosen. Heat erasable markers use heat, typically from an iron, to make the mark disappear, which is convenient for many projects but does come with the caveat that extreme cold can sometimes cause a heat erased mark to reappear, so it’s not always the most reliable choice for anything meant to endure temperature changes. Friction pens, a specific type of heat erasable marker originally designed for paper, have also become popular in sewing rooms for exactly this reason, since the same friction-generated heat that clears their ink from paper works just as well rubbed briefly against fabric.
Choosing The Right Marker For Light Vs Dark Fabric
Choosing the right marker for light versus dark fabric is one of the most practical decisions you’ll make before starting any marking task, since visibility genuinely affects your accuracy. On light or white fabric, most standard water soluble or air erasable markers, typically in blue or purple, show up clearly without any special consideration needed. On dark fabric, though, those same colored markers can become nearly invisible, which is where white or light-colored chalk markers become essential, since chalk in a pale shade provides the contrast dark fabric needs to make a marking line actually visible while you work. Many quilters keep both a standard colored marker and a white chalk marker on hand specifically so they’re never caught without a visible option regardless of what fabric a project calls for. Testing a marker’s visibility under the same lighting you’ll actually be working in also matters, since a line that looks perfectly clear under bright daylight can be surprisingly hard to follow later under dimmer evening lamp light.
Fabric Markers For Quilting Vs Garment Sewing
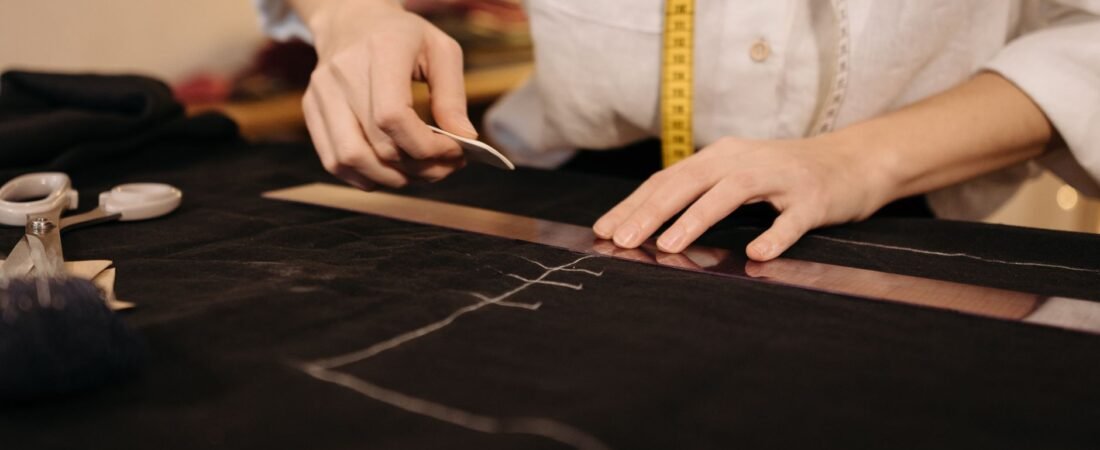
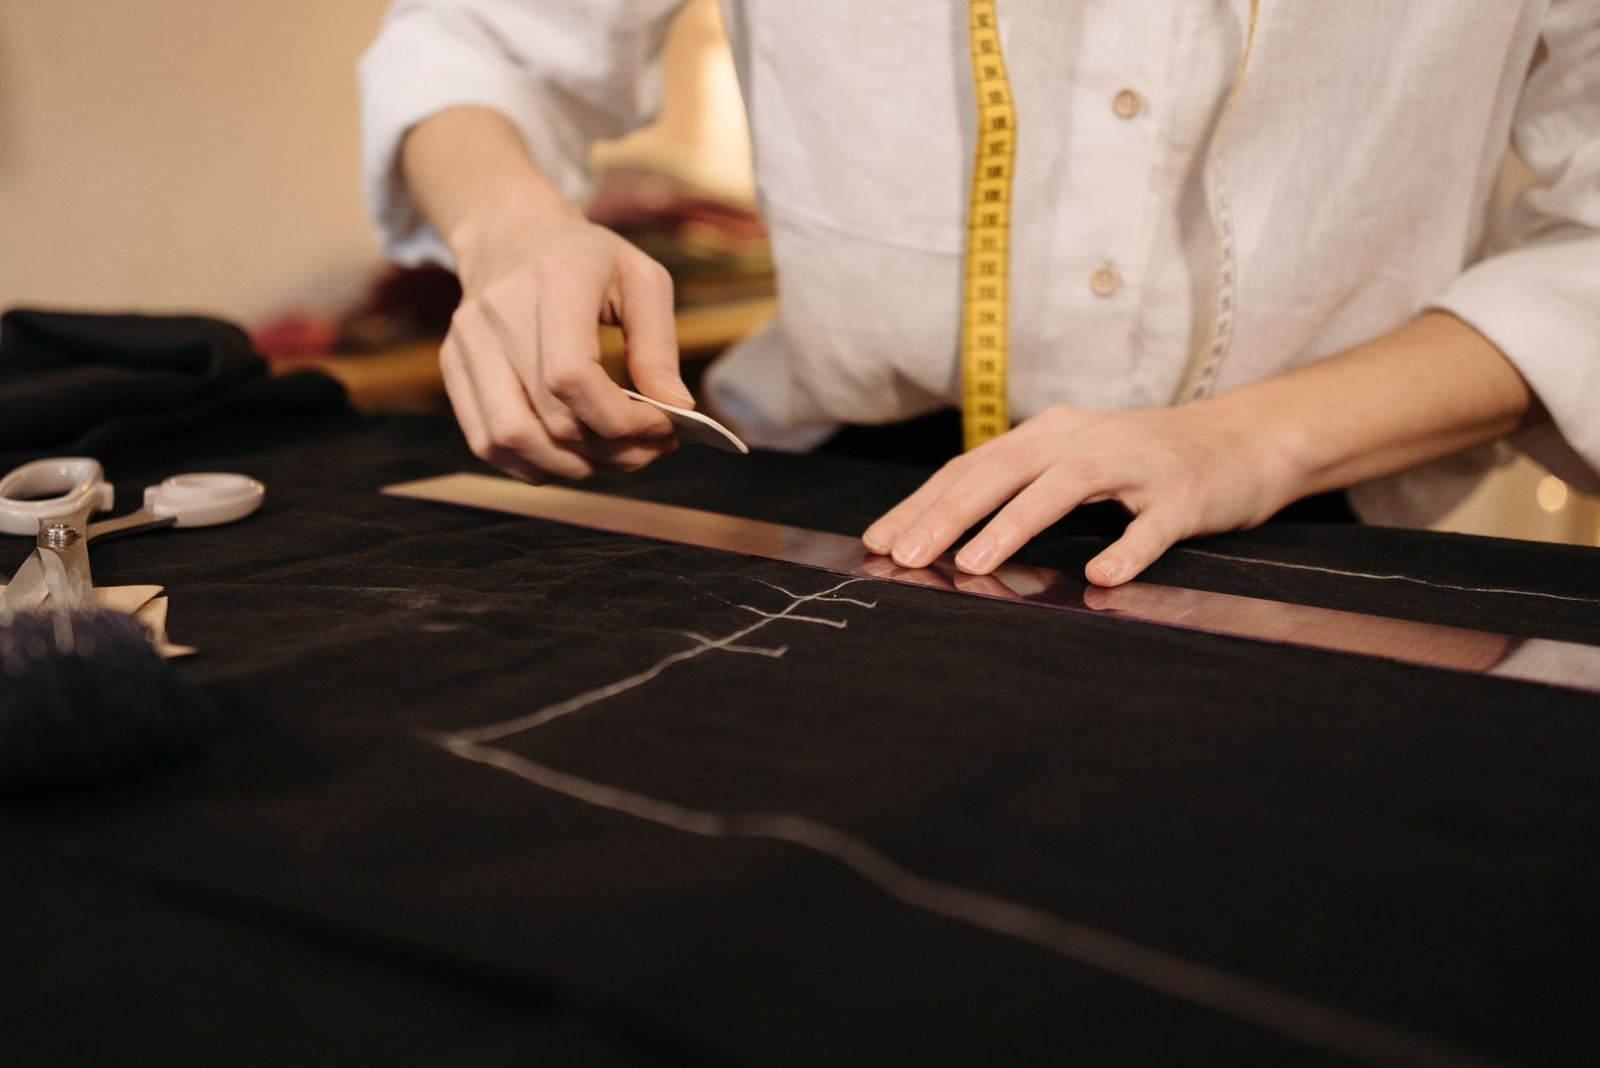
Fabric markers for quilting and garment sewing serve somewhat different precision needs, which is worth considering when choosing a marker for a specific task. Quilting often involves marking long, continuous quilting lines or grid patterns across a large finished top, where a marker needs to hold a visible, consistent line over an extended marking session without smudging or disappearing too soon. Garment sewing frequently calls for more precise, smaller marks, like dart points, buttonhole placement, or pattern notches, where a fine-tipped marker that creates a small, accurate dot or short line matters more than covering a large continuous area. Some markers genuinely serve both purposes well, but many experienced sewists keep a couple of different marker types on hand specifically because the precision needs of quilting and garment construction don’t always overlap perfectly. A fine-tipped marker used to mark a long quilting line, for instance, may need frequent re-marking as the tip wears down faster under sustained pressure, while a broader chalk edge or roller keeps a longer line visible with far less repeated effort.
Testing A Marker Before Using It On Your Project
Testing a marker before using it on your actual project is a step that’s tempting to skip but genuinely worth the extra few minutes every single time, especially with a new fabric or a marker brand you haven’t used before. Marking a small, hidden area of your project fabric, like a corner that will end up in a seam allowance, and then removing the mark using your planned removal method confirms both that the marker shows up as expected and that it actually comes out completely without leaving a ghost of a line behind. This step matters even more with fabrics that have unusual finishes, coatings, or dark saturated dyes, since some fabric and marker combinations behave unpredictably in ways that a quick test can catch before it becomes a problem on a finished piece. Skipping this test is one of the most common reasons quilters end up with a permanent mark they didn’t expect, so building the habit in genuinely pays off. Keeping a small scrap swatch cut from the actual project fabric specifically for testing, rather than grabbing any random scrap from the bin, gives the most accurate read on how a marker will genuinely behave on that exact material.
Removing Fabric Marker Safely
Removing fabric marker safely depends entirely on matching the removal method to the marker type you used in the first place. Water soluble and chalk markers typically wash away with plain cool water, sometimes needing a gentle rub or a quick soak for a more stubborn mark, and using cool rather than hot water helps avoid accidentally setting the mark permanently, since heat can sometimes bond certain marker inks into fabric fibers. Heat erasable markers, as the name suggests, respond to a warm iron, though it’s worth testing on a hidden area first since some fabrics react differently to the heat needed to erase the mark. Air erasable markers generally just need time, fading away on their own, though a light spritz of water can sometimes speed up the process if you’re in a hurry to finish a project. Whatever removal method you use, working from the outside of the marked line toward the center helps prevent smearing the mark further into surrounding clean fabric during the removal process itself.
Storing Fabric Markers So They Don’t Dry Out
Storing fabric markers so they don’t dry out extends their usable life considerably, which matters given how frustrating it is to reach for a marker mid-project only to find it’s dried up. Storing markers horizontally or with the cap firmly and fully seated, rather than loosely capped or standing upright with a gap in the cap, helps prevent air from slowly drying out the tip over time. Keeping markers away from extreme heat or direct sunlight, similar to storing crayons or other wax and pigment-based tools, also helps preserve their consistency and prevents the tip from degrading prematurely. Many sewists at Bee’s Quilt Shop find that a small dedicated pouch or container for marking tools, kept separate from the general notions drawer, both protects the markers and makes them easier to find exactly when a project calls for one. Replacing markers that have dried out rather than trying to revive them with water or solvent is usually the more reliable choice, since a marker that’s already partially dried can leave an inconsistent, patchy line even if it technically still writes.
Ready to mark your next quilting or sewing project? Explore our Notions and Tools library here at Bee’s Quilt Shop for more sewing room advice, and browse our current notions collection to see what’s currently available. Explore more Notions & Tools guides on the blog, or browse our Notions collection to see what is currently available.
Frequently Asked Questions
What fabric marker should I use on dark fabric?
A white or light-colored chalk marker tends to work best since standard blue or purple markers can become nearly invisible on dark fabric. Many quilters keep both a colored marker and a white chalk marker on hand for exactly this reason.
Will a fabric marker mark disappear on its own?
It depends on the type, air erasable markers fade on their own within a day or two, while water soluble markers need water to remove and chalk brushes or washes away. Bee’s Quilt Shop always suggests testing your specific marker before relying on it for a full project.
Is it safe to use a fabric marker on any fabric?
Most fabric markers work well on standard quilting cotton, but testing on a hidden area first is always worth doing, especially with unusual finishes or dark saturated dyes. This helps confirm the mark actually removes completely before it becomes a problem.
Can heat set a fabric marker mark permanently by accident?
Yes, ironing over a water soluble or chalk mark before removing it can sometimes bond the mark into the fabric fibers, so removing marks with cool water before pressing is a safer habit. Heat erasable markers are the one exception, since heat is exactly what removes them.
Why does my fabric marker dry out so quickly?
This usually happens from loose or incomplete capping between uses, so storing markers with the cap firmly seated and away from heat helps extend their life. A dedicated storage pouch also helps keep them from drying out in a busy notions drawer.
This article is intended for general educational and informational purposes only, based on common sewing and quilting practices. Results vary by marker brand, fabric type, and removal method, so testing on a hidden area before starting a full project is always a good idea. Bee’s Quilt Shop shares this guide as part of our ongoing library of quilting and sewing resources.