Quick answer: A Halloween table runner is a small, beginner-friendly sewing project that combines seasonal fabric, basic quilting construction, and optional embellishments like appliqué or decorative trim. Planning size and style before shopping for fabric helps keep the project focused from start to finish.
There’s something genuinely satisfying about pulling out a handmade Halloween table runner every October, a small seasonal ritual that a store-bought version just doesn’t quite replicate. Learning how to make a Halloween table runner is a great entry point into seasonal sewing, since the project is small enough to finish in a weekend but still gives you room to practice real piecing, layering, and finishing skills that carry over into bigger quilting projects down the line. Whether you’re working from a simple pieced design or a single panel of Halloween-themed fabric, the general construction process stays fairly consistent from project to project. This guide walks through planning, fabric selection, basic construction, and seasonal finishing touches, along with how to store your finished runner so it’s ready to come back out again next year. It’s also a nice project to make in multiples, since a coordinating set can dress an entryway table alongside a dining table without needing to plan two completely separate designs from scratch. Bee’s Quilt Shop sees a nice bump in Halloween-themed project interest every fall.
Planning Your Halloween Table Runner
Before cutting a single piece of fabric, it’s worth spending a little time planning what you actually want the finished table runner to look like and how it’ll function on your table. Size is the first practical decision, since a runner needs to fit your specific table with enough overhang on each end to look intentional, typically somewhere between six and twelve inches hanging past the table’s edge on either side, though personal preference and table shape both play into that number. Shape matters too, most table runners are a simple rectangle, but pointed ends, scalloped edges, or a slightly tapered silhouette can add visual interest if you’re comfortable with a bit more construction complexity. General style is worth deciding early as well, whether you’re going for a bold, graphic Halloween look with black and orange prints, a more subdued, elegant look with deep jewel tones, or a whimsical, kid-friendly design with novelty prints, since that decision shapes every fabric choice that follows. Sketching a rough plan, even a simple one, before shopping for fabric helps keep the whole project focused rather than getting pulled in different directions once you’re standing in front of a wall of tempting Halloween prints. It’s also worth thinking about how the runner will be used, whether it needs to survive a busy holiday gathering with food and drinks nearby or whether it’s purely decorative, since that distinction can influence both fabric choice and how much you worry about stain resistance.
Choosing Halloween Fabric And Colors
Choosing fabric and color for a Halloween table runner is genuinely one of the most fun parts of the process, since the season offers such a wide range of prints and palettes to pull from. Classic Halloween colors, black, orange, and purple, remain a reliable starting point and instantly read as seasonal even from across a room, but plenty of quilters branch out into more muted or unconventional palettes, like deep greens and mustards, or a more elegant black and gold combination, for a slightly different take on the holiday. Mixing a large-scale novelty print, like a bold pumpkin or bat design, with smaller coordinating blenders in a matching color family tends to give a runner visual depth without looking chaotic, similar to how coordinating fabric works in any pieced quilting project. If you’re using a single panel print rather than piecing multiple fabrics together, checking that the panel’s dimensions actually work for your intended runner size before cutting is worth confirming early, since panels are printed to a fixed size and can’t be resized the way pieced yardage can. Backing fabric deserves a little thought too, since a busy, patterned backing hides handling marks and stains better over repeated seasonal use than a plain solid, even though it won’t be visible during normal use on the table.
Basic Construction Approach For A Table Runner
The general construction approach for a table runner follows a familiar quilting rhythm, even for a relatively simple project like this one. If you’re piecing the top from multiple fabrics rather than using a single panel, that piecing happens first, following whatever block or strip design you’ve chosen, pressed flat and squared up before moving forward. Layering comes next, sandwiching a thin batting between the pieced or panel top and a backing fabric, basted together to prevent shifting during quilting, much like preparing any small quilt. Quilting the layers together, whether with simple straight lines, a gentle meander, or something more elaborate, adds both visual texture and the structural stability that keeps a table runner looking crisp and flat on a table rather than floppy. Finishing the edges with binding, following the same basic binding process used on a larger quilt, completes the piece and gives it a clean, finished look around every edge, including any pointed or curved details if you opted for something beyond a simple rectangle. Squaring up the runner carefully before attaching binding matters more on a project this size than it might seem, since any unevenness is much more noticeable on a long, narrow shape viewed from across a room than it would be on a larger quilt.
Adding Seasonal Details And Embellishments
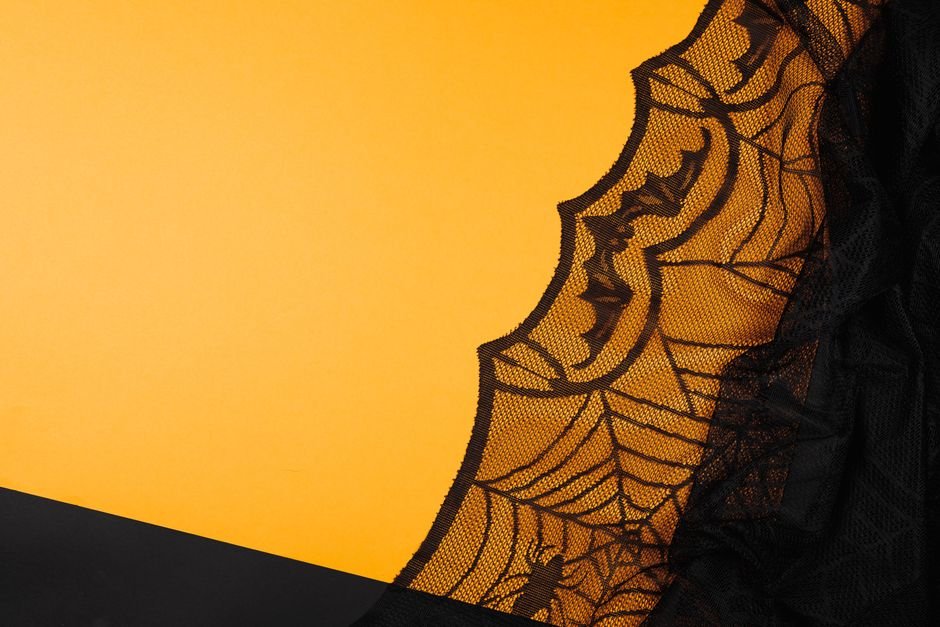
Adding seasonal details is where a Halloween table runner really gets to have some fun beyond the base construction. Appliqué shapes, like a simple pumpkin, bat, or moon cut from felt or cotton and stitched onto the runner’s surface, add a dimensional, handmade touch that a printed fabric alone doesn’t achieve. Decorative trim, including pom-pom fringe, rickrack, or a contrasting piped edge, can dress up the runner’s border and add a bit of textural interest along the finished edge. Quilting motifs offer another avenue for seasonal detail, since choosing a spiderweb, bat, or simple swirl quilting pattern over a basic straight-line quilt job adds a layer of thematic detail that’s subtle up close but reads clearly from across the table. None of these embellishments are required for a finished, functional table runner, but they’re a great way to make a relatively simple project feel more personal and distinctly seasonal if you have a little extra time to spend on it.
Beginner-Friendly Vs More Advanced Table Runner Designs
Table runner projects genuinely range from very beginner-friendly to fairly advanced, and it’s worth being honest about your comfort level before committing to a design. Beginner-friendly designs typically involve a single panel print or simple straight strip piecing, minimal or no appliqué, and straightforward straight-line quilting, all of which keep the skills required manageable for a first seasonal project. More advanced designs might involve pieced blocks with y-seams or set-in points, hand or machine appliqué, curved or pointed edges requiring more careful binding technique, or free motion quilting for custom motifs, any of which add real time and skill demands to the project. There’s no wrong place to start, and many quilters build up to more complex table runner designs over several Halloween seasons rather than attempting an ambitious design on the very first try, gradually adding new techniques as they become more comfortable with the basics.
Caring For And Storing Your Finished Table Runner
Once Halloween has come and gone, taking a little care with how you store your finished table runner helps it come back out looking just as good the following year. Making sure the runner is completely clean and fully dry before storing it away prevents any lingering stains or moisture from setting in or causing mildew over the many months it’ll spend tucked away. Folding it loosely rather than tightly, and avoiding sharp, permanent creases where possible, helps prevent visible fold lines from becoming a permanent part of the fabric’s texture over time. Storing seasonal pieces in a breathable fabric bag or a labeled bin, rather than a sealed plastic bag that can trap moisture, tends to keep fabric in better condition over a long storage period between seasons. A little care at the end of the season is a small investment that pays off every following October when your handmade table runner comes back out looking just as crisp as the day you finished it.
Ready to start your own seasonal sewing project? Explore our Sewing Projects and Patterns library here at Bee’s Quilt Shop for more project ideas, and browse our current fabric collection to see what’s in stock right now. Explore more Sewing Projects & Patterns guides on the blog, or browse our Halloween Fabric collection to see what is currently available.
Frequently Asked Questions
What size should a Halloween table runner be?
It depends on your table, but most runners hang somewhere between six and twelve inches past each end of the table for a proportional, intentional look. Measuring your table first and adding your desired overhang on each side is the easiest way to land on a size.
Can I make a table runner from a single Halloween fabric panel?
Yes, using a single panel print is one of the most beginner-friendly approaches, since it skips the piecing step entirely. Just double check the panel’s printed dimensions work for your intended runner size before cutting into it.
Do I need quilting experience to make a table runner?
Not necessarily, a simple panel-based runner with straight-line quilting is a great low-pressure project for someone newer to sewing. At Bee’s Quilt Shop we suggest starting simple and adding more advanced techniques like appliqué in future seasonal projects.
How do I keep my Halloween table runner from fading each year?
Storing it clean, fully dry, and away from direct sunlight between seasons helps preserve the fabric’s color considerably. Avoiding harsh detergents and high heat when washing also helps keep seasonal prints looking vibrant year after year.
What’s an easy way to add seasonal detail without appliqué?
Choosing a themed quilting motif, like a simple spiderweb or swirl pattern, adds seasonal character through the stitching itself rather than an added embellishment. Decorative trim along the edge, like rickrack or pom-pom fringe, is another simple no-appliqué option.
This article is intended for general educational and informational purposes only, based on common sewing and quilting practices. Results vary by skill level, fabric, and equipment, so adjusting the design to your comfort level is always a good idea. Bee’s Quilt Shop shares this guide as part of our ongoing library of quilting and sewing resources.