Quick answer: Planning a t-shirt quilt starts with counting shirts, choosing between a grid or random layout, and deciding block size before any cutting begins, since these early decisions shape the entire project.
Few sewing projects carry as much emotional weight as this one does. A t-shirt quilt is one of the most rewarding sentimental projects a quilter can take on, transforming a drawer full of shirts that hold real memories, whether from concerts, sports teams, races, or a beloved but worn-out wardrobe, into something you’ll actually use and see regularly rather than something folded away and forgotten in a storage bin for years on end. But before you cut into a single shirt, taking time to plan your overall layout pays off enormously in how polished and intentional the finished quilt ends up feeling once it’s complete and in regular, everyday use around the house. Rushing straight to cutting without a clear plan tends to produce a jumbled, disorganized-looking result, even when every individual shirt holds real sentimental value on its own considerable merits. This guide covers deciding how many shirts you need, choosing between a grid or random layout, deciding on block size for your shirts, choosing a backing and border style, sorting and grouping shirts by color or theme, and planning a realistic timeline for the whole project. At Bee’s Quilt Shop, t-shirt quilt planning conversations are some of our favorites, since every single project tells a genuinely personal story worth taking the time to plan out carefully from the start.
Deciding How Many Shirts You Need
Figuring out how many shirts you actually need starts with deciding on your target finished quilt size, since that determines how many blocks you’ll need to fill the space comfortably without an awkward, unbalanced layout near the edges. A twin-size t-shirt quilt typically requires somewhere around 20 shirts, assuming a moderate block size, while a larger queen or king-size project naturally requires considerably more shirts to fill the same proportionally larger grid of blocks. If you don’t have quite enough meaningful shirts to fill your desired size, filling gaps with coordinating solid or printed fabric blocks is a common and visually effective solution that doesn’t compromise the sentimental core of the project or feel like an obvious patch job to anyone looking closely at it.
Choosing A Layout: Grid Vs Random Placement
Choosing between a grid layout and a more random, scattered placement is one of the biggest early decisions shaping the quilt’s overall visual character and how much careful planning the layout stage will actually require of you. A grid layout arranges shirt blocks in clean, even rows and columns, producing an organized, uniform look that reads as intentional and polished, and it’s generally easier for a first-time t-shirt quilt maker to plan and execute successfully without a lot of trial and error along the way. A random layout scatters blocks more organically across the quilt top, creating visual movement and energy, but it requires more careful planning around color and value balance to avoid looking chaotic or unbalanced once fully assembled and viewed as a complete whole from across a room.
Deciding On Block Size For Your Shirts
Deciding on block size for your shirts involves balancing how much of each shirt’s graphic you want to showcase against the total number of shirts you’re working with and the finished size you’re ultimately hoping to reach. A 12 to 14 inch square block comfortably captures most standard shirt graphics without excessive cropping around the important edges of a design element. Larger blocks around 16 to 18 inches showcase bigger designs, like full-back prints or an oversized team logo, more completely and with much greater visual drama and impact. Smaller blocks let you fit more shirts into a given finished size, which matters if you’re working with a genuinely large shirt collection and a firm size constraint on the final quilt you’re planning to make for a specific bed or room.
Choosing A Backing And Border Style
Choosing a backing and border style rounds out your major planning decisions before any actual cutting begins on the shirt fabric itself. Soft, breathable cotton backing keeps the quilt lightweight and easy to wash regularly, while minky or fleece backing adds significant extra coziness at the cost of slightly trickier handling during the quilting stage due to its added stretch and thickness. A simple, understated border in a solid coordinating color generally works better than a busy print, since the shirt graphics themselves already provide plenty of visual interest without competing border patterns pulling focus away from the sentimental content at the center.
Sorting And Grouping Shirts By Color Or Theme
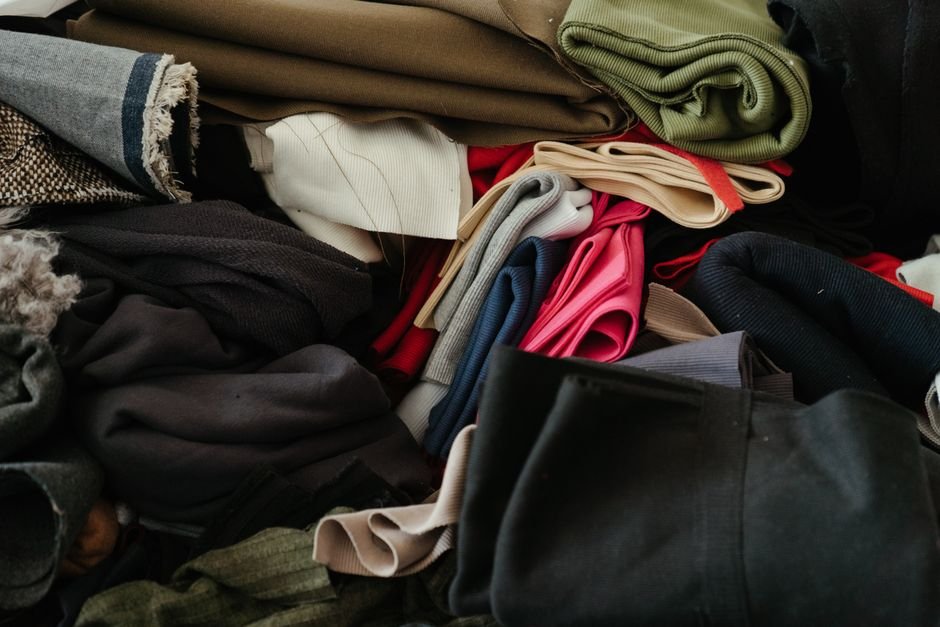
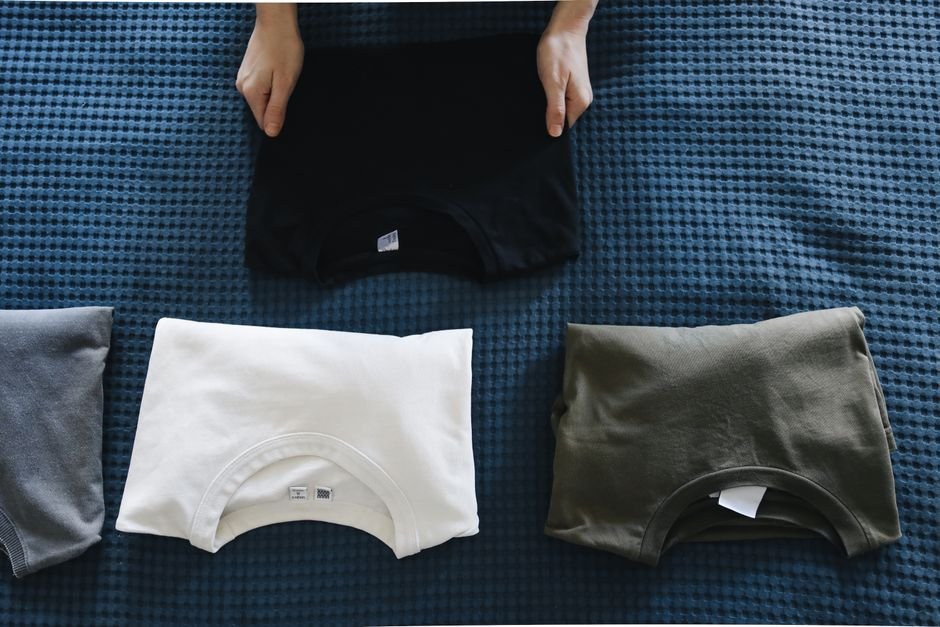
Sorting and grouping your shirts by color family or theme before finalizing your layout catches potential color imbalances while they’re still genuinely easy to fix without unpicking any finished seams later. Laying every candidate shirt out on the floor in your chosen layout, even quite roughly at first, reveals whether certain colors cluster awkwardly in one area or whether a particularly bright or dark shirt disrupts the overall visual balance you’re going for across the whole quilt. This step takes relatively little time but prevents a much more frustrating mid-project realization that your layout needs significant rework after you’ve already started cutting into shirts you can’t easily replace or find again.
Planning A Timeline For A T-Shirt Quilt Project
Planning a realistic timeline for a t-shirt quilt project helps manage expectations, especially since working with stretchy knit fabric generally takes longer per block than standard quilting cotton would, due to the extra stabilizing steps involved along the way. Between stabilizing, cutting, and piecing each shirt block, plus the standard layering, quilting, and binding stages every quilt requires regardless of the fabric type used throughout, a t-shirt quilt of moderate size typically represents several full weekends of focused work for someone already comfortable with basic piecing techniques. Building in some genuine buffer time beyond your initial estimate, especially for a gift with a specific deadline attached to it, helps keep the entire project feeling enjoyable rather than rushed and stressful as the date steadily approaches. Breaking the project into distinct sessions, one focused purely on stabilizing and cutting and another dedicated entirely to piecing, tends to feel far more manageable than trying to power through every stage in a single long sitting at the machine. Many makers find that spacing the layout and cutting stage a full day apart from the actual piecing session helps them catch layout issues with genuinely fresh eyes before anything is permanently sewn together. Photographing the finished layout on the floor before you start sewing also gives you a reliable reference to return to if any blocks get shuffled or mixed up partway through the piecing process. Keeping this photo easily accessible on your phone throughout the entire project removes a surprising amount of stress from an otherwise complex, emotionally meaningful undertaking involving irreplaceable shirts you can’t simply replace if something goes wrong. Enlisting a family member to help with the initial floor layout decision, especially when the shirts represent shared memories, often makes the finished quilt feel like a genuinely collaborative gift rather than one person’s individual project alone. Many makers find that this early collaborative step also helps surface stories and context behind specific shirts they hadn’t originally known about, adding even more meaning to the finished piece once it’s complete and ready for use. Setting a modest, realistic budget for any additional fabric, backing, or batting purchases before you start also prevents an unpleasant surprise partway through, since t-shirt quilts sometimes require more supplementary yardage than makers initially expect once the actual layout is finalized on the floor. Planning this cost alongside the timeline, rather than as an afterthought, keeps the whole project feeling manageable and genuinely enjoyable from start to finish rather than stressful near the end. A little upfront planning across every one of these decisions consistently makes the difference between a t-shirt quilt that feels genuinely polished and one that feels rushed, regardless of how many total hours actually went into the cutting, piecing, and sewing itself, or how many individual weekends the whole project ultimately stretched across before that very last binding stitch was finally tied off, trimmed, and pressed neatly flat into place for good.
Ready to start planning your t-shirt quilt layout? Browse our Sewing Projects and Patterns for more project ideas, or explore our Patterns collection to see what’s currently available.
Frequently Asked Questions
How many t-shirts do I need for a full quilt?
A twin-size t-shirt quilt typically needs around 20 shirts, though the exact count depends on chosen block size and how much of each shirt design you include.
Should I use a grid layout or a random layout?
A grid layout gives a clean, uniform look and is easier for beginners, while a random layout adds visual movement but requires more planning to balance colors.
What block size works best for t-shirt quilts?
A 12 to 14 inch square block is common, since it comfortably fits most shirt graphics while keeping the overall quilt a manageable size to piece.
What backing works well for a t-shirt quilt?
Soft cotton or minky backing both work well, with minky adding extra coziness, though it requires slightly different handling during quilting than standard cotton.
How should I group shirts before cutting into them?
Sorting shirts by color family or theme first, then laying them out on the floor in your chosen layout, helps catch color imbalances before any cutting starts.
This article is intended for general educational and informational purposes only, based on common quilting practices. Shirt counts and sizing vary by project size and shirt style. Bee’s Quilt Shop shares this guide as part of our ongoing library of quilting and sewing resources.