Quick answer: A Halloween banner is a quick seasonal sewing project made from small strung pieces, like triangular pennants, bunting shapes, or fabric letters, in coordinating Halloween prints. It comes together faster than larger projects and is a great way to use up fabric scraps.
A fabric Halloween banner is one of those small seasonal projects that delivers a lot of visual impact for a relatively modest time investment, which is exactly why it’s become such a popular quick sew for so many crafters every fall. Unlike a full quilt or even a table runner, a Halloween banner is typically made up of several small individual pieces, whether triangular pennants, simple bunting shapes, or fabric letters spelling out a seasonal word, strung together along a length of ribbon or trim. That smaller scale makes it a genuinely approachable project for using up fabric scraps, testing out a new technique on a low-stakes piece, or getting a seasonal decorating project finished in an afternoon rather than a weekend. This guide walks through choosing a banner style, fabric and trim options, basic construction, and how to display and store your finished piece. It’s also a great pattern to keep around, since once you’ve made one banner, adjusting the same basic construction for other holidays throughout the year becomes a quick, repeatable process worth reusing again and again. Bee’s Quilt Shop sees Halloween banners come up often as a fun, fast seasonal project worth revisiting every year.
Why A Fabric Halloween Banner Is A Fun Seasonal Project
Part of what makes a Halloween banner such an appealing project is how quickly it comes together compared to larger seasonal sewing, since each individual piece is small and the overall design doesn’t require the layering, quilting, and binding steps a table runner or quilt would need. It’s also a genuinely forgiving project for trying something new, whether that’s a first attempt at appliqué, a new fabric combination, or simply using up smaller fabric scraps left over from other projects that aren’t quite big enough for anything larger. Because a banner hangs rather than lies flat, it also offers a slightly different design opportunity than other seasonal sewing, letting shapes, colors, and textures play off each other in a way that’s visible clearly from across a room rather than up close on a table. For many sewists, a banner becomes a yearly tradition project, something quick enough to make time for even during a busy October, and satisfying enough to look forward to hanging each season. It’s also a genuinely nice project to make alongside kids or beginner sewists, since the small, low-stakes pieces make it easy to hand off part of the process without worrying much about a costly mistake.
Choosing A Banner Shape And Layout
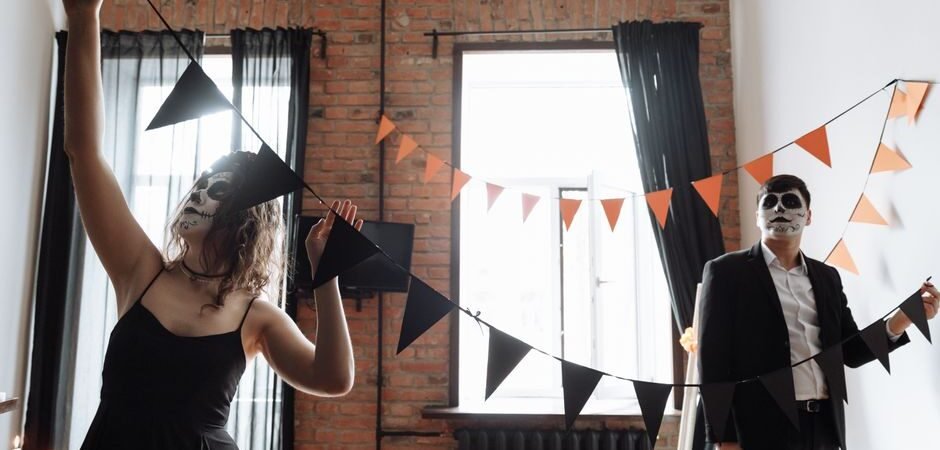
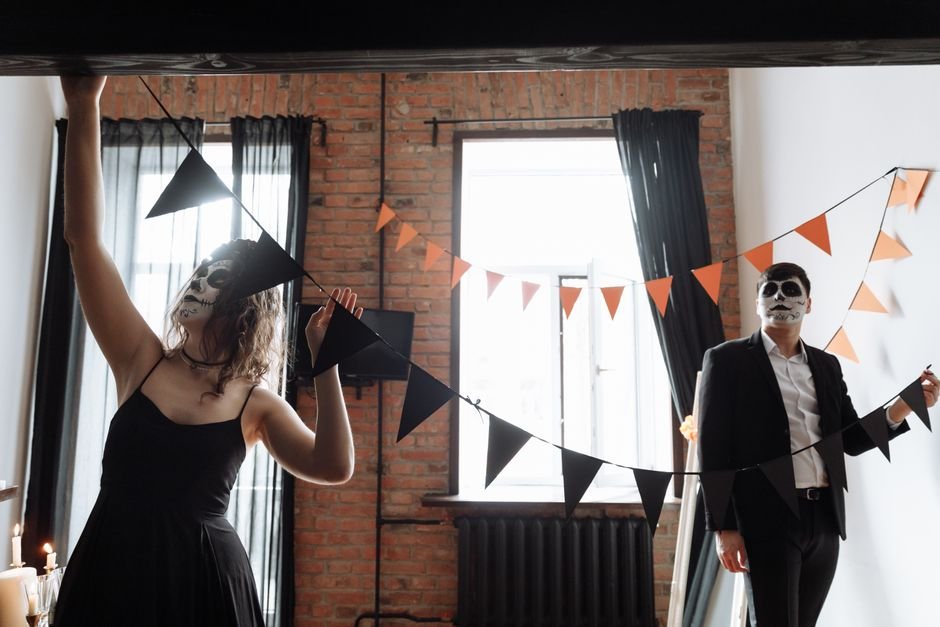
Choosing a banner shape and layout is one of the first fun decisions in planning a Halloween banner, and each style brings a slightly different look. Pennant-style banners use triangular flags strung in a row, offering a classic, slightly playful bunting look that reads well from a distance and is relatively simple to construct, since each pennant is just two mirrored fabric triangles sewn together. Bunting-style banners often use rounded, scalloped, or flag-shaped pieces instead of sharp triangles, giving a softer, sometimes more whimsical look that pairs nicely with a kid-friendly Halloween theme. Letter banners spell out a seasonal word, like “BOO” or “HAPPY HALLOWEEN,” with each fabric letter as its own strung piece, offering a fun, personalized statement piece that works especially well as a focal point over a mantel or doorway. There’s no single correct layout, and the choice really comes down to personal style and how much time you want to spend, since letter banners in particular can take a bit longer given the more detailed cutting each letter shape requires.
Fabric And Trim Choices For Halloween Banners
Fabric and trim choices for a Halloween banner offer plenty of room for creativity, since the small scale of each piece makes it easy to mix several different prints without things feeling overwhelming. Coordinating a handful of Halloween-themed prints, in classic colors like black, orange, and purple or a more modern palette, gives each pennant or letter its own personality while still reading as a cohesive set from a distance. Felt is a popular material choice for banners specifically because its edges don’t fray, which means pennants or letters can be cut and used without any hemming or edge finishing at all, a genuine time-saver for a quick project. Trim options add another layer of seasonal detail, including pom-pom fringe along the bottom edge of each pennant, contrasting piping, or even small bells or charms stitched to the corners for a bit of movement and texture when the banner hangs. Because each individual piece is small, it’s also a great opportunity to use higher-cost or special fabric you might not want to commit to a larger project, since a banner only needs small cuts of each print to make a real visual impact.
Basic Banner Construction Approach
The basic construction approach for most fabric Halloween banners follows a similar general process regardless of the specific shape chosen. Each individual piece, whether a pennant, bunting shape, or letter, typically gets cut in pairs and sewn right sides together around the edges, leaving an opening for turning the piece right side out, then pressed flat once turned. A layer of lightweight interfacing or a thin batting sandwiched inside each piece adds a bit of body and structure, helping pennants and letters hold their shape rather than flopping limply once hung. Once each piece is finished, they’re strung together along a length of ribbon, twill tape, or bias binding, either by sewing a small casing at the top of each piece for the trim to pass through, or by simply stitching each piece directly onto the length of trim at evenly spaced intervals. Spacing the pieces evenly and leaving enough plain trim at each end for hanging or tying are both worth planning out before you start attaching pieces, since it’s much easier to adjust spacing before everything is permanently stitched down.
Hanging And Displaying Your Finished Banner
Hanging and displaying a finished Halloween banner is part of the fun, and there’s a lot of flexibility in how and where it works well. Indoors, a banner drapes nicely across a mantel, along a staircase railing, over a doorway, or as a backdrop behind a dessert table for a Halloween gathering, with small removable hooks or command strips typically enough to hang it without damaging walls or trim. Outdoors, a banner can dress up a porch or entryway, though it’s worth considering fabric durability and weather exposure if it’ll be hanging outside for an extended period, since sun and moisture can fade colors or weaken stitching over time compared to an indoor-only display. Adjusting the length of ribbon or trim at each end lets you customize how the banner drapes for different spaces, whether you want a tight, straight hang or a looser, swagged look. Because banners are lightweight and simple to hang, many sewists enjoy moving the same piece between a few different spots throughout the season rather than committing it to just one location.
Storing A Banner For Next Halloween
Storing a Halloween banner properly between seasons helps it come back out looking just as good the following year. Making sure each piece is clean and completely dry before packing it away prevents any lingering moisture from causing mildew or musty odors over the months in storage. Rolling the banner loosely around a cardboard tube or gently folding it with minimal sharp creases, rather than balling it up or folding it tightly, helps prevent permanent crease lines or a crushed, flattened look to any dimensional pieces like pom-pom trim. Storing it in a breathable bag or a labeled bin, away from direct sunlight and extreme temperature swings in an attic or garage, tends to preserve both the fabric’s color and any structural pieces like interfacing far better than a sealed plastic bag would. A few extra minutes of careful storage each November is a small effort that pays off every following October when the banner comes right back out looking just as fresh and ready to hang as the day you finished sewing it.
Ready to sew a quick seasonal decoration? Explore our Sewing Projects and Patterns library here at Bee’s Quilt Shop for more project ideas, and browse our current fabric collection to see what’s in stock right now. Explore more Sewing Projects & Patterns guides on the blog, or browse our Halloween Fabric collection to see what is currently available.
Frequently Asked Questions
What’s the easiest Halloween banner style for a beginner?
Pennant-style banners are typically the simplest, since each piece is just two mirrored triangles sewn together with no complex cutting involved. Letter banners look impressive but take more time due to the detailed shape of each letter.
Can I make a Halloween banner without a sewing machine?
Yes, especially if you use felt, since its edges don’t fray and pieces can be cut and assembled with fabric glue or hand stitching instead of a machine. This makes it a nice project for beginners or for sewing with kids.
How many pennants or letters do I need for a banner?
It depends on the width you want the finished banner to span and how big each piece is, so measuring your intended display space first helps you plan piece count and spacing. At Bee’s Quilt Shop we suggest laying pieces out along your trim before sewing to confirm spacing looks right.
What trim works best for hanging a fabric banner?
Ribbon, twill tape, and bias binding are all popular choices, generally chosen based on how sturdy and how visually prominent you want the hanging trim to be. A wider trim tends to hold heavier or larger pieces more securely than a thin ribbon.
Can a fabric Halloween banner be used outdoors?
It can, though sun exposure and moisture may fade colors or weaken stitching faster than an indoor-only display would. If you plan to hang it outside for an extended period, choosing a sturdier fabric and checking on it periodically is a reasonable precaution.
This article is intended for general educational and informational purposes only, based on common sewing and quilting practices. Results vary by skill level, fabric, and equipment, so adjusting the design to your comfort level is always a good idea. Bee’s Quilt Shop shares this guide as part of our ongoing library of quilting and sewing resources.