Quick answer: Quilting stencils are templates with cut channels or printed designs that let you mark quilting lines evenly onto a quilt top before stitching. You place the stencil, trace through it with a removable marking tool, then follow the marked lines by hand or machine, testing your marker on scrap fabric first so it washes or erases cleanly.
Quilting stencils have helped quilters create even, consistent designs for generations. Whether you dream of flowing feathers, neat cables, or crisp geometric grids, a stencil gives you a guide to follow so your quilting looks planned and polished. They’re especially helpful for quilters who feel nervous about freehand designs, and they’re useful for experienced quilters who want perfect repeats across a border or block.
This guide focuses on how to use quilting stencils, the method side of the process. We’ll explain what stencils are for, the main types, and how to transfer a design onto your quilt top. We’ll cover marking tools and testing for removal, using stencils for hand quilting versus machine quilting, and keeping lines even across a large quilt. We’ll also cover a topic many guides skip: cleaning and storing stencils so they last. For help choosing a design, our companion guide on choosing quilt stencils covers design selection. At Bee’s Quilt Shop, stencils were a favorite tool for quilters building confidence.
What Quilting Stencils Are For
A quilting stencil is a template used to mark quilting lines onto a quilt top before you stitch. It shows you exactly where to quilt, so your designs are consistent and evenly spaced. Instead of drawing a design freehand or relying on your eye, you trace the stencil, then follow those marks with your needle.
Stencils are especially helpful for repeating designs, like a border that runs around a whole quilt or a motif that appears in every block. They help you keep spacing even and shapes consistent, which can be hard to do freehand. They’re also useful for learning, since following a marked line helps you practice smooth, controlled stitching. Many quilters use stencils for traditional designs like feathers and cables, as well as modern geometric patterns. Stencils don’t stitch the design for you, but they give you a clear roadmap. For quilters who love a planned, polished look, they can be a valuable part of the toolkit, and they work with any quilting method.
Types Of Quilting Stencils
The most common type of quilting stencils is the plastic cut-out stencil. These are made from thin, durable plastic with narrow slots or channels cut into the design. You place the stencil on the fabric and trace through the channels with a marking tool, creating a dashed or continuous line. They’re reusable and come in many designs and sizes.
Flexible template sheets are another type. These may be thin plastic, vinyl, or paper with a printed design, and some quilters use them to trace designs onto fabric with a light box or by tracing around shapes. Adhesive or stick-on designs are a third option. These are printed or cut designs that stick temporarily to the quilt top, and you stitch along or around them, then peel them away. Some quilters also use printed tear-away paper, stitching through the paper and then tearing it off. Each type has advantages, and the right one depends on your design, fabric, and quilting method. Many quilters keep a few types on hand for different projects.
How To Transfer A Stencil Design Onto A Quilt Top
To transfer a stencil design, start by pressing your quilt top so it’s smooth and flat. Many quilters mark before basting, while the top is easy to lay flat on a firm surface, though some prefer to mark after basting. Decide which works best for your marking tool and project.
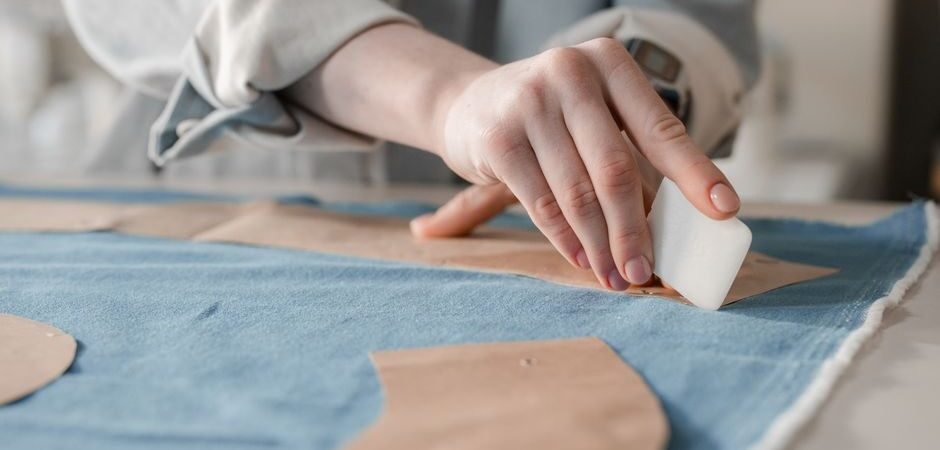
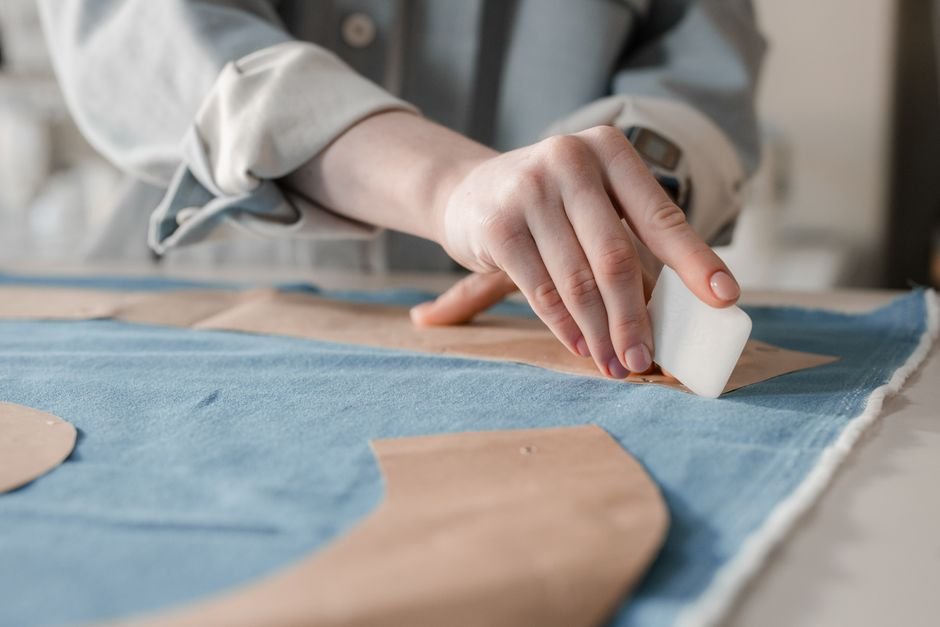
Position the stencil where you want the design, using registration marks or guidelines on the stencil to align it with seams or block edges. Hold it in place with your hand, weights, or a bit of low-tack tape. Then trace through the channels with your chosen marking tool, using light, steady strokes. Some quilters use a pounce pad, which is filled with chalk powder. You rub it over the stencil, and powder passes through the channels to create a dotted line. For continuous designs, move the stencil along and realign it carefully, matching the end of one section to the start of the next. Work methodically so the marks stay clear and don’t smudge as you move.
Marking Tools And Testing For Removal
Choosing the right marking tool matters because the marks need to be visible while you quilt and removable afterward. Common options include chalk pencils, chalk powder for pounce pads, water-soluble pens, and heat-erasable pens. Each behaves differently, and removal can vary depending on the fabric, the marker, and how long the marks stay on the quilt.
That’s why testing is so important. Before marking your quilt, test the tool on a scrap of the same fabric. Mark a line, leave it for as long as you expect the marks to stay on the quilt, then remove it using the method recommended for that tool. Check that the mark disappears completely. Some heat-erasable marks can reappear in cold temperatures, and some water-soluble marks can become harder to remove if exposed to heat from an iron. Following the manufacturer’s directions helps. Our guides to fabric markers and fabric chalk cover these tools in more detail.
Using Stencils For Hand Quilting Vs Machine Quilting
Stencils work for both hand and machine quilting, but you follow the lines a little differently. Hand quilters stitch slowly along the marked line, taking small, even stitches. Because hand quilting is gradual, marks need to last for the time it takes to finish the quilt, so a durable but removable marker is helpful. Many hand quilters mark sections as they go to avoid marks fading or rubbing off.
Machine quilters follow marked lines with a walking foot for gentle curves and straight lines, or with free-motion quilting for more complex designs. Continuous-line stencils are especially helpful for machine quilting, since they let you stitch long sections without stopping and starting. Machine quilting moves faster, so marks don’t need to last as long, but they do need to be clearly visible under the machine’s light. Choose a marking color that contrasts with your fabric. Whether by hand or machine, follow the line smoothly and keep your speed steady for the most consistent results.
Cleaning And Storing Quilting Stencils
Here’s a topic many guides skip: taking care of your quilting stencils so they last. After use, gently wipe plastic stencils with a damp cloth to remove chalk or marker residue. Some quilters use mild soap and water for heavier residue, then let the stencil dry completely before storing it. Avoid harsh cleaners or hot water, which can warp or damage the plastic.
Storage matters too. Store stencils flat, ideally in a folder, binder sleeve, or large flat box, so they don’t bend or crack. Hanging them on hooks through a corner hole is another option some quilters use. Keep them away from heat and direct sunlight, which can warp plastic over time. Label or organize them by design type or size so you can find what you need quickly. Adhesive designs should be stored according to the package directions so they keep their stickiness. Well-cared-for stencils can last for many years and many quilts, making them a worthwhile investment for any quilter.
Keeping Lines Even Across A Large Quilt
Keeping lines even across a large quilt takes planning. Start by finding the center of the quilt and marking it, since working from the center outward helps keep designs balanced. Use the registration marks on your stencil to line it up with seams, block edges, or a chalk guideline you draw first.
For borders, measure the length and plan how many repeats of the design will fit. Some quilters adjust spacing slightly at the corners or the middle to make the design fit evenly. Mark a few repeats first and check them before marking the whole border. Use a long ruler to check alignment periodically. If marks fade before you quilt, mark in sections as you go. Keep the quilt top flat and smooth while marking, since wrinkles can distort the design. Taking time to plan and check makes a big difference in how polished the finished quilting looks, especially on a large quilt where small errors can add up.
Stencils make even, polished quilting easier for everyone, and Bee’s Quilt Shop has more guides to help. Explore our Notions and Tools section, learn about quilting pantographs for edge-to-edge designs, or browse the Notions collection for marking tools.
Frequently Asked Questions
How do you use a quilting stencil?
Place the stencil on your pressed quilt top, trace through the channels with a removable marker, and then quilt along the marked lines. Test the marker on scrap fabric first.
What is the best marker for quilting stencils?
It depends on your fabric and how long the marks need to last. Chalk, pounce powder, water-soluble pens, and heat-erasable pens all work, so test them on scraps.
Do I mark the quilt before or after basting?
Many quilters mark before basting because the top lies flat on a firm surface. Others mark after basting, so choose what works best for your tools and project.
Can I use stencils with a sewing machine?
Yes, machine quilters follow marked lines with a walking foot or free-motion quilting. Continuous-line stencils are especially helpful for machine work.
How do I clean quilting stencils?
Wipe them gently with a damp cloth or mild soap and water, then let them dry flat. Bee’s Quilt Shop always suggested storing stencils flat so they don’t bend or crack.
This article is intended for general educational and informational purposes only and reflects common quilting practices. Marking tools and removal methods vary by manufacturer and fabric, so always test first. Results vary by skill level, fabric, and equipment. Bee’s Quilt Shop shares this guide as part of our ongoing library of quilting and sewing resources.