Quick answer: A bargello quilt is a strip-pieced design that creates a wave-like, flowing visual movement through color gradation and offset cutting, named after a similar effect in bargello needlepoint. The technique relies on consistent strip width and a smooth color gradient rather than complicated piecing itself.
A bargello quilt has a way of stopping people in their tracks at a quilt show, that rippling, almost optical illusion effect of color flowing across the surface looks far more complicated to make than it actually is once you understand the technique behind it. Named after bargello needlepoint, a much older embroidery style that uses the same wave-like color movement, this quilting technique translates that flowing effect into strip-pieced fabric with genuinely striking results. This guide covers what a bargello quilt actually is, how that signature movement gets created, and how to approach your first bargello project. Once you see the underlying logic laid out clearly, a bargello quilt stops looking like an intimidating showpiece reserved for advanced quilters and starts looking like a genuinely achievable project for anyone comfortable with basic strip piecing. The visual payoff relative to the actual skill required is genuinely one of the best in quilting, which is part of why bargello remains such a popular technique for quilters looking to make a dramatic statement piece.
What A Bargello Quilt Is
At its core, a bargello quilt is a strip-pieced design that creates a wave-like, undulating visual movement across the quilt surface, achieved through a specific technique of cutting and offsetting long pieced strips of fabric. The technique borrows its name and its visual concept directly from bargello needlepoint, an embroidery style dating back centuries that uses long, vertical stitches in gradated colors to create that same flame-like or flowing pattern. In quilting, the same visual idea gets translated into fabric through strip piecing rather than individual stitches, sewing long strips of different colored fabric together into a single pieced panel, then cutting and rearranging sections of that panel to create the flowing, rippling pattern that gives bargello quilts their signature look. The needlepoint version of this technique actually predates modern quilting by centuries, with surviving examples of bargello embroidery tracing back to Renaissance-era Italy, long before anyone applied the same visual principle to pieced fabric. Quilters didn’t adapt the technique into fabric until well into the twentieth century, and it has continued evolving since, with contemporary pattern designers regularly releasing fresh takes on the classic wave and flame motifs.
How Bargello Patterns Create Their Signature Movement
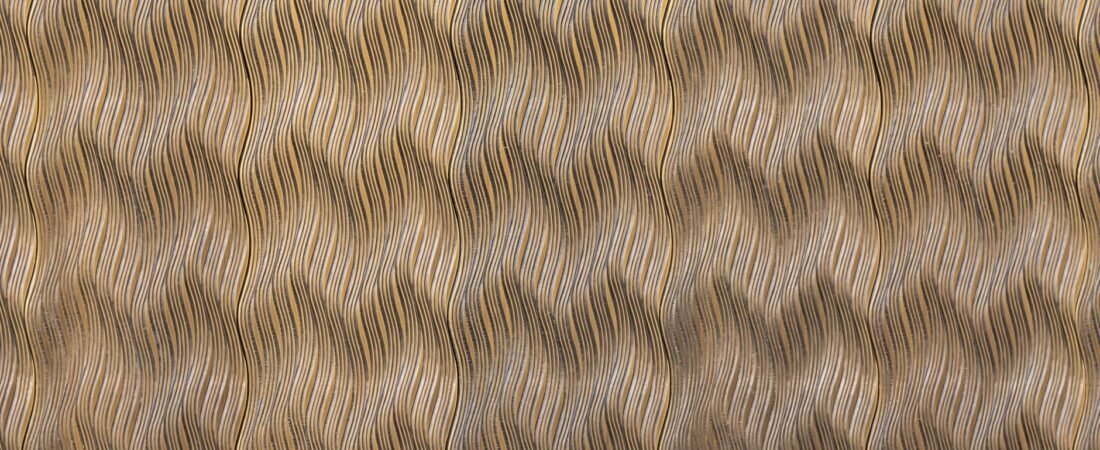
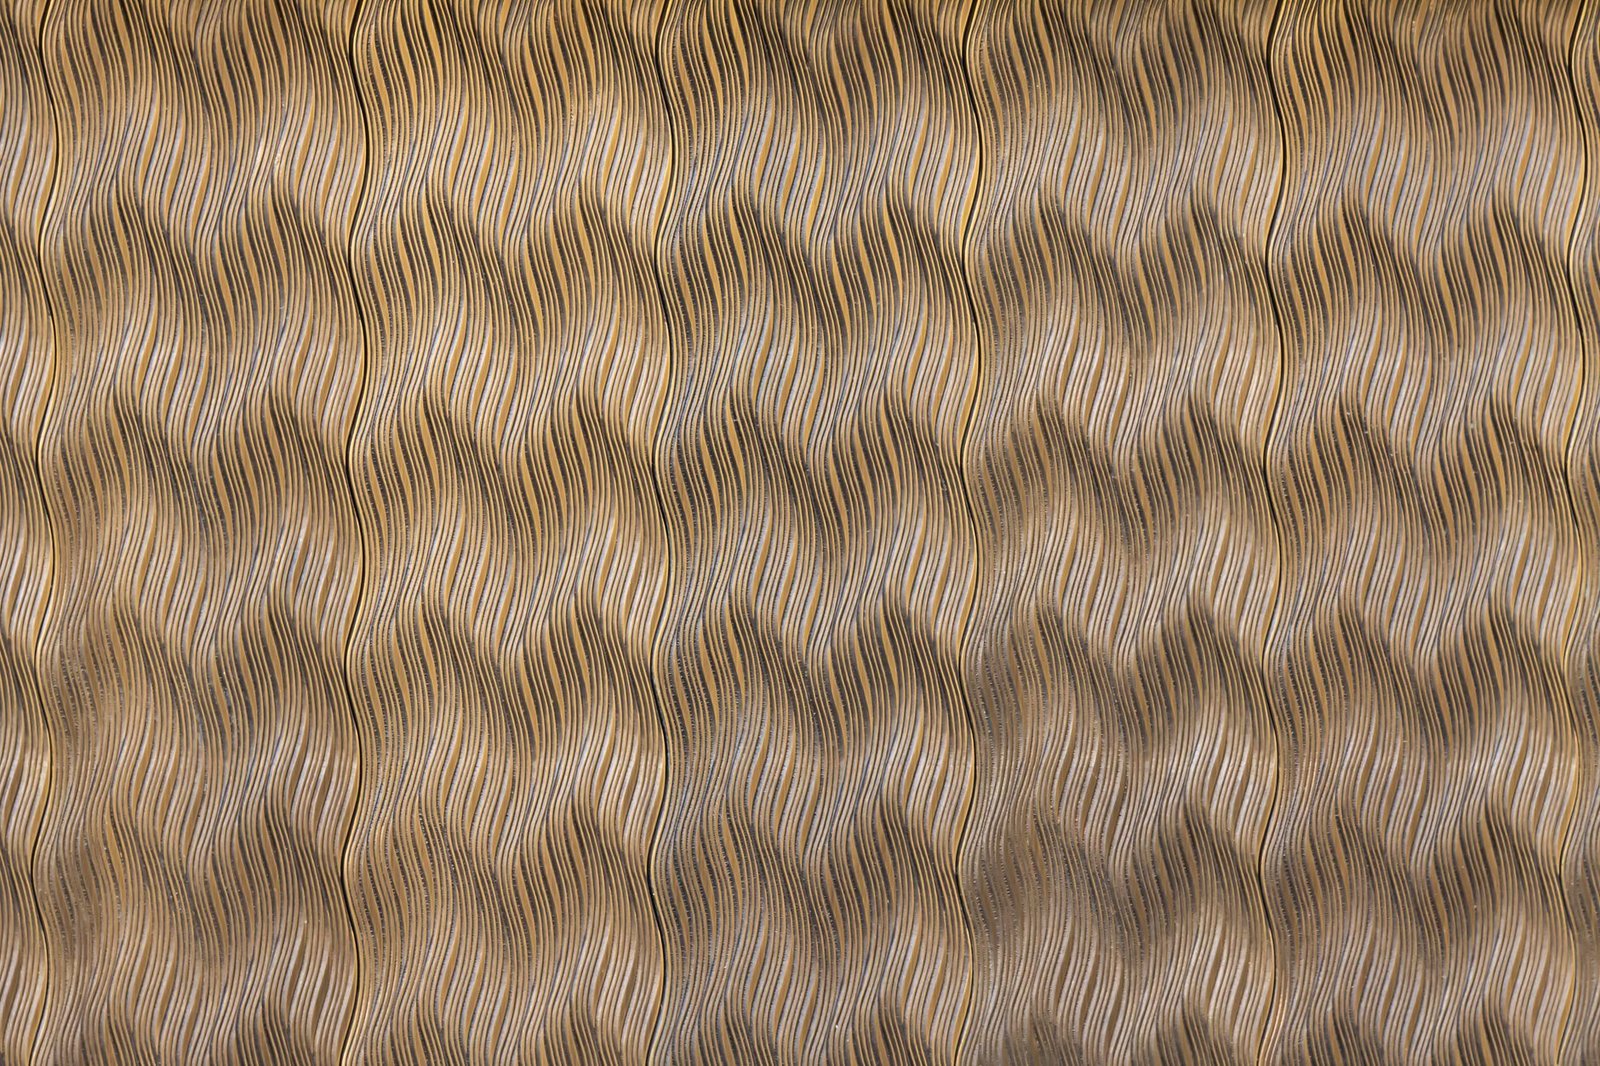
The movement that makes bargello quilts so visually striking comes from a specific construction principle, color gradation combined with offset cutting, rather than any complicated piecing technique. A bargello quilt typically starts with strips of fabric arranged in a gradual color progression, moving from light to dark, or through a rainbow of hues, sewn together into one long pieced panel exactly like a strip quilt. That panel then gets cut into vertical segments, and here’s where the visual magic happens, each segment gets shifted up or down by varying amounts before being resewn into the final quilt top, so the color bands that were originally straight horizontal lines become wavy, undulating curves once the offset segments are reassembled. This offsetting is really the entire secret behind the flowing bargello effect, and once quilters understand that principle, the technique stops feeling mysterious and starts feeling like a genuinely learnable skill. Sketching or even just visualizing the segment shift pattern before cutting anything helps a lot of quilters build that understanding faster, since seeing the offset logic on paper first makes the actual cutting and reassembly feel far less like a leap of faith.
Choosing A Fabric Palette For Bargello
Choosing a fabric palette for a bargello quilt matters enormously, probably more than in most other quilting styles, since the entire visual effect depends on how smoothly your colors transition from one to the next. A gradient palette, where each fabric strip is only slightly different in value or hue from its neighbor, produces the smoothest, most convincing wave effect, since abrupt color jumps between strips can break up that flowing illusion the technique is known for. Many bargello quilters use pre-cut gradient fabric bundles specifically designed for this purpose, since finding and arranging a smooth gradient from individual fabric purchases can be genuinely time consuming and tricky to get exactly right. Working within a single color family, various shades of blue moving from pale to deep navy for example, tends to be more forgiving for a first bargello project than attempting a full rainbow gradient, which requires more careful planning to keep transitions smooth throughout. Testing a small sample panel of just a handful of strips before committing to a full-size project is a smart way to confirm your chosen fabrics actually produce the smooth gradient effect you’re picturing before investing in a large amount of yardage, saving both real money and real disappointment if the chosen fabrics don’t blend quite the way you’d hoped.
Basic Bargello Construction Approach
The basic bargello construction approach follows a consistent sequence, even though the specific measurements and strip counts vary quite a bit between different bargello patterns. Strips get sewn together lengthwise into one large panel first, pressed carefully to keep seams flat and consistent since any unevenness here will show up amplified once the panel gets cut and reassembled. That panel is then cut into vertical segments of consistent width, and each segment gets shifted vertically by a calculated amount, sometimes just a few strips’ worth of offset and sometimes considerably more, before the segments are sewn back together side by side to form the final flowing design. The specific offset pattern used across the segments is what determines the exact wave shape the finished quilt displays, gentle rolling waves versus sharper, more dramatic peaks, giving quilters real creative control even within this fairly structured technique. Some patterns also vary the offset amount irregularly across the panel rather than sticking to one consistent shift, producing a more organic, less uniform wave that reads as noticeably different from a strictly repeating pattern.
Tools That Make Bargello Piecing Easier
A handful of tools genuinely make bargello piecing noticeably easier, since the technique relies heavily on cutting long, perfectly straight strips and segments with consistent accuracy. A long acrylic ruler, ideally at least as long as your fabric width, helps keep those initial strip cuts straight and even without needing multiple overlapping cuts that can introduce small errors. A rotary cutter with a fresh, sharp blade matters more here than in a lot of other quilting techniques, since a dull blade dragging through multiple layers of fabric during the segment-cutting stage can throw off measurements that then compound across the entire panel. Many bargello quilters also find a design wall or a large flat surface genuinely useful for laying out cut segments before final assembly, since seeing the full offset pattern laid out helps catch any sequencing mistakes before they’re sewn permanently into place. Good, consistent lighting near that layout space matters too, since subtle value differences between similar fabric strips can be genuinely hard to judge accurately under dim or uneven light.
Common Bargello Beginner Mistakes
Common bargello beginner mistakes tend to center on two specific issues, inconsistent strip width and color placement errors, both of which compound visually across a project built from repeated, offset elements. Inconsistent strip width, even a small variance of an eighth of an inch, becomes noticeably amplified once dozens of strips are cut and reassembled, since small errors don’t average out the way they might in a less repetitive pattern, they tend to accumulate and become more visible as the piecing progresses. Color placement errors, accidentally sewing a segment in the wrong order or upside down, can break the smooth gradient effect at exactly the spot where the eye is drawn to that flowing movement, so many experienced quilters at Bee’s Quilt Shop recommend numbering or labeling cut segments clearly before beginning reassembly, a small habit that prevents one of the most common and disappointing bargello mistakes. Taking a short break and returning with fresh eyes before final assembly is another simple habit that catches errors a tired eye tends to miss after hours of careful, repetitive cutting.
Ready to try your first bargello quilt project? Explore our Quilt Patterns and Blocks library here at Bee’s Quilt Shop for more technique guides, and browse our current fabric collection to see what’s currently available. Explore more Quilt Patterns & Blocks guides on the blog, or browse our Patterns collection to see what is currently available.
Frequently Asked Questions
Is a bargello quilt hard to make for a beginner?
It looks complicated but the underlying technique, strip piecing with offset cutting, is genuinely learnable once you understand the principle. Starting with a single color family gradient tends to be more forgiving than a full rainbow for a first attempt.
What creates the wavy effect in a bargello quilt?
A pieced panel of gradient fabric strips gets cut into segments, and each segment is shifted vertically before being resewn, turning originally straight color bands into flowing curves. Bee’s Quilt Shop finds this offsetting is really the entire secret behind the technique.
What fabric works best for a bargello quilt?
A smooth color gradient, where each strip is only slightly different from its neighbor, produces the most convincing wave effect. Many quilters use pre-cut gradient fabric bundles specifically designed for this purpose to save time.
Why does my bargello quilt look uneven after piecing?
This usually traces back to inconsistent strip width during cutting, since even small variances get amplified once dozens of strips are reassembled. Using a sharp rotary blade and a long ruler helps keep cuts consistent throughout.
What tools do I really need for bargello quilting?
A long acrylic ruler, a sharp rotary cutter, and a design wall or large flat surface for laying out segments before final assembly make the process considerably easier. Consistent, accurate cutting matters more here than in a lot of other quilting techniques.
This article is intended for general educational and informational purposes only, based on common quilting practices. Results vary by fabric choice, cutting accuracy, and skill level, so practicing on a small test panel before a full project is always a good idea. Bee’s Quilt Shop shares this guide as part of our ongoing library of quilting and sewing resources.