Quick answer: A quilted purse combines a pieced or patchwork fabric exterior with structural interfacing and lining to create a functional, durable bag. Choosing a pattern that matches your skill level, along with the right interfacing and hardware, makes the biggest difference in how well the finished purse holds its shape.
A quilted purse is one of the most satisfying ways to put quilting skills toward something you’ll actually carry and use every day, turning fabric piecing into a genuinely functional accessory rather than a wall hanging or bed quilt. It’s also a project that pulls together several different skill areas at once, piecing, structure, and hardware, which can feel like a lot for a first attempt but is genuinely manageable once you break it down into stages. This guide covers what actually makes a purse quilted, how to choose a pattern for your skill level, and the fabric and hardware decisions that make a finished bag both beautiful and durable. There’s a real sense of pride in carrying something you pieced yourself, and that motivation alone makes the slightly steeper learning curve of bag making feel worth pushing through for a lot of quilters, especially once that first finished bag actually gets used out in the world.
What Makes A Purse Quilted
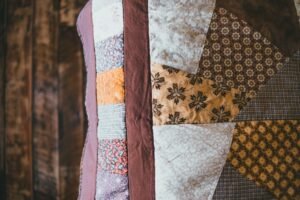
What makes a purse quilted really comes down to its exterior, a pieced or patchwork fabric surface built the same way a quilt block is built, combined with the structural elements, interfacing, lining, and often batting, that give it the shape and sturdiness a functional bag needs. That pieced exterior can be as simple as a few coordinated fabric strips sewn together, or as elaborate as a detailed pieced block pattern scaled down to purse size, but either way, the quilting element is really about that patchwork or pieced surface treatment rather than any specific bag shape or size. The structural layer underneath, usually a combination of fusible interfacing and sometimes a stiffer stabilizer, is what separates a quilted purse from simply sewing two pieces of quilted fabric together, since bags need to hold their shape and stand up to daily handling in a way that a soft quilt never has to. Many quilted purse patterns also add a layer of thin cotton or wool batting sandwiched between the pieced exterior and its lining, giving the pieced surface a slightly puffed, genuinely quilted texture rather than a flat pieced look.
Choosing A Pattern For Your Skill Level
Choosing a pattern for your skill level is genuinely one of the most important decisions in a quilted purse project, since bag construction difficulty varies enormously even among patterns that look similarly finished. Beginner-friendly patterns typically feature simple shapes, straightforward closures like a basic zipper or magnetic snap, and minimal hardware, letting a first-time bag maker focus on getting comfortable with the construction process without also learning several new techniques at once. More advanced patterns might include structured bases, multiple pockets, adjustable straps, or complex closures, and while these produce genuinely impressive finished bags, tackling one as an absolute first project often leads to frustration rather than a satisfying result. Many experienced quilters at Bee’s Quilt Shop suggest starting with a small, simple pouch or wristlet before moving up to a full structured purse, since the smaller scale lets you practice the same core skills, piecing, interfacing, and basic construction, with a much lower time investment if something needs to be redone. Reading through a pattern’s full instructions before buying any fabric or hardware also helps set realistic expectations, since a materials list alone doesn’t always convey how many separate steps or techniques a given pattern actually involves.
Fabric And Interfacing Choices For Structure
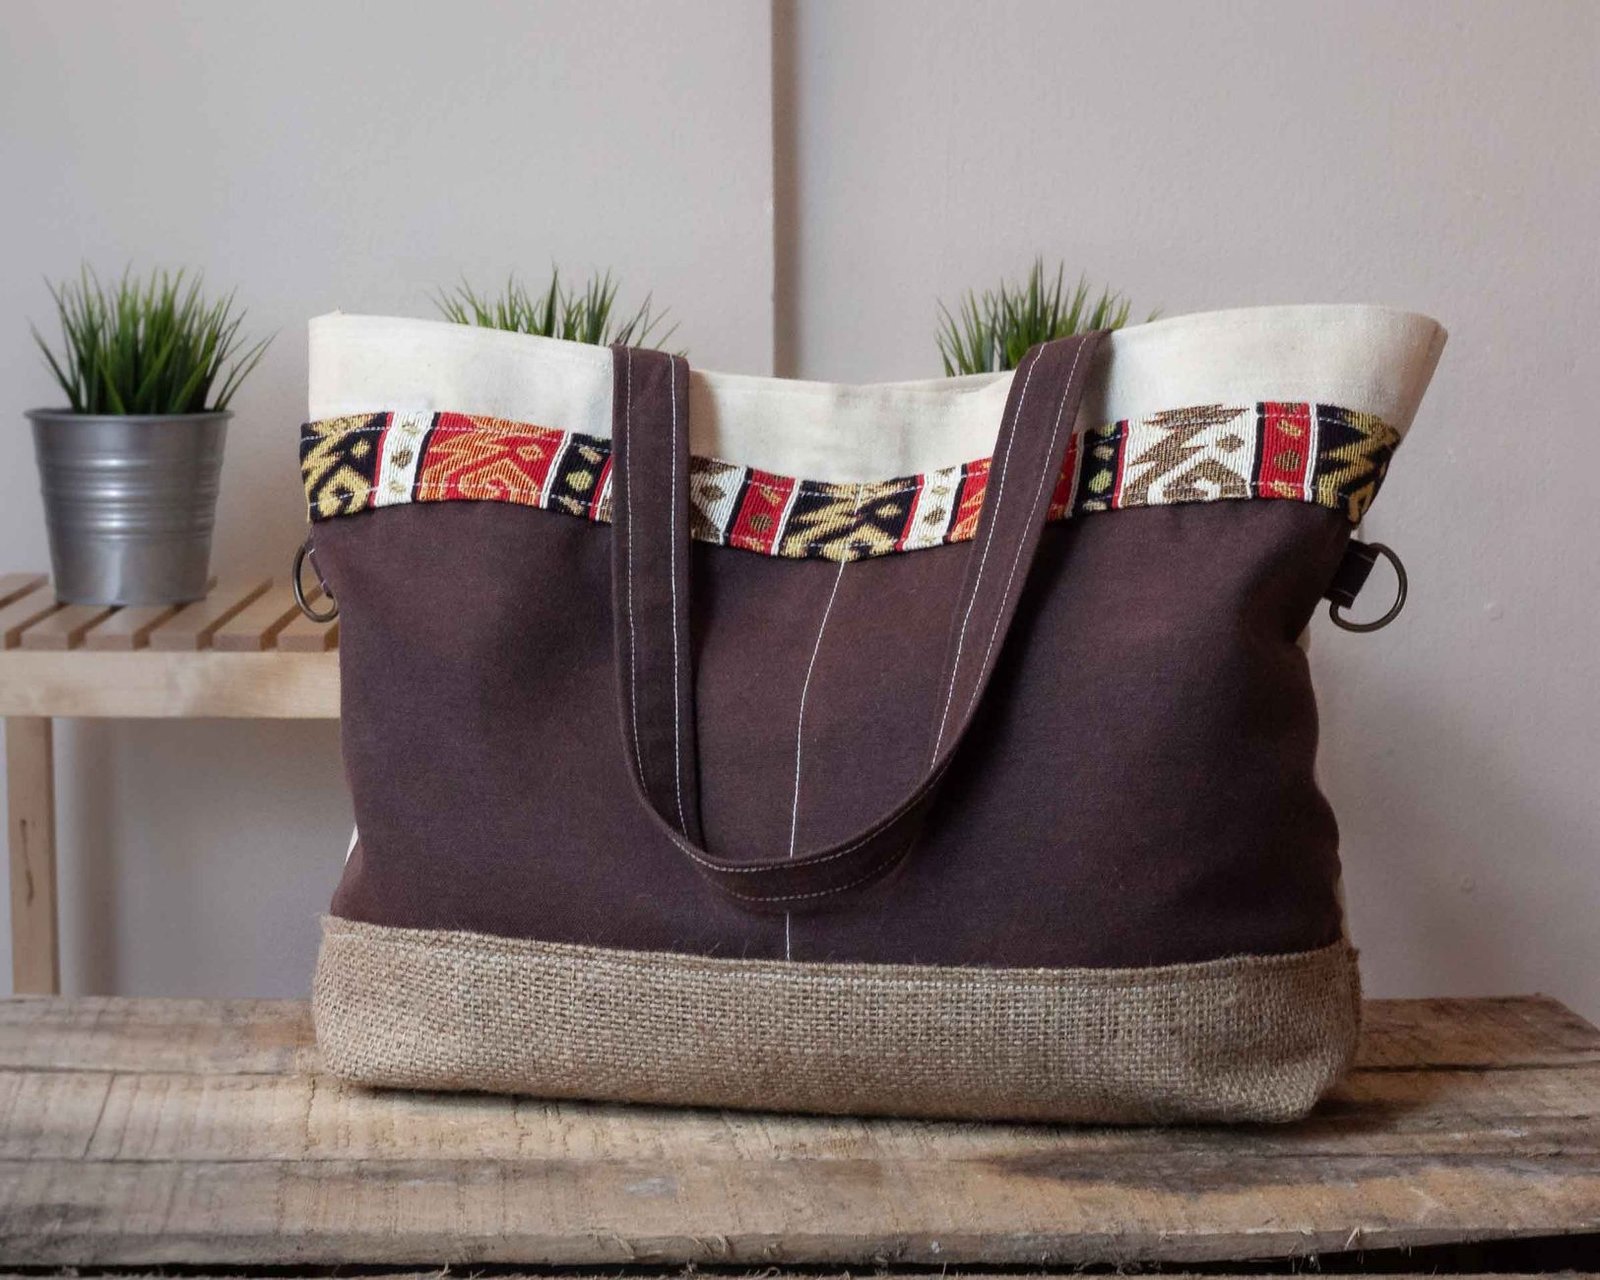
Fabric and interfacing choices genuinely determine whether a finished quilted purse holds its shape well or ends up floppy and disappointing, so this is not a step worth skimping on. Medium to heavyweight quilting cotton tends to work well as the pieced exterior, offering enough body to look structured once interfacing is added, without being so heavy that it’s difficult to sew through multiple layers. Interfacing and stabilizers do the real structural heavy lifting here, a fusible fleece or foam stabilizer adds body and a bit of padding, while a stiffer woven or nonwoven interfacing on the base specifically helps a bag stand upright rather than collapsing when set down. Following a pattern’s specific interfacing recommendations closely matters more in bag making than in most other sewing projects, since substituting a lighter stabilizer than called for is one of the most common reasons a finished purse doesn’t hold its intended shape. Testing your chosen fabric and interfacing combination on a small sample swatch before cutting into a full project is a simple way to confirm the finished body feels right before it’s too late to easily change course.
Hardware And Closures To Consider
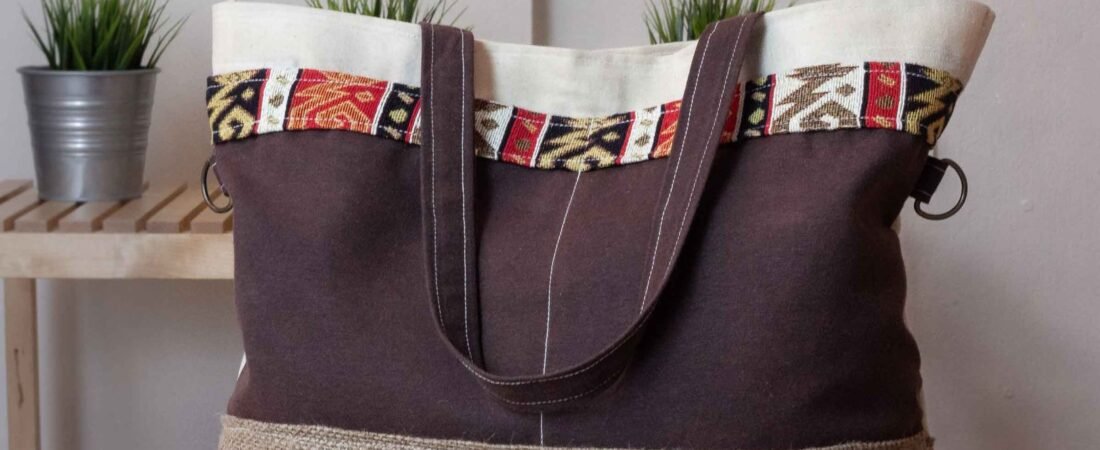
Hardware and closures round out the functional side of a quilted purse, and even a small hardware choice can noticeably change how a finished bag looks and functions day to day. Zippers offer secure closure and are especially useful for bags carrying anything you don’t want falling out, though they do add a bit of construction complexity for a first-time bag maker. Magnetic snaps provide quick, easy access with a satisfying closure click, and they’re a popular choice for beginner patterns since they’re generally easier to install than a zipper. Strap hardware, from simple fabric straps sewn directly into seams to adjustable straps using purchased hardware like D-rings and swivel clips, affects both how the bag looks and how it’s actually carried, so it’s worth considering whether you want a fixed shoulder strap, an adjustable crossbody length, or a simple handle before finalizing your pattern choice. Hardware finish is worth coordinating too, matching gold, silver, or antique brass tones across zippers, D-rings, and clasps so the finished bag reads as a cohesive design rather than a mismatched collection of whatever hardware happened to be on hand.
Piecing Tips For Small Scale Quilted Panels
Piecing tips for small scale quilted panels differ a bit from piecing for a full-size quilt, mostly because the margin for error shrinks considerably when your finished panel needs to fit an exact bag pattern piece rather than a more forgiving quilt top. Cutting pieces slightly larger than the pattern calls for and trimming the finished pieced panel down to size afterward is a popular technique among bag makers specifically, since it accounts for the small amount of shrinkage that naturally happens during piecing and pressing. Pressing seams flat and consistently matters even more on a small scale project, since any bulk or unevenness that might be barely noticeable on a full quilt becomes much more visible and can interfere with interfacing adhesion on a small purse panel. Working with a design wall or simply laying out your planned piecing on a flat surface before sewing helps catch color or placement issues while they’re still easy to fix, before they’re permanently stitched into a piece that’s much harder to unpick than a larger quilt block would be.
Caring For A Finished Quilted Purse
Caring for a finished quilted purse takes a bit more thought than washing a quilt, since the interfacing, hardware, and structural elements that give a bag its shape don’t always respond well to a standard washing machine cycle. Spot cleaning with a damp cloth and mild soap is usually the safest approach for a structured quilted purse, protecting both the fabric’s appearance and the interfacing’s ability to hold its intended shape over time. For bags without heavy structural interfacing, a gentle hand wash or delicate machine cycle in a mesh bag may be appropriate, though checking any specific pattern or interfacing manufacturer’s care recommendations first is worth the extra few minutes, since results genuinely vary by the specific materials used in construction. Keeping a finished purse stuffed with tissue paper or a purse organizer insert when not in use also helps it hold its shape between uses, a small habit that extends the life of a piece that likely took real time and care to make. Rotating between a couple of finished bags, rather than carrying one exclusively every single day, also spreads out wear on hardware and high-contact areas like corners and handles, keeping each handmade piece looking its best for that much longer.
Ready to piece together your first quilted purse? Explore our Quilt Patterns and Blocks library here at Bee’s Quilt Shop for more bag-making inspiration, and browse our current patterns collection to see what’s currently available. Explore more Quilt Patterns & Blocks guides on the blog, or browse our Patterns collection to see what is currently available.
Frequently Asked Questions
What pattern should a beginner choose for their first quilted purse?
A small, simple pouch or wristlet with minimal hardware is a great starting point, letting you practice piecing and interfacing without tackling too many new skills at once. Bee’s Quilt Shop often suggests working up to a full structured purse from there.
Why doesn’t my quilted purse hold its shape?
This usually comes down to substituting a lighter interfacing or stabilizer than the pattern called for, since interfacing is what gives a purse its structure. Following the pattern’s specific interfacing recommendations closely tends to solve this.
Can I use any quilting cotton for a quilted purse?
Medium to heavyweight quilting cotton generally works best, offering enough body once interfacing is added without being too bulky to sew through multiple layers. Lighter weight cottons can work too but may need extra interfacing support.
Should I use a zipper or a magnetic snap for a quilted purse?
Magnetic snaps are generally easier for beginners to install and offer quick access, while zippers provide more secure closure but add construction complexity. It really comes down to your skill level and how the bag will be used.
How do I wash a finished quilted purse without ruining it?
Spot cleaning with a damp cloth and mild soap is usually the safest option for structured bags with interfacing, since machine washing can distort the shape. Checking your pattern’s specific care recommendations first is always worth the extra few minutes.
This article is intended for general educational and informational purposes only, based on common bag-making practices. Results vary by fabric, interfacing, and pattern, so testing techniques on a small sample before starting a full project is always a good idea. Bee’s Quilt Shop shares this guide as part of our ongoing library of quilting and sewing resources.