Quick answer: A jelly roll rug is a coiled, braided floor mat made by folding and stitching precut two and a half inch fabric strips around batting. A walking foot and sturdy thread make the dense, layered construction much easier to manage.
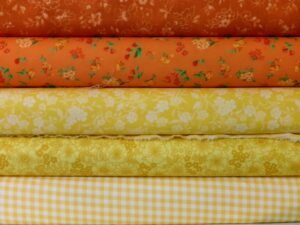
Learning how to make a jelly roll rug is one of those quilting projects that seems almost too simple on paper and then turns out to be genuinely satisfying and a little more physically demanding than expected once you actually get going. Built from a single precut jelly roll of two and a half inch fabric strips coiled and stitched into a dense, durable spiral, this project turns a familiar precut format into something completely different from the quilts most jelly rolls are destined for. This guide walks through what the technique actually involves, the extra materials you’ll need beyond the jelly roll itself, the basic construction approach, machine considerations for a project this dense, common challenges stitchers run into, and how to care for the finished rug once it’s done. Whether you’ve got an unused jelly roll sitting in your stash or you’re buying one specifically for this project, understanding what you’re getting into ahead of time makes the whole process go more smoothly. At Bee’s Quilt Shop, this project comes up often as a genuinely fun way to use precuts outside the usual quilt-top context, and it’s one of the few quilting techniques that produces something you can actually walk on every day.
What A Jelly Roll Rug Is
A jelly roll rug is built using a braiding and coiling technique rather than traditional piecing, where fabric strips are folded around a strip of batting and then stitched together in a continuous, tightly wound spiral that grows outward from a small center point. Unlike a pieced quilt top, which is assembled flat and then layered with batting and backing afterward, a jelly roll rug is constructed and quilted simultaneously, with the batting sewn directly into the coil as you go rather than added as a separate layer at the end. The technique produces a thick, sturdy, reversible mat that holds its shape well underfoot, making it genuinely functional as a rug or mat rather than just a decorative wall piece. Because the strips are folded and coiled rather than cut into shaped pieces, this project also uses fabric more efficiently than many piecing techniques, turning an entire forty-strip jelly roll into one substantial finished piece with very little waste. The finished size depends on how many strips you use and how tightly you coil them, so it’s worth deciding roughly how large you want the finished rug before you start, even though the exact final measurement is hard to predict precisely in advance.
Materials Needed Beyond The Jelly Roll
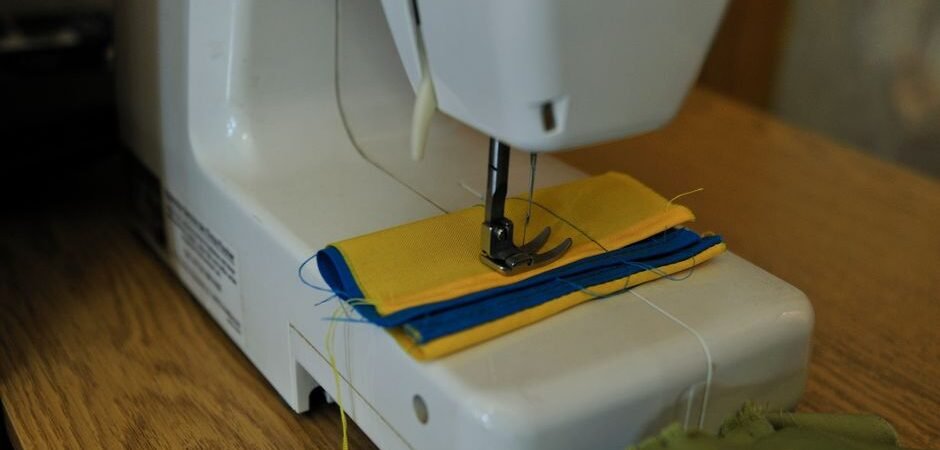
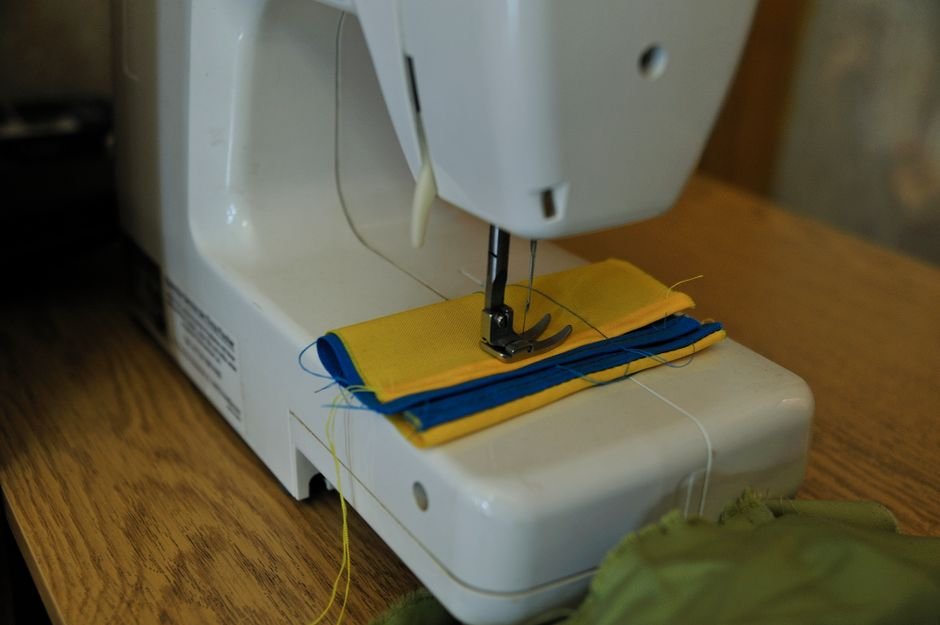
Beyond the jelly roll itself, this project requires a few additional materials that aren’t part of a typical piecing project. Batting strips, cut to match the width of your fabric strips, get folded inside each coiled strip to give the rug its structure and cushioning, and many patterns call for a specific low-loft cotton or cotton-blend batting that coils smoothly without excessive bulk. A walking foot attachment for your machine is genuinely close to essential rather than optional, since it helps feed the multiple thick layers evenly and prevents the fabric from shifting or bunching as you sew through an increasingly thick, heavy coil. Heavy-duty thread, often a stronger weight than typical piecing thread, holds up better to the stress this technique puts on the seams. A walking foot, sturdy thread, and a reasonably powerful machine motor are really the three things that separate a smooth jelly roll rug project from a frustrating one. Some quilters also pick up a pair of heavy-duty clips instead of pins to hold the coil in place while feeding it through the machine, since pins can be genuinely difficult to push through this many layers safely.
Basic Jelly Roll Rug Construction Approach
The basic construction approach starts by folding two strips lengthwise and stitching them together at one end to form a small starting point, then coiling that joined section into a tight spiral secured with a few stitches through the center. From there, you continue adding strips, folding each new strip around a piece of batting and stitching it to the outer edge of the growing spiral while feeding the whole assembly through the machine in a slow, controlled rotation. This is genuinely a technique that benefits from watching a video demonstration or following detailed photo instructions rather than working from text description alone, since the folding and feeding motion is easier to understand visually than to picture from a written explanation. As the rug grows, you’re essentially quilting and piecing simultaneously, which is part of what makes this project unlike most other quilting techniques and also part of why it takes some getting used to at first. Many first-time makers find their stitching becomes noticeably more confident and even by the time they’ve worked through the second half of the jelly roll, simply from the repetition of the motion.
Machine Considerations For A Thick, Dense Project
Sewing through this many layers puts real strain on a machine, and it’s worth being realistic about what your specific machine can handle before diving into a full-sized rug. A machine with a strong motor and good stitch quality through thick layers will handle this project far better than a lighter-duty machine designed primarily for quilting cotton piecing. Slowing your stitching speed as the coil grows larger and thicker helps the machine maintain even stitches without straining, and taking short breaks lets both you and the machine’s motor cool down during what can be a genuinely lengthy, continuous sewing session. Some stitchers find it worth using a heavier needle designed for denim or upholstery work partway through the project, once the layers get thick enough that a standard quilting needle starts to struggle. Cleaning out lint from the bobbin case more frequently than usual is also a good habit during this project, since the sheer volume of fabric passing through the machine generates more lint buildup than a typical quilting session.
Common Challenges With Jelly Roll Rugs
A handful of predictable challenges come up repeatedly with this project, and knowing about them ahead of time helps you plan accordingly. The sheer bulk of the growing coil becomes genuinely awkward to maneuver under the machine as the rug gets larger, requiring careful rolling and repositioning of the completed portion to keep it from dragging or catching. Machine strain is a real consideration too, since sewing through dozens of layers of folded fabric and batting asks a lot of even a sturdy machine, and taking the project in shorter sessions rather than one long marathon tends to be easier on both you and your equipment. Pacing the project over several sittings rather than trying to finish in one day is honestly the most common advice experienced stitchers give, since fatigue in your arms and shoulders from wrestling an increasingly heavy coil is a real factor by the time you’re several dozen strips in. Treating this as a multi-day project rather than a single weekend sprint tends to lead to a more enjoyable experience and a more evenly stitched finished rug.
Caring For A Finished Jelly Roll Rug
Once finished, a jelly roll rug is genuinely durable and holds up well to regular use, but a little care keeps it looking its best over the years. Most finished rugs can be machine washed on a gentle cycle, though the dense construction means they take considerably longer to dry than a typical quilt, so planning for extra drying time or air drying flat is worth factoring in. Vacuuming or shaking out a rug regularly helps remove trapped dirt from between the coiled layers, which is easy for dust and debris to work into given the rug’s textured surface. Because of its reversible construction, rotating or flipping the rug periodically helps distribute wear more evenly across both sides, extending its usable life as a functional floor piece rather than just a decorative one. Placing a thin non-slip pad underneath, especially on hard flooring, both protects the rug’s backing from excess friction and keeps it from sliding underfoot during everyday use.
Ready to turn a jelly roll into a finished rug? Explore our Fabric Buying and Precuts guides here at Bee’s Quilt Shop for more precut advice, and browse our current patterns collection to see what’s available right now. Explore more Fabric Buying & Precuts guides on the blog, or browse our Patterns collection to see what is currently available.
Frequently Asked Questions
How many jelly roll strips do I need to make a rug?
A full standard forty-strip jelly roll typically produces one substantial rug, though the exact finished size depends on how tightly you coil the strips. Using a full roll is the most common approach for a first attempt.
Can any sewing machine handle a jelly roll rug project?
A machine with a strong motor and good stitch quality through thick layers handles this project far better than a lighter-duty machine. A walking foot attachment is genuinely close to essential for feeding the layers evenly.
Why is my machine struggling partway through the rug?
This is common as the coil grows thicker and heavier, and slowing your stitching speed along with taking short breaks helps both you and the machine’s motor manage the strain. Cleaning lint from the bobbin case more often also helps.
Is a jelly roll rug machine washable once finished?
Most finished rugs can be machine washed on a gentle cycle, though the dense construction means they take considerably longer to dry than a typical quilt. Planning for extra drying time is worth factoring in.
How long does a jelly roll rug typically take to finish?
It varies by pacing, but treating this as a multi-day project rather than a single weekend sprint tends to be easier on your arms and shoulders. Bee’s Quilt Shop suggests taking breaks rather than rushing through in one sitting.
This article is intended for general educational and informational purposes only, based on common quilting practices. Results vary by machine, materials, and technique, so testing your machine’s capability on a small section first is always a good idea. Bee’s Quilt Shop shares this guide as part of our ongoing library of quilting and sewing resources.