Quick answer: Making a quilt from t-shirts requires stabilizing the stretchy knit fabric with interfacing before cutting, then piecing carefully to prevent distortion, since knit fabric behaves very differently from standard quilting cotton.
Making a quilt from t-shirts requires a genuinely different technical approach than working with standard quilting cotton, since t-shirt fabric is a stretchy knit rather than a stable woven material, and skipping the specific preparation steps this difference demands leads directly to distorted, wavy blocks that never quite lie flat once they’re sewn together into finished rows. Once you understand exactly how to stabilize and handle knit fabric properly, though, t-shirt quilting becomes a genuinely manageable technique rather than an intimidating departure from your usual piecing process with standard quilting cotton you’re already comfortable working with. This step-by-step guide walks through stabilizing knit t-shirts before cutting, cutting blocks to a consistent size, squaring up stretchy fabric, piecing without distortion, layering and quilting, and binding a quilt with mixed knit and cotton fabrics together in one piece. At Bee’s Quilt Shop, this is one of the most requested technique guides from quilters ready to tackle their very first t-shirt project after years of sewing exclusively with standard quilting cotton alone.
Stabilizing Knit T-Shirts Before Cutting
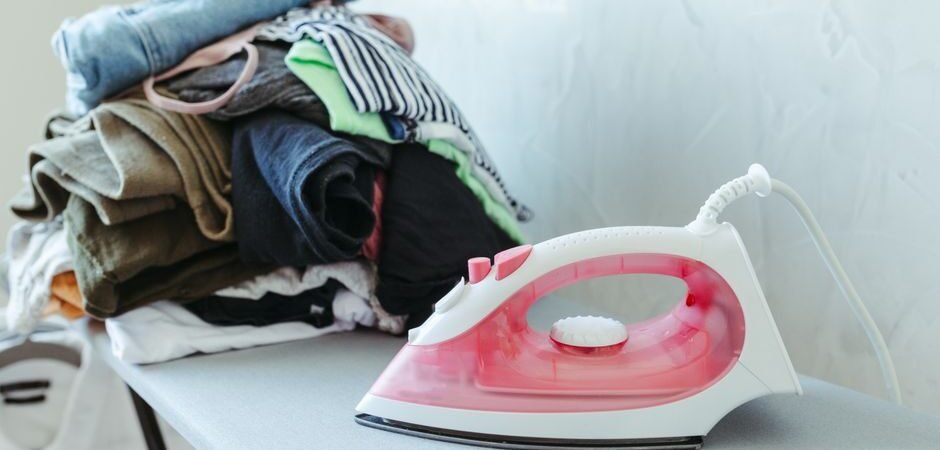
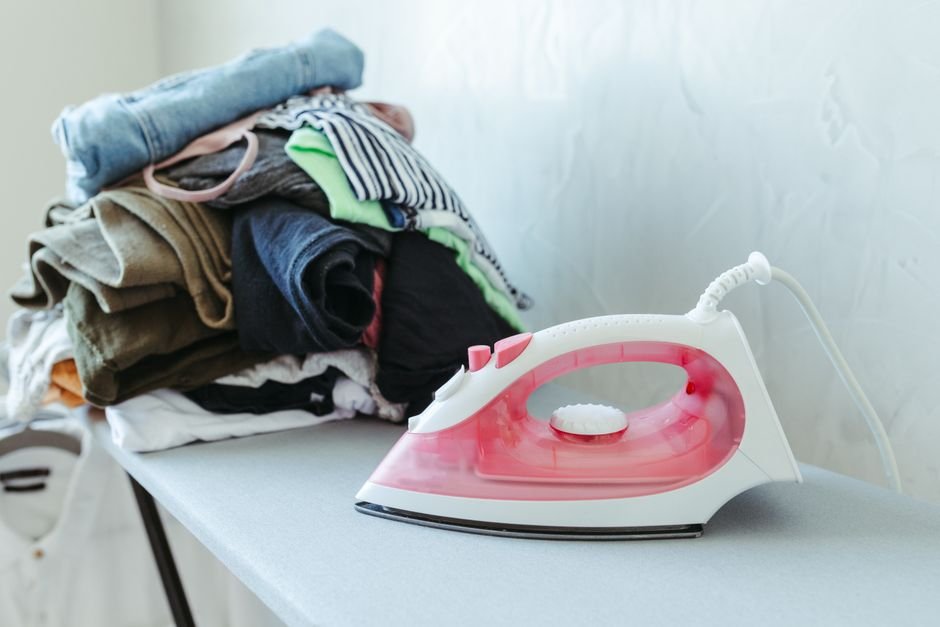
Stabilizing knit t-shirts before you cut into them is the single most important step in this entire process, and skipping it is the most common reason t-shirt quilt blocks end up distorted or wavy once they’re finally pieced together into the finished top. Fusing a lightweight interfacing to the back of each shirt section you plan to use adds structure and stability, dramatically reducing the stretch that would otherwise make accurate cutting and piecing nearly impossible to achieve consistently across many separate, individual blocks. Apply the interfacing according to its specific manufacturer instructions, typically using a warm iron and firm, even pressure applied steadily, working in smaller sections if your shirt graphic is larger than your ironing surface can comfortably accommodate in a single continuous pass.
Cutting T-Shirt Blocks To A Consistent Size
Cutting t-shirt blocks to a consistent size, once properly stabilized, follows a similar process to cutting any other quilting fabric, though a bit more care around fabric grain helps preserve accuracy across every single block you cut from your growing shirt collection. Using a rotary cutter, cutting mat, and square ruler, cut each stabilized shirt section to your predetermined block size, centering the graphic you specifically want to showcase within that square as precisely as you can manage with careful, deliberate measuring. Working slowly and checking your ruler placement carefully matters more here than with standard quilting cotton, since even properly stabilized knit fabric retains slightly more give than a woven fabric would under the exact same amount of cutting pressure applied by hand.
Squaring Up Stretchy Knit Fabric
Squaring up your cut blocks after stabilizing and cutting confirms that stretch hasn’t crept back into your pieces before you move on to piecing them together into finished rows and columns. Lay each block flat and measure all four sides and both diagonals with your ruler, trimming as needed to correct any slight distortion that shows up during this careful, methodical check of each individual piece you’ve cut. This extra squaring step, while it might feel somewhat redundant if you already cut carefully the first time around, catches subtle stretch-related inaccuracies before they compound into genuinely visible problems once blocks are sewn together into rows and the whole top is finally assembled.
Piecing T-Shirt Blocks Without Distortion
Piecing stabilized t-shirt blocks without introducing any new distortion depends heavily on your machine setup and careful handling technique during the actual sewing process itself. A walking foot helps feed the stabilized knit fabric evenly through your machine, reducing the chance of one layer stretching more than the other as you sew a seam between two adjoining blocks. A slightly longer stitch length than you’d typically use for standard cotton also helps accommodate whatever residual give remains in the fabric, reducing puckering where knit blocks meet standard cotton sashing or other blocks within your overall chosen layout and design.
Layering And Quilting A T-Shirt Quilt
Layering and quilting a t-shirt quilt follows the same basic process as any other quilt, though the mixed fabric types across your top mean paying a bit of extra attention during basting to ensure everything genuinely lies flat before you start stitching through all three layers together as one unit. Baste thoroughly across the entire quilt sandwich, checking specifically around the seams where knit blocks meet cotton sashing or borders, since these transition points are precisely where any remaining stretch differential is most likely to show up as slight puckering once the quilting itself begins in earnest across the surface. Quilting with a walking foot and a moderate stitch length generally produces the most reliable, consistent results across this kind of mixed-fabric project involving both stretchy knit and stable woven material sewn together.
Binding A Quilt With Mixed Knit And Cotton
Binding a quilt with mixed knit and cotton fabric doesn’t require any special technique beyond what you’d already use on any other quilt, since your binding strips themselves are typically cut from standard quilting cotton rather than the stretchy knit shirt fabric used throughout the rest of the top. Trim your quilted layers evenly, attach your cotton binding strips around the perimeter with mitered corners, and stitch it down to complete the project just as you would on any pieced cotton quilt made entirely from stable, woven fabric. The consistent cotton binding provides a stable, durable edge regardless of the mixed fabric types used throughout the rest of the quilt top, giving your finished t-shirt quilt a clean, professional edge that will genuinely hold up well over many years of regular use and repeated washing. Washing a finished t-shirt quilt in cold water on a gentle cycle, and air drying it or using a low-heat setting, helps preserve both the interfacing and the printed graphics on each shirt block for as long as possible. Many makers find that a properly stabilized and carefully pieced t-shirt quilt holds up just as well over time as one made entirely from standard quilting cotton, provided every preparation step was followed carefully from the very beginning of the project. Keeping a couple of leftover interfacing scraps and matching thread on hand after finishing makes future small repairs considerably easier, since minor wear along a well-loved quilt’s seams is genuinely normal after years of regular use and washing. Many families report that a carefully made t-shirt quilt becomes one of the most frequently used blankets in the house, precisely because of the personal memories stitched into every single block that make it feel genuinely irreplaceable. Taking a well-lit photograph of the finished quilt before it sees its first heavy use also creates a lasting record of the piece at its very best, which many makers appreciate years later as the quilt naturally shows gentle signs of loving wear. Passing along the specific techniques used, in a simple written note kept with the quilt, also helps a future owner care for it properly long after the original maker is no longer around to explain the details in person. Keeping a small swatch of the interfacing and thread used tucked inside that same note gives a future repairer exactly what they need to make a seamless, matching fix decades down the road. This small extra step takes only a few minutes but genuinely extends the practical, everyday life of a quilt that already carries so much personal significance for the family who owns it and will continue to use it for years. Once you’ve successfully completed one t-shirt quilt using these stabilizing and piecing techniques, a second project involving knit fabric feels considerably less intimidating, since the core preparation steps genuinely stay the same across every future collection of shirts you decide to work with, whether it’s ten shirts or fifty. Confidence with this one specific technique opens the door to plenty of other knit-fabric sewing projects down the road as well, well beyond quilting alone, from simple pillow covers to small zippered bags made from favorite worn-out garments you’d otherwise have thrown away.
Ready to stabilize your first t-shirt block? Browse our Quilting Techniques and Skills guides for more technique tips, or explore our Stablizers collection to see what’s currently available.
Frequently Asked Questions
Why do t-shirts need to be stabilized before cutting?
T-shirt knit fabric stretches easily, so fusing lightweight interfacing to the back first keeps blocks from distorting during cutting, piecing, and quilting.
What kind of interfacing works best for t-shirt quilts?
A lightweight fusible woven or knit interfacing is commonly used, since it stabilizes the stretch without adding excessive stiffness to the finished block.
How do I keep t-shirt blocks a consistent size?
After stabilizing, use a square ruler and rotary cutter to trim each block to the exact same size, checking corners are square before moving to the next shirt.
Does piecing stretchy fabric require special machine settings?
A walking foot and a slightly longer stitch length help feed stabilized knit fabric evenly, reducing puckering where knit blocks meet standard cotton sashing.
Can I mix t-shirt blocks with regular cotton fabric?
Yes, many patterns combine stabilized t-shirt blocks with cotton sashing or borders, which also helps frame and stabilize the overall quilt top.
This article is intended for general educational and informational purposes only, based on common sewing practices. Results vary by shirt fabric weight and interfacing brand. Bee’s Quilt Shop shares this guide as part of our ongoing library of quilting and sewing resources.