Quick answer: A sewing pin is a thin, pointed metal tool used to hold fabric layers together before stitching, coming in glass head, plastic head, and extra fine varieties suited to different fabric weights. Choosing the right type and using proper technique both matter for accurate results.
A sewing pin might be the single smallest, cheapest tool in a sewing kit, but it’s hard to overstate how much a project depends on getting this basic step right. A sewing pin’s core job is simple, holding two or more layers of fabric together temporarily so they don’t shift while you’re cutting, basting, or feeding fabric through the machine. That simplicity is a little deceptive, though, since the right sewing pin for a delicate silk chiffon is genuinely not the right pin for a heavy denim, and using the wrong one can lead to snags, holes, or fabric that slides right out of place mid-seam. It’s one of the first tools most sewists ever buy, and it remains just as relevant on a well-established sewing table years later, quietly supporting nearly every other step in the process from cutting to final construction. This guide walks through what a sewing pin actually does, the different types available, and how to choose, use, and maintain them well across a range of projects. Bee’s Quilt Shop treats pins as one of those foundational notions worth getting right from the start.
What A Sewing Pin Is For
At its most basic, a sewing pin is a thin, pointed length of metal, typically stainless steel or nickel-plated brass, designed to pierce through one or more layers of fabric and hold them together without damaging the material or slipping loose during handling. The point end allows the pin to enter fabric cleanly, while the opposite end usually features some kind of head, whether a simple flattened metal end, a round glass or plastic ball, or a flat plastic disc, giving fingers something to grip while inserting and removing the pin. Beyond just holding layers together, pins serve as visual markers too, letting a sewist see at a glance where a seam line runs, where a pattern piece needs adjusting, or where fabric has been aligned before cutting. Pins are typically sold in bulk, packaged in tins, boxes, or strips, and a well-stocked sewing room usually keeps a fairly large quantity on hand, both because pins get lost or bent over time and because larger projects, especially quilting ones, can easily use several dozen at once. Quality matters more than it might seem for such a small object, since a dull or bent pin can snag delicate fabric, leave visible holes in certain materials, or simply fail to hold securely, which is why most experienced sewists eventually settle on a preferred type and brand after some trial and error.
Types Of Sewing Pins
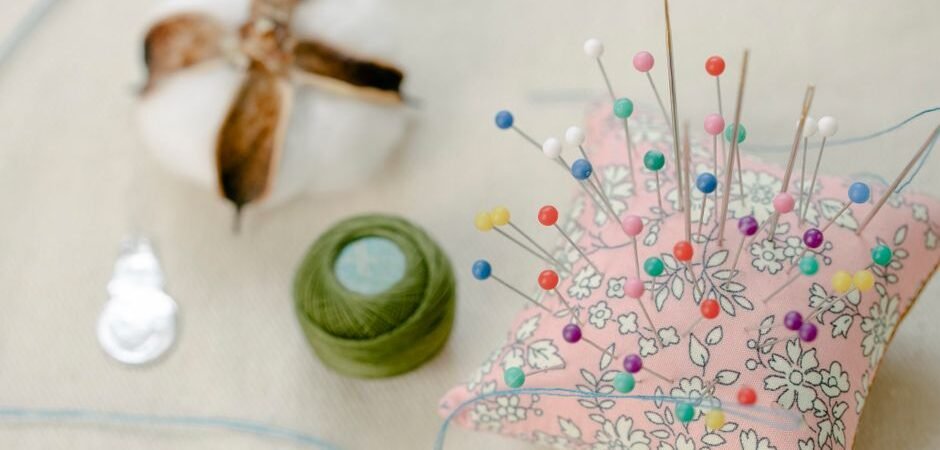
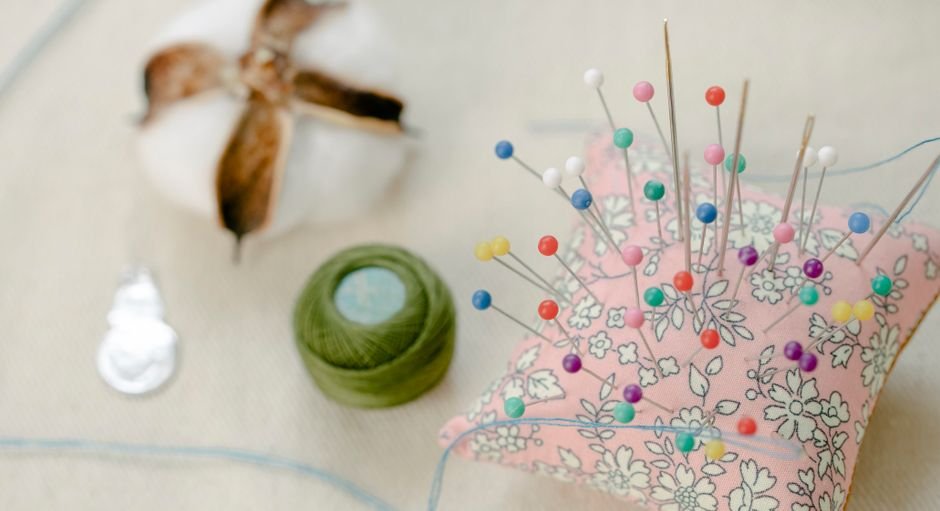
Sewing pins come in a range of types suited to different tasks and fabrics. Glass head pins feature a small round glass ball at the end, prized because glass can withstand direct contact with a hot iron without melting, which matters if you’re pressing seams before removing pins. Plastic head pins offer the same easy-to-grip ball shape at a typically lower cost, but they will melt or warp if an iron touches them directly, so they need to be removed before pressing. Extra fine pins, sometimes labeled for silk or bridal work, use a noticeably thinner shaft designed to minimize visible holes in delicate or tightly woven fabrics, making them a better choice for fine silks, laces, and other fabrics where a standard pin might leave a lasting mark. Beyond these common categories, specialty pins exist too, including longer quilting pins for managing thicker layers and ball-point pins designed specifically to slide between knit fibers rather than piercing and potentially damaging them. Flower head or flat-head pins, another specialty option, use a wide, flat plastic head that sits nearly level with the fabric surface, making them a popular choice for machine appliqué work where a rounded head might catch on the presser foot during close, detailed stitching.
Choosing Pin Length And Thickness For Your Fabric
Matching pin length and thickness to your fabric makes a real difference in how cleanly a project comes together. Lightweight fabrics, like chiffon, voile, or fine cotton lawn, generally do best with thin, extra-fine pins, since a standard or thick pin can leave visible holes or snag delicate fibers on its way through. Medium-weight fabrics, including most quilting cotton and standard garment fabric, work well with standard dressmaker pins, which offer a good balance of strength and a manageable shaft thickness for everyday use. Heavy fabrics, like denim, canvas, or duck cloth, call for longer, thicker pins with reinforced shafts, since a thin pin is more likely to bend or break trying to hold multiple layers of dense fabric in place. Choosing pin length also matters for thickness of layers being pinned, a longer pin secures bulkier stacks more reliably, while a shorter pin is easier to control and less likely to shift on thinner single or double layers. Knit and stretch fabrics deserve their own mention here too, since a ball-point pin, with its rounded rather than sharp tip, generally outperforms even a correctly weighted straight pin on these materials, sliding between the knit’s fibers instead of piercing and potentially snagging them.
Pinning Techniques For Accurate Piecing
For quilters specifically, pinning technique plays a real role in keeping seams accurate, since even a small amount of shifting between layers can throw off a block’s final measurements. Pinning perpendicular to the seam line, rather than parallel to it, is a widely used technique that lets you sew directly over the pin and remove it just before the needle reaches it, keeping fabric securely aligned right up until the stitch locks it in place. At intersections, like where two seams meet and need to match precisely, placing a pin directly through both matching points from the right side of the fabric before flipping and re-pinning from the seam allowance side helps confirm accurate alignment before committing to the stitch. Using more pins than feels strictly necessary, particularly along longer seams or anywhere points need to match exactly, is generally a better habit than under-pinning and hoping the fabric doesn’t shift, since a few extra seconds of pinning is far less frustrating than unpicking a misaligned seam afterward.
Sewing Pins Vs Clips
Sewing pins and fabric clips both hold layers together, but they suit different situations well. Pins offer precise, adjustable placement and work on essentially any fabric weight when the right pin type is chosen, making them the more versatile default for most sewing and quilting tasks. Clips, typically small plastic clamps, hold fabric without piercing it at all, which makes them especially useful for materials that pins can damage, like vinyl, leather, cork fabric, or heavily laminated fabrics, where a pin hole would be permanent and visible. Clips also tend to be faster to place and remove along long, straight edges like binding a quilt, since there’s no risk of a stray pin getting sewn over accidentally. Many quilters and sewists keep both tools on hand, reaching for clips specifically for pin-sensitive materials or quick binding jobs, and sticking with pins for general piecing, garment construction, and any task requiring more precise positioning. Cost and storage differ a bit too, clips tend to take up more physical space in a sewing kit and cost more per unit than a box of pins, which is part of why most sewists treat clips as a complement to pins rather than a full replacement for them.
Keeping Sewing Pins Sharp And Organized
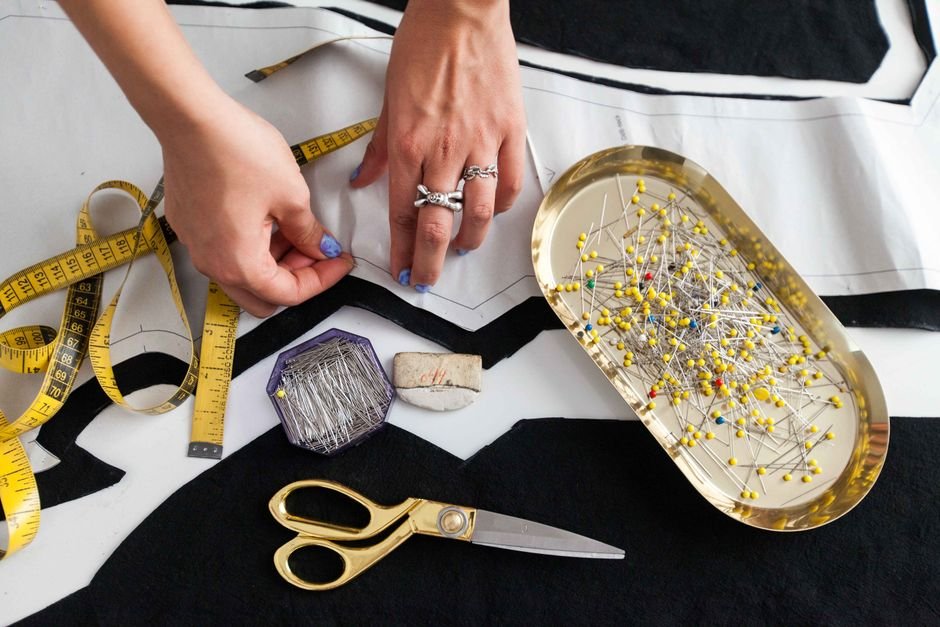
Keeping sewing pins sharp and organized pays off more than it might seem for such a small tool. Storing pins in a dedicated pin cushion, magnetic pin holder, or small tin rather than loose in a drawer or sewing box helps prevent them from getting lost, bent, or accidentally left somewhere they could cause an injury. Sorting pins by type, keeping glass head, plastic head, and specialty pins in separate containers, saves real time during a project when you need to grab the right pin quickly without digging through a mixed pile. Periodically checking pins for dullness, rust, or bends, especially in a well-used pin cushion, helps catch pins that should be retired before they snag or damage fabric on a favorite project. A little organization upfront, though it can feel like an unnecessary extra step for something this small, genuinely makes the pinning stage of every future project faster and less frustrating.
Ready to stock up on quality pins for your next project? Explore our Notions and Tools library here at Bee’s Quilt Shop for more practical advice, and browse our current notions collection to see what’s in stock right now. Explore more Notions & Tools guides on the blog, or browse our Notions collection to see what is currently available.
Frequently Asked Questions
What is the difference between glass head and plastic head sewing pins?
Glass head pins can withstand direct contact with a hot iron without melting, while plastic head pins will melt or warp if pressed and need to be removed first. Many sewists prefer glass head pins specifically for projects with a lot of pressing involved.
Which sewing pin should I use for delicate fabric?
Extra fine pins, often labeled for silk or bridal work, use a thinner shaft designed to minimize visible holes in delicate or tightly woven fabrics. Testing on a scrap first is still a good habit, since even a fine pin can mark certain especially delicate materials.
Why do my pins keep bending when I use them on denim?
Standard dressmaker pins are often too thin for heavy fabrics like denim or canvas, and a longer, thicker pin with a reinforced shaft holds up much better to dense, multi-layer fabric. At Bee’s Quilt Shop we suggest keeping a set of heavier pins on hand specifically for these thicker projects.
Should I use pins or clips for quilt binding?
Many quilters find clips faster and more convenient for binding since they hold fabric without piercing it and work well along long, straight edges. That said, pins still offer more precise positioning, so it often comes down to personal preference and the specific fabric involved.
How do I know when it’s time to replace my sewing pins?
Dull, bent, or rusted pins tend to snag fabric or fail to hold securely, so periodically checking your pin cushion and retiring any pins that no longer glide in cleanly is worth doing. A quick visual and touch check every so often catches most problem pins before they damage a project.
This article is intended for general educational and informational purposes only, based on common sewing and quilting practices. Results vary by fabric type and pin quality, so testing on a scrap before starting a full project is always a good idea. Bee’s Quilt Shop shares this guide as part of our ongoing library of quilting and sewing resources.