Quick answer: Straight pins are single-point pins with a straight, unbent shaft, used to hold fabric layers together temporarily before sewing. They differ from safety pins, which lock closed, and ball point pins, which are designed specifically for stretchy knit fabric.
Straight pins are so common in a sewing room that it’s easy to overlook just how much they’re doing behind the scenes, quietly holding a project together at every stage before a single stitch goes in. Straight pins are exactly what the name describes, a single-point pin design with a straight, unbent shaft running from head to tip, distinguishing them from other pin styles like safety pins, which fold and lock closed, or curved basting pins, which are shaped specifically for basting through multiple thick layers at once. Their simple design is precisely what makes them so versatile, since a straight pin can be inserted at any angle and removed just as easily, making them the default choice for general sewing and quilting work. This guide covers what straight pins are, how they compare to other common pin types, and how to choose, handle, and maintain them well. Getting comfortable with this basic tool early on pays off across every future project, since good pinning habits make nearly every later step of construction faster and more accurate. Bee’s Quilt Shop keeps a full range of straight pins on hand since they’re a genuine sewing room essential for quilters and garment sewists alike.
What Straight Pins Are
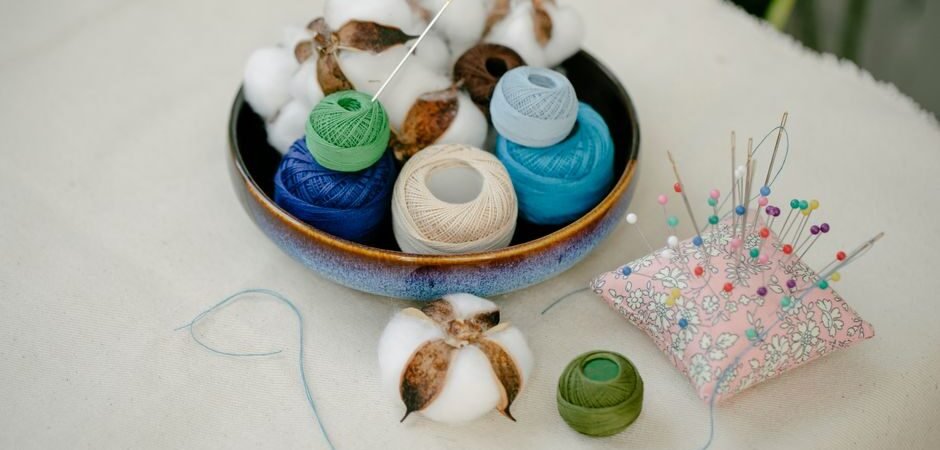
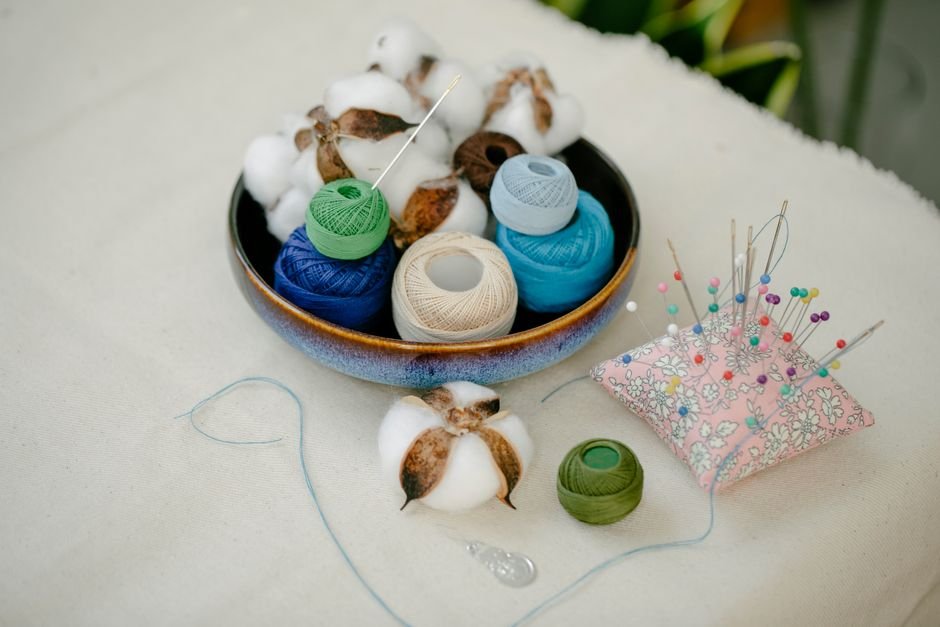
A straight pin’s basic anatomy is simple but purposeful in every part. The shaft is a single, straight length of thin metal, typically stainless steel or nickel-plated brass, chosen for corrosion resistance and enough rigidity to pierce fabric without bending too easily under normal use. The point is sharpened to slide through fabric fibers cleanly, and the sharpness quality varies noticeably between cheaper and higher-quality pins, with a genuinely sharp point making a real difference in how smoothly a pin enters tightly woven or multiple layers of fabric. The head, at the opposite end from the point, comes in a few common styles, including a simple flattened metal end, a round glass or plastic ball, or occasionally a flat disc shape, and its main job is giving fingers a comfortable, visible grip point for inserting and removing the pin. Straight pins are used across nearly every stage of a sewing or quilting project, from holding pattern pieces to fabric before cutting, to keeping seams aligned before stitching, to marking temporary reference points during construction.
Straight Pins Vs Safety Pins Vs Ball Point Pins
Straight pins, safety pins, and ball point pins each solve a related but distinct problem, and knowing when to reach for each makes a real difference in how smoothly a project goes. Straight pins offer quick, precise, temporary holding for general sewing tasks, easily inserted and removed as needed, but they aren’t secured closed, so they can work loose or shift if a project is handled roughly. Safety pins fold and lock shut, covering their own point, which makes them the better choice for basting a quilt sandwich or holding layers together over a longer period where accidental pin sticks or pins working loose would be a genuine problem. Ball point pins use a rounded rather than sharp tip, designed specifically to slide between the fibers of a knit fabric instead of piercing and potentially damaging or snagging them, making them the better choice for stretch fabrics even though they look nearly identical to a standard straight pin at a glance. Understanding these distinctions helps avoid a common beginner mistake, using a sharp straight pin on a delicate knit and ending up with small runs or snags that a ball point pin would have avoided entirely.
Choosing Straight Pins For Different Fabric Weights
Choosing the right straight pin thickness for a given fabric weight prevents a surprising number of common sewing frustrations. Lightweight and delicate fabrics, like chiffon, silk, or fine lawn, generally call for thin, extra-fine straight pins, since a standard or thicker pin risks leaving visible holes or snagging delicate fibers as it passes through. Medium-weight fabrics, including most quilting cotton and everyday garment fabric, work well with standard dressmaker-weight straight pins, which balance enough strength to hold securely with a manageable thickness that doesn’t damage typical fabric. Heavier fabrics, like denim, canvas, or duck cloth, benefit from longer, thicker straight pins with reinforced shafts, since a standard pin is more likely to bend trying to hold multiple dense layers together. Keeping a small assortment of pin weights on hand, rather than relying on a single all-purpose pin for every project, genuinely pays off once you’re working across a range of different fabric types.
Safe Handling And Storage Of Straight Pins
Handling straight pins safely comes down to a handful of common-sense habits that make a real difference over the course of regular sewing. Always inserting and removing pins pointing away from your body and hands helps avoid accidental pricks during the pinning process itself. Using a designated pin cushion or magnetic pin holder rather than setting loose pins down on a table or floor prevents them from getting lost, stepped on, or accidentally left somewhere they could cause an injury later. When sewing near pins on the machine, removing them just before the needle reaches each one, rather than sewing directly over them, is generally the safer and more machine-friendly habit, since sewing over a pin risks breaking the needle or, in rare cases, sending a piece of broken metal flying. Keeping pins out of reach of small children and pets is worth a mention too, since a dropped pin on the floor of a shared space is an easy thing to overlook until it turns up somewhere it shouldn’t. A quick sweep of the floor after a pinning-heavy session, or keeping a small magnetic wand on hand for retrieving stray pins, is a simple habit that many sewists build into their regular cleanup routine.
Using Straight Pins For Quilting Vs Garment Sewing
Straight pins do behave a little differently depending on whether they’re used for quilting or general garment sewing, mostly due to the number of layers involved and how precise the alignment needs to be. Quilting often involves pinning through multiple layers, a quilt top, batting, and backing, at once, so longer pins or specialty quilting pins with an extra-long shaft tend to hold more securely than a standard dressmaker pin working through that same bulk. Garment sewing more often involves pinning just one or two layers of fabric at a time, where a standard-length pin handles the job easily and a longer pin can actually get in the way or feel unwieldy. Technique differs too, quilters commonly pin perpendicular to a seam line specifically so they can sew directly up to and remove each pin right before the needle reaches it, while garment sewists sometimes pin parallel to a seam for pattern layout and cutting, then switch to perpendicular pinning once it’s time to actually stitch. Recognizing which approach suits the task at hand, rather than pinning the same way regardless of project type, tends to produce cleaner, more accurate results either way.
Signs It’s Time To Replace Bent Or Dull Pins
Even a good straight pin doesn’t last forever, and knowing the signs it’s time to retire one saves fabric and frustration down the line. A bent pin, even slightly, will no longer glide through fabric smoothly and can snag or pucker material as it’s inserted, so any visibly bent pin is worth setting aside rather than continuing to use. Dullness is a little less obvious but just as important, a pin that requires noticeably more pressure to push through fabric than it used to has likely lost its sharp point and is more likely to leave a visible hole or damage delicate fibers. Rust or discoloration on a pin is a clear sign to discard it immediately, both because rust can transfer a mark onto light-colored fabric and because a rusted pin’s surface is rougher and more likely to snag as it passes through cloth. Periodically running a hand along a pin cushion or box of pins, checking for anything that feels rough, bent, or dull, is a small habit that keeps every future pinning session running smoothly.
Ready to stock your sewing kit with reliable straight pins? Explore our Notions and Tools library here at Bee’s Quilt Shop for more practical advice, and browse our current notions collection to see what’s in stock right now. Explore more Notions & Tools guides on the blog, or browse our Notions collection to see what is currently available.
Frequently Asked Questions
What is the difference between straight pins and safety pins?
Straight pins have a single, unlocked point that’s quick to insert and remove, while safety pins fold and lock closed, covering their point entirely. Safety pins tend to work better for basting a quilt sandwich, where pins stay in place over a longer stretch of time.
Do I need ball point pins for knit fabric?
Yes, ball point pins use a rounded rather than sharp tip specifically to slide between knit fibers instead of piercing them, which helps avoid snags and small runs. At Bee’s Quilt Shop we suggest keeping a set of ball point pins on hand for anything stretchy.
What size straight pins should I use for quilting cotton?
Standard dressmaker-weight straight pins work well for most quilting cotton and everyday garment fabric, balancing enough strength with a thickness that won’t leave noticeable holes. Thinner extra-fine pins are better reserved for delicate fabrics like silk or chiffon.
Is it safe to sew directly over a straight pin with my machine?
It’s generally safer to remove each pin just before the needle reaches it rather than sewing directly over it, since hitting a pin can break your needle or damage your machine. Removing pins as you go becomes a quick habit with a little practice.
How do I know when to throw away old straight pins?
Any pin that’s visibly bent, feels dull when pushed through fabric, or shows rust or discoloration should be retired right away, since all three issues can snag or mark your fabric. A quick check of your pin cushion every so often helps catch these before they cause a problem.
This article is intended for general educational and informational purposes only, based on common sewing and quilting practices. Results vary by fabric type and pin quality, so testing on a scrap before starting a full project is always a good idea. Bee’s Quilt Shop shares this guide as part of our ongoing library of quilting and sewing resources.