Quick answer: Quilting layer cakes starts with understanding the pack, usually around 42 coordinated 10 inch squares, then preparing them by pressing and deciding how to handle pinked edges. From there you can sew them whole, cut them into smaller units, add background fabric, and plan your layout before sewing so color and print stay balanced.
Quilting layer cakes is one of the most satisfying ways to start a project. You open a pack of perfectly coordinated 10 inch squares, and suddenly the hardest part of choosing fabric is already done. But once the excitement settles, practical questions follow. Should you wash them? What about those zigzag edges? How do you keep the layout from looking random?
This guide is about technique, the hands-on part of working with a layer cake. If you’re still choosing a pattern, our guide to quilt patterns for layer cakes covers pattern selection in detail. Here we’ll walk through what’s in a pack, how to prepare squares before sewing, how to cut them into smaller units, how to mix in other fabric, and how to plan your layout. We’ll also cover a step many guides skip, sorting duplicates and value before you start, and finish with common mistakes to avoid. At Bee’s Quilt Shop, we always found that a little preparation made layer cake quilts come together beautifully.
What You Get In A Layer Cake Pack
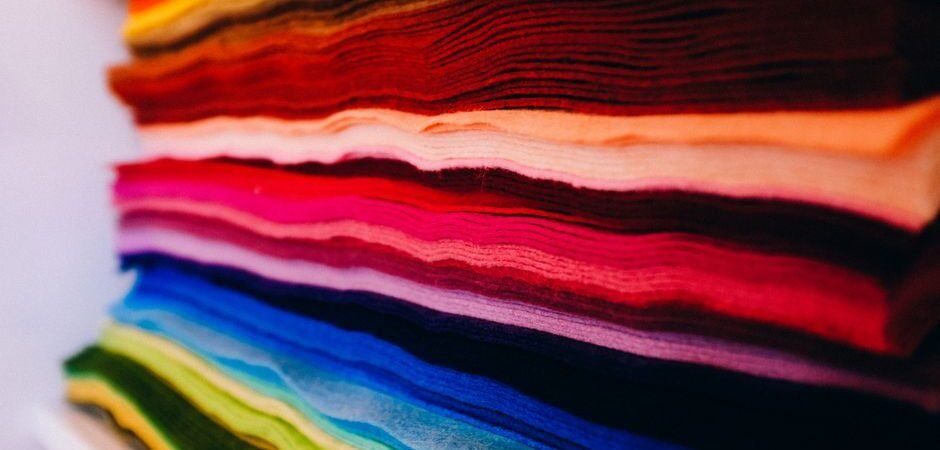
A layer cake is a bundle of 10 inch squares cut from a single fabric collection. Most packs contain around 42 squares, though counts vary by manufacturer, so it’s always worth checking the label. You typically get one or two squares of each print in the collection, which gives you a full sampling of the line without buying yardage of every fabric. Our precut size chart shows how big a simple quilt one pack or several will make.
The squares usually have pinked edges, the little zigzags cut by the manufacturer to reduce fraying during shipping and handling. Because every fabric in the pack was designed together, colors and prints coordinate naturally. That makes layer cakes a great way to experiment with a collection you love, or to make a quilt with a cohesive look without spending hours pulling fabric. They’re also handy for testing a new block design, since you can make many blocks from one pack. Some quilters collect layer cakes from favorite designers and save them for special projects. Knowing what you have in the pack is the first step to using it well, and it makes every later decision a little easier.
Preparing Your Layer Cake Before You Sew
Before you sew, take a few minutes to prepare your squares. Start by gently separating them and pressing each one. Press rather than iron, lifting the iron and setting it down instead of sliding it, so the squares keep their shape. A light spray starch can make them easier to cut and sew accurately, especially if you plan to cut them into smaller pieces.
The pinked edges raise a common question. Some quilters measure from the outer points, while others measure from the valleys. Either can work, but the most important thing is consistency. Prewashing is another common question. Most quilters don’t prewash precuts, since small squares can fray, shrink unevenly, or tangle in the wash. If you’re worried about color bleeding, you can test a square by soaking it in warm water, or use color catcher sheets when washing the finished quilt. If you do prewash, hand washing and laying the squares flat to dry helps them keep their shape.
Cutting Quilting Layer Cakes Into Smaller Units
One of the best things about quilting layer cakes is how versatile 10 inch squares are. You can sew them whole for a simple patchwork look, or cut them into smaller units for more complex blocks. Cutting a square in half gives you two rectangles. Cutting it into quarters gives you four 5 inch squares, which is the size of a charm square.
Half square triangles are another popular option. Pair two squares right sides together, sew around the edges or along diagonal lines, and cut them apart to create multiple triangle units at once. The exact method varies by pattern, and each method produces a slightly different number and size of units. Keeping it conceptual, the idea is that one 10 inch square can become many smaller pieces, so a single pack can produce a surprising variety of blocks. Always check your pattern’s cutting instructions and measure carefully, since small differences in cutting can affect how blocks fit together later.
Mixing A Layer Cake With Other Fabric
A layer cake on its own often makes a lap or baby quilt. Adding other fabric is the easiest way to make it bigger or give it a different look. Background fabric, such as a solid white, cream, or gray, can be cut into squares, strips, or triangles and combined with the precuts. That stretches the pack and gives the eye places to rest.
Accent fabrics can add interest too. A bold solid pulled from one of the prints can tie the quilt together, while a contrasting fabric can make certain blocks pop. Sashing strips between blocks and borders around the edge are classic ways to add size. When choosing extra fabric, lay a few squares on top of your candidates in natural light. If the extra fabric supports the precuts without competing, it’s a good match. Buying a little extra beyond what you think you need is helpful, since it gives you flexibility to adjust the layout or fix mistakes without searching for a match later.
Planning Your Layout Before You Sew
Planning your layout before sewing is one of the most important steps. Lay all your squares or blocks out on the floor, a bed, or a design wall. Step back and look for clusters of similar colors or prints. Swap squares around until the colors feel evenly distributed across the quilt.
Many quilters take a photo of the layout and look at it on a phone screen, since a smaller image makes uneven spots easier to see. Viewing the photo in black and white can help you check value balance, showing whether light and dark squares are spread evenly. Once you’re happy with the layout, label each row with a pin or a numbered tag so the order doesn’t get mixed up when you start sewing. Stack each row in order and keep it near your machine. This small amount of planning can make the difference between a quilt that feels balanced and one where a few prints clump together in one corner.
Sorting Duplicates And Value When Quilting Layer Cakes
Here’s a step many layer cake guides skip: sorting your squares before you start. Many packs include two squares of some prints, and a few include duplicates you might not notice at first glance. Spread the squares out and group matching prints together. Knowing which prints repeat helps you plan where to place them so they don’t end up side by side.
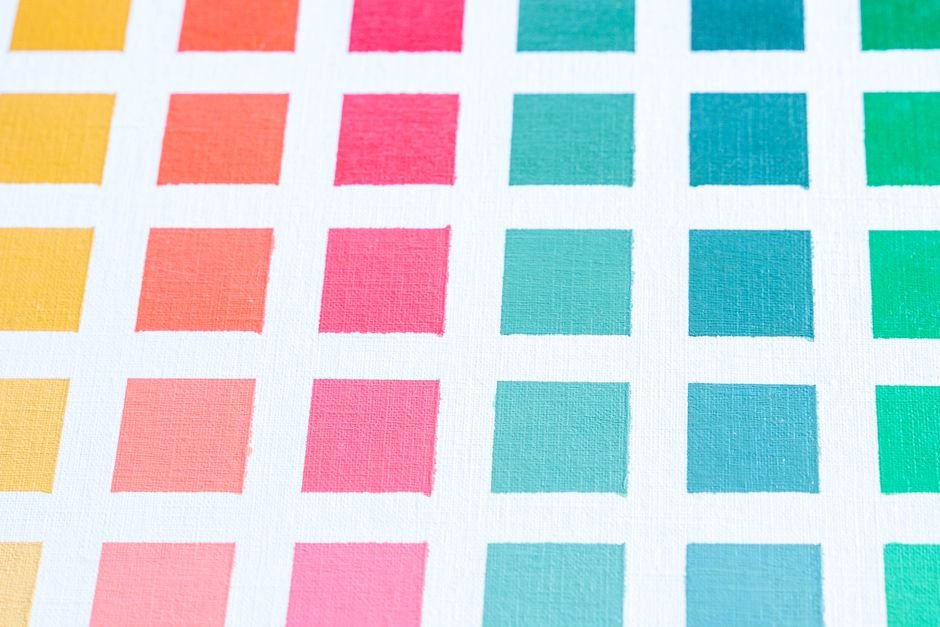
Sorting by value is just as useful. Divide the squares into light, medium, and dark piles. If your pattern relies on contrast, you’ll know right away whether you have enough lights and darks. Some packs lean heavily toward mid-tones, which can make certain designs look muddy. Sorting before quilting layer cakes lets you choose a pattern that fits the pack, or add a few squares from your stash to fill gaps. It only takes a few minutes, and it makes layout planning much easier because you already know what you’re working with. Many quilters keep their sorted piles in labeled bags until they start sewing.
Mistakes To Avoid With Precut Squares
A few mistakes come up often with precut squares. Inconsistent seam allowances are the biggest one. Because you’re sewing many squares together, even a small difference in seam width adds up and can make rows different lengths. Test your quarter inch seam on scraps first, and check it again partway through.
Mixing up the edges is another common problem. Some fabrics have a subtle directional print, and it’s easy to rotate a square without noticing. Check each square’s orientation before sewing. Stretching the squares is a third issue, which often happens from ironing instead of pressing or from handling bias edges on triangle units. Measuring inconsistently from pinked edges can also cause trouble. Finally, rushing the layout can leave color clusters you’ll notice later. Taking your time with these steps helps your layer cake quilt come together smoothly and look as good as the fabric deserves.
Layer cakes make it easy to create something beautiful, and Bee’s Quilt Shop has more guides for your next project. Explore our Fabric Buying and Precuts guides, compare formats in our precut comparison, or browse the Fabric collection for background and accent fabrics.
Frequently Asked Questions
Should I wash a layer cake before using it?
Most quilters don’t prewash precuts because small squares can fray and shrink unevenly. If you’re worried about bleeding, test a square or use color catcher sheets when washing the finished quilt.
How do I measure layer cake squares with pinked edges?
Measure consistently from either the outer points or the inner valleys of the zigzag. Most quilters use the points, but consistency matters more than which method you choose.
Can I cut a layer cake into smaller squares?
Yes, a 10 inch square can be cut into four 5 inch squares, two rectangles, or used to make half square triangles. Check your pattern’s cutting instructions for exact sizes.
How do I make a layer cake quilt bigger?
Add background fabric, sashing, or borders to stretch the pack. Many quilters also combine two layer cakes for larger quilts.
Why are my layer cake rows different lengths?
Uneven rows usually come from inconsistent seam allowances that add up across many squares. Bee’s Quilt Shop always suggested testing your quarter inch seam on scraps before starting.
This article is intended for general educational and informational purposes only and reflects common quilting practices. Precut contents and square counts vary by manufacturer, and results vary by skill level, fabric, and equipment. Bee’s Quilt Shop shares this guide as part of our ongoing library of quilting and sewing resources.