Quick answer: To choose backing for quilt projects, start with the quilt’s purpose, then buy enough fabric to extend several inches past the top on every side. Pick a color and print that suits your quilting thread, choose quality fabric similar in weight to the top, and decide whether to prewash it the same way you treated the top.
Picking backing for quilt projects can feel like an afterthought, but it’s one of the last big decisions that shapes the finished piece. The right backing makes quilting smoother, shows off your stitches the way you want, and holds up to years of use. The wrong one can lead to puckers, mismatched shrinkage, or a back that just doesn’t feel right with the front.
This guide is a practical, step-by-step look at choosing backing fabric for a specific quilt. We’ll start with the quilt top and its purpose, move through how much fabric you need, how to choose color and print, what to look for in fabric quality, and whether to prewash. We’ll also cover a technique many guides skip: when the backing can double as your binding. Then we’ll put it all together into a simple decision process. If you’d like a broader overview of backing types first, our guide to quilt backing options is a good place to start. At Bee’s Quilt Shop, we found that a few minutes of planning here saved a lot of frustration later.
Begin With The Quilt Top And Its Purpose
Every backing decision starts with the quilt top. Look at its colors, its style, and its overall feel. A bright, modern quilt might suit a bold solid or a graphic print on the back, while a traditional quilt might look best with a classic small floral or a tone-on-tone print from the same collection. Some quilters like the back to echo the front, while others enjoy a surprising contrast.
Then think about purpose. A bed quilt that will be washed often needs durable fabric that wears evenly. A baby quilt might benefit from something soft. A wall hanging barely needs to be seen, so practicality wins. A gift quilt might deserve something special that makes the recipient smile when they flip it over. Purpose also affects how you’ll quilt it, which affects what fabric is easiest to work with. Keeping both the look and the job in mind narrows the options quickly and helps you choose fabric that feels like part of the design rather than something grabbed at the last minute. It also gives you a clear reason for your choice, which makes shopping faster.
How Much Backing For Quilt Edges You Need Beyond The Top
Backing should always be larger than your quilt top, because the layers can shift slightly during quilting and you’ll want room to trim everything square at the end. A common guideline for home machine quilting is to add several inches to every side, so the backing extends well beyond the top in every direction. If you’re sending the quilt to a longarm quilter, ask how much extra they need, since frames usually require more on each side. The backing calculator in our Toolbox adds this extra for you and rounds up to the next 1/8 yard.
To figure out how much fabric to buy, measure your finished top rather than relying on the size listed in the pattern. Add the extra inches to both the width and length. If that width is wider than your fabric, you’ll need to piece the back or use wide backing. Keep your math approximate and round up, since a little extra is far easier to work with than coming up short. Leftover backing fabric can always become binding, a label, or part of a future scrappy back, so very little goes to waste.
Choosing Color And Print So Quilting Stitches Look Good
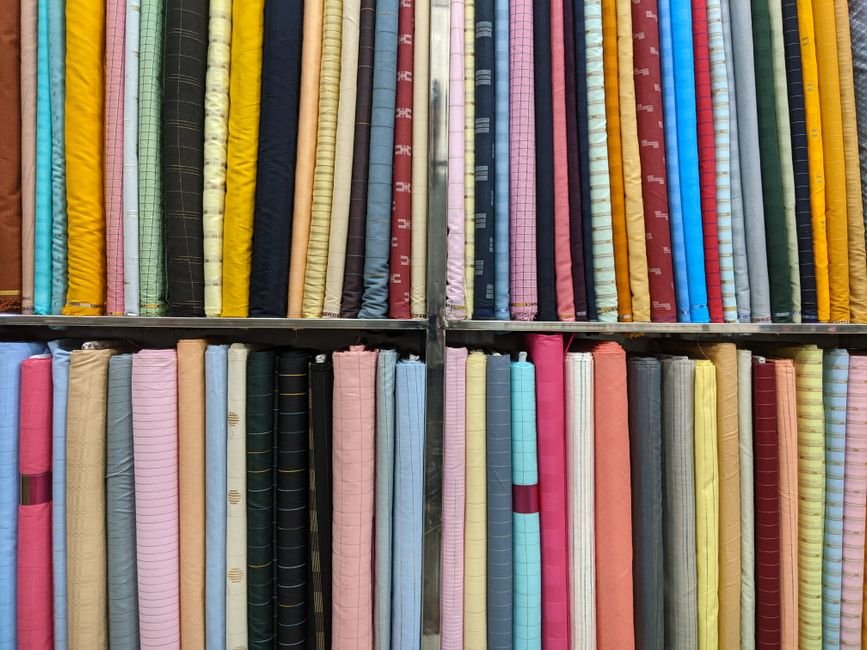
The backing changes how your quilting looks from the back, so it helps to think about thread at the same time as fabric. If you plan to use one thread color on both the top and the bobbin, choose a backing that looks good with that thread. A matching or blending backing makes stitches recede, while a contrasting backing makes every line stand out.
Print scale matters too. A busy, small-scale print hides small wobbles, tension adjustments, and starts and stops, which many quilters appreciate while building confidence. A large-scale print can be beautiful, but it may compete with dense quilting. A solid or near-solid shows quilting most clearly, which is lovely for detailed free-motion work. If you’re unsure, lay a few backing candidates next to your thread spools and squint. Whichever combination looks calm and pleasing from a distance is usually a good choice. Many quilters find a medium-scale print or a blender offers the best balance for most quilts.
Quality, Weave, And Thread Count Considerations
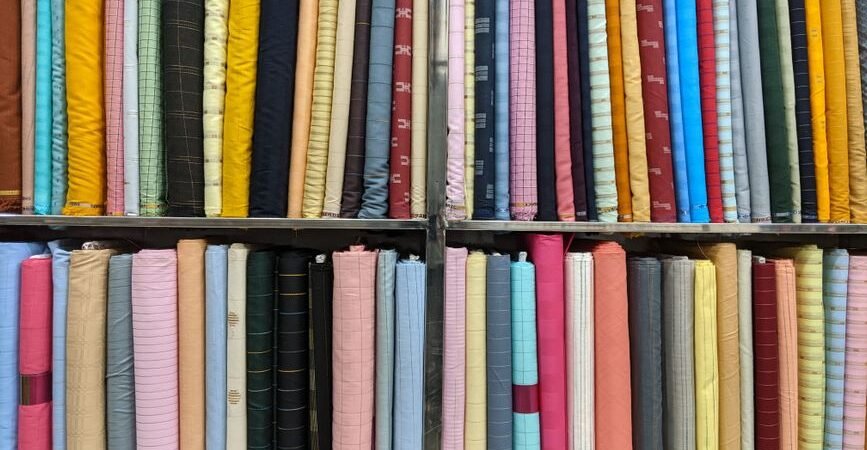
Backing fabric quality matters as much as the fabric on top. Quilting cotton with a smooth, even weave lets the needle pass through cleanly and helps prevent skipped stitches. Fabric that’s too loosely woven can let batting fibers beard through, while fabric that’s extremely tightly woven can be harder to needle, especially by hand.
Thread count is one clue, though manufacturers don’t always list it. A simple test is to hold the fabric up to the light. If it looks very sheer or you can see gaps between threads, it may be too loose for a durable backing. If it feels stiff and dense, it may be harder to quilt through. Ideally, the backing should be similar in weight and fiber to the quilt top, so the layers behave the same way when washed and used. Mixing very different fabrics can lead to uneven shrinkage or wear over time. Our guide on quilt backing material covers fiber choices in more depth.
Prewashing Backing Fabric
Prewashing is a personal choice, but consistency matters. If you prewashed the fabrics in your quilt top, it’s usually wise to prewash the backing too. If you didn’t, many quilters leave the backing unwashed as well. That way, the top and back shrink at a similar rate when the finished quilt is washed, which helps prevent puckering and distortion.
Prewashing has other benefits. It removes sizing and finishes, reveals any color bleeding before the fabric meets your top, and softens the fabric. Some quilters prefer the crispness of unwashed fabric for easier cutting and handling, and they rely on color catcher sheets when washing the finished quilt. Either approach can work. The important thing is knowing what you did with the top and matching it. If you’re using a fabric very different from the top, such as flannel or a sheet, prewashing is often recommended, since those fabrics can shrink more than standard quilting cotton.
When The Backing For Quilt Binding Does Double Duty
Here’s a technique many backing guides skip: self-binding. Instead of cutting separate binding strips, you cut the backing an inch or two larger than the quilt top after quilting, then fold that extra fabric over to the front and stitch it down. The backing becomes the binding, creating a neat frame around the quilt.
Self-binding works best for smaller quilts, baby quilts, and quick projects, and it requires a little extra planning when choosing backing for quilt edges. The backing fabric will show on the front as a border, so it needs to look good with the top. Fabric that’s sturdy and not too slippery is easiest to fold and stitch neatly. Mitering the corners gives a polished look. Many quilters find self-binding a little less durable than a traditional double-fold binding for quilts that get heavy use, so it’s worth weighing the convenience against how the quilt will be used. It’s a handy option to have in your toolbox.
A Simple Process For Making The Final Call
When it’s time to decide, work through the steps in order. First, look at the quilt top and think about its purpose. Second, measure the finished top and add extra inches to every side, checking with your longarm quilter if you’re sending it out. Third, decide on thread color, then choose a backing color and print that works with it.
Fourth, check fabric quality, making sure it’s similar in weight to the top and has a smooth, even weave. Fifth, decide on prewashing, matching what you did with the top. Finally, consider whether the backing might double as binding or whether you’ll cut separate strips. If two fabrics still seem equally good, choose the one you’re most excited to see when the quilt is folded. Taking backing seriously is one of the simplest ways to make a quilt feel finished and thoughtful from every angle.
The back of your quilt deserves the same care as the front, and Bee’s Quilt Shop has more guides to help. Explore our Fabric Buying and Precuts guides, read about bias binding for finishing edges, or browse the Fabric collection for backing options.
Frequently Asked Questions
How much bigger should quilt backing be than the top?
A common guideline for home quilting is several inches larger on every side. Longarm quilters usually need more, so ask them before buying fabric.
Can I use any fabric for the back of a quilt?
Many fabrics can work, but quilting cotton similar in weight to the top is the most common choice. Very loose or very stiff fabrics can cause bearding or make quilting harder.
Should backing match the front of the quilt?
It doesn’t have to match, but it should look good with the top and your thread. Some quilters echo the front, while others choose a fun contrast.
Do I need to prewash quilt backing?
It’s a personal choice, but many quilters match what they did with the top. That helps the layers shrink at a similar rate when the quilt is washed.
What is self-binding on a quilt?
Self-binding means folding extra backing fabric over to the front to finish the edges instead of using separate binding strips. Bee’s Quilt Shop always found it a handy option for small quilts and quick gifts.
This article is intended for general educational and informational purposes only and reflects common quilting practices. Fabric behavior and shrinkage vary by manufacturer, and results vary by skill level, fabric, and equipment. Bee’s Quilt Shop shares this guide as part of our ongoing library of quilting and sewing resources.