Quick answer: Beginner embroidery kits bundle a printed or stamped design, fabric, a hoop, needles, floss, and instructions so you can start stitching without hunting down supplies one by one. Before you buy, check the fabric quality, the floss amount, the hoop size, and how clear the instructions are, and pick a small design with only a few stitch types for your first project.
Beginner embroidery kits are one of the easiest ways to try hand stitching without buying a pile of supplies first. You open the box, find a design, a hoop, some floss, and a needle, and you can be stitching within the hour. That convenience is a big part of why kits are so popular, but not every kit is a good first experience, and a frustrating one can put people off a craft they would otherwise love.
This guide walks through what beginner embroidery kits usually include and how to choose one that fits your patience and your goals. We’ll compare stamped, pre-printed, and counted kits, cover what to check before you buy, and look at the skills a starter kit can help you practice. We’ll also cover something most kit reviews skip, which is the handful of small tools that kits rarely include but that make stitching more pleasant. At Bee’s Quilt Shop, embroidery was always part of our story, and we’ve watched plenty of stitchers start with a simple kit and grow from there.
What Beginner Embroidery Kits Usually Include
Most beginner embroidery kits follow a familiar formula. You’ll usually get a piece of fabric with the design already marked on it, a plastic or wooden hoop, one or two needles, a set of pre-sorted floss colors, and an instruction sheet or booklet. Many kits also include a stitch guide showing how to work the basic stitches, which is especially handy if you’ve never held an embroidery needle before.
What’s often missing is just as important to know. Many kits don’t include scissors, a needle threader, or a way to keep your floss organized while you work. Some skip a backing or finishing method, so you’ll need to decide how to display the piece once it’s done. Others supply just enough floss to finish the design with very little to spare, which can be stressful if you need to unpick a section. Reading the contents list carefully before buying helps you spot these gaps. If you’d like more background on the wider kit market, our guide to embroidery kits covers the options beyond true beginner sets.
How to Choose the Right Beginner Embroidery Kit
The right beginner embroidery kit is the one you’ll actually finish. That sounds obvious, but many new stitchers pick the prettiest design in the shop and then stall halfway because it’s larger or more detailed than they expected. A smaller design, often something that fits in a hoop around five or six inches across, gives you a manageable first project and a finished piece to feel good about.
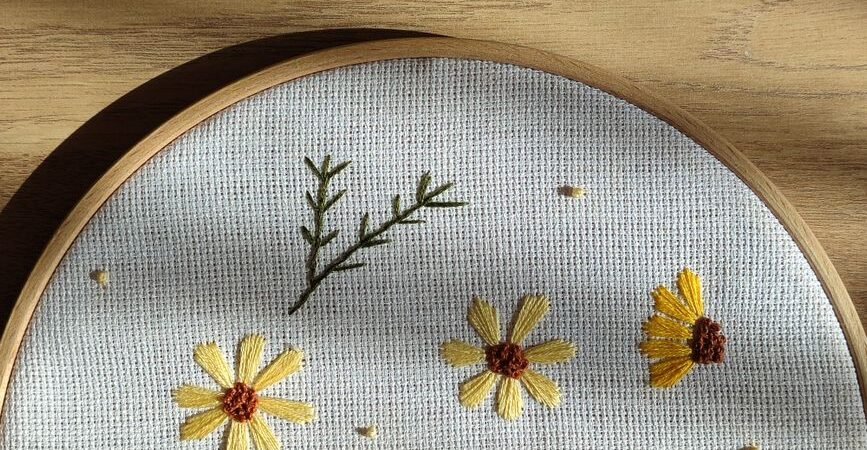
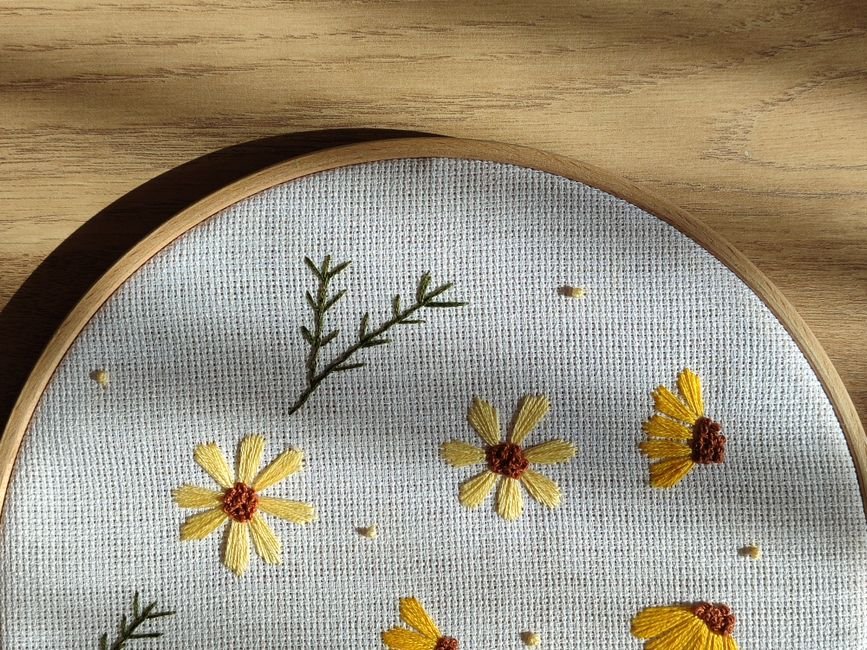
Stitch variety matters too. A kit that uses three or four stitches is a gentle introduction, while one that asks for a dozen different techniques can feel overwhelming on a first attempt. Look at the instruction preview or the stitch list if the seller shows one. Your patience level is worth an honest thought as well. Some people love slow, detailed work, while others prefer quick wins and bold shapes. Neither is wrong, and preferences vary from stitcher to stitcher. Many beginners find that a simple floral, a short word, or a small motif keeps the project fun. You can always move up to a more ambitious kit once you know what you enjoy.
Stamped, Pre-Printed, and Counted Kits Compared
Kits generally come in three styles. Stamped kits have the design printed in faint lines on the fabric, and you stitch over those lines to create the image. They’re the most common choice for surface embroidery and are usually the easiest place to begin, because you simply follow the marked outline.
Pre-printed kits go a step further and print the full color image on the fabric. You add stitching on top for texture and detail, but the color is already there. These can be satisfying for beginners because the piece looks finished quickly, though some stitchers find it harder to judge their own progress when the background is already colored in.
Counted kits are most often cross stitch or counted thread projects. The fabric is blank, and you work from a chart, counting squares to place each stitch. Counted work is very approachable, but it asks for patience and careful counting, which is a different kind of focus than following a printed line. For true beginners in surface embroidery, many stitchers suggest starting with a stamped kit. If cross stitch is the goal, a small counted kit on a beginner friendly fabric is a fine first step.
What to Check Before You Buy a Kit
Before you commit to a kit, take a close look at a few details. Fabric quality is a good starting point. A tightly woven cotton or cotton blend holds stitches neatly, while thin, loosely woven fabric can pucker and show every thread you pull through. If the seller lists the fabric type, that’s a helpful sign.
Next, check the floss. Kits that use a recognized floss brand or list the color numbers tend to give you better consistency, and it’s easier to buy extra if you run short. Check the hoop size against the design, too, since a design that’s larger than the hoop means you’ll need to move the hoop as you work. Finally, look for clear instructions with diagrams, not just a single photo of the finished piece.
Common red flags include blurry or faint transfer lines, vague contents lists, and reviews that mention missing colors or confusing directions. A very low price isn’t automatically a problem, but it’s worth reading the details carefully. A little homework here saves a lot of frustration later.
Skills You Can Build with a Starter Kit
A starter kit is a wonderful way to practice the foundational stitches that show up in almost every embroidery design. Many beginners learn the backstitch first, since it’s used for outlines and lettering. The running stitch and stem stitch are also common early stitches, and they’re great for building a feel for even spacing. Satin stitch, which fills small shapes with smooth, parallel stitches, often comes next, followed by the French knot, which many stitchers find tricky at first but very rewarding once it clicks.
Beyond specific stitches, kits help you build habits like keeping consistent tension, starting and ending threads neatly, and separating floss strands. Everyone learns at their own pace, so there’s no fixed timeline for when these skills will feel natural. Some stitchers feel comfortable after one kit, while others enjoy working through several before trying something new. Our overview of types of embroidery stitch is a helpful companion if you’d like to explore stitches beyond what your kit covers.
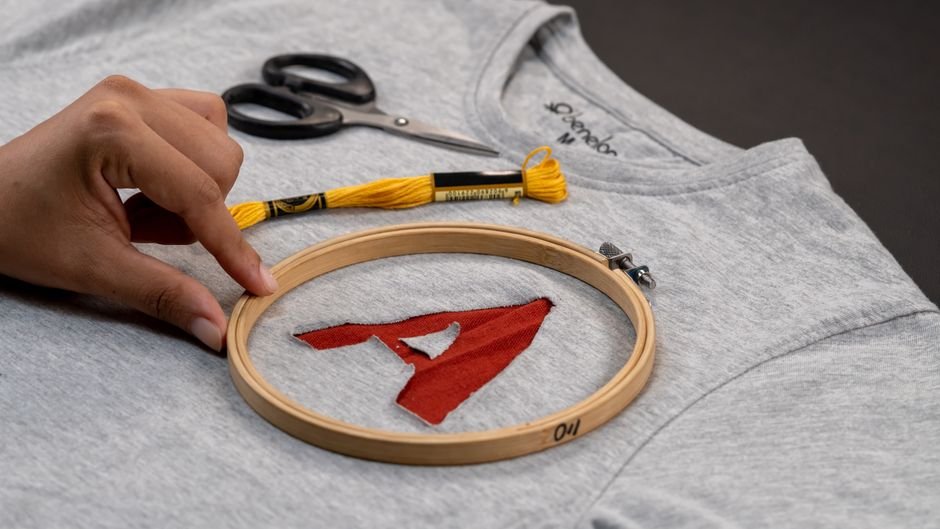
Filling the Gaps Most Beginner Embroidery Kits Leave
Most beginner embroidery kits get you started, but very few include everything that makes stitching comfortable. A small pair of sharp embroidery scissors is the first thing many stitchers add, since cutting floss cleanly makes threading easier and keeps ends tidy. A needle threader is another inexpensive helper, especially when you’re working with several strands.
Good light is a gap almost no kit addresses. Stitching in dim light strains your eyes and makes it hard to see transfer lines, so a bright lamp or a clip-on light can make a real difference. A simple floss organizer or a few cardboard bobbins keep colors from tangling, and a water-soluble marking pen lets you fix or add guide lines if the printed ones fade. Some stitchers also like a thimble for tougher fabrics.
Finishing is the other gap. Many kits stop once the stitching is done, leaving you to figure out how to display the piece. Trimming and backing a hoop, or mounting the work in a frame, is a simple skill worth learning early, and it turns a practice piece into something you’ll want to show off.
When to Move On from Kits to Your Own Designs
After a kit or two, many stitchers start to wonder what it would be like to choose their own colors and designs. That’s a natural next step. You might begin by changing the floss colors in a kit you’ve already stitched, then move on to tracing a simple design onto plain fabric and stitching it with supplies you’ve chosen yourself.
Building your own supply stash is the bridge between kits and original work. Our guide to embroidery supplies walks through the hoops, needles, fabrics, and floss that are worth collecting, and our guide to embroidery art explores styles and ideas once you’re ready to stitch something that’s entirely yours. There’s no rush to leave kits behind, either. Plenty of experienced stitchers still enjoy a well-designed kit when they want a relaxing project without any planning. The goal is simply to enjoy the craft, whichever path keeps you stitching.
Ready to pick your first project? Bee’s Quilt Shop has a whole library of stitching guides to help you along. Browse our Embroidery and Monogramming guides, explore the Kits collection for project ideas, and read our embroidery floss guide before choosing your colors.
Frequently Asked Questions
What is the easiest embroidery kit for a complete beginner?
Many beginners find a small stamped kit with a simple design and only a few stitch types the easiest place to start. A design that fits comfortably in a five or six inch hoop is usually a manageable first project.
Do beginner embroidery kits come with everything I need?
Most kits include fabric, a hoop, needles, floss, and instructions, but many leave out scissors, a needle threader, and good lighting. Check the contents list before you buy so you know what you’ll need to add.
Is cross stitch or embroidery easier for beginners?
Both are very approachable, but they ask for different skills. Cross stitch relies on counting squares on a chart, while surface embroidery follows printed lines and uses a wider variety of stitches, so it comes down to which style appeals to you.
What if I run out of floss in my kit?
If the kit lists the floss brand and color numbers, you can usually buy a matching skein separately. Bee’s Quilt Shop always suggested noting those numbers before you start, just in case you need a little extra.
How long does it take to finish a beginner embroidery kit?
It really depends on the size of the design, the stitches involved, and how much time you spend stitching. Some people finish a small kit in a few sittings, while others enjoy working on it slowly over several weeks.
This article is intended for general educational and informational purposes only and reflects common hand embroidery practices. Kit contents, materials, and instructions vary by manufacturer, and results vary by skill level, fabric, and equipment. Bee’s Quilt Shop shares this guide as part of our ongoing library of quilting, sewing, and embroidery resources.