Quick answer: Quilting a panel means machine or hand stitching through a printed fabric panel’s layers, often following its built-in design lines, then framing it with a border and finishing with binding for a complete quilt.
Quilting a panel presents a slightly different challenge than quilting a pieced top, since you’re working with a fixed, preprinted design rather than a grid of blocks you built yourself piece by piece over many hours of cutting and sewing at your own machine. The printed design carries its own visual weight and its own established color palette, and the quilting stitches you add need to complement rather than distract from or fight against that existing artwork already fixed permanently onto the fabric’s surface before you ever pick up a needle to begin. Getting a panel-based quilt to look genuinely finished, rather than like an afterthought stitched together at the last minute without much planning, comes down to a handful of specific preparation and stitching decisions made well before you ever start sewing through the three layers together as a complete sandwich. This guide covers preparing a panel before you quilt it, choosing a quilting design for a printed panel, deciding whether to follow the panel’s printed lines, machine quilting without puckering, adding a border, and binding a panel-based quilt properly from start to finish. At Bee’s Quilt Shop, panel projects are a favorite recommendation for quilters wanting a showstopper project without an extensive piecing process first, and the quilting itself genuinely deserves just as much careful thought and planning as any fully pieced project would demand from a quilter working through it. Many first-time panel quilters are surprised by how much this single decision shapes the entire finished look of the piece.
Preparing A Panel Before You Quilt It
Preparing a panel properly before you quilt it starts with squaring up its edges using a large ruler, since panels can occasionally print slightly off-grain due to the manufacturing process itself and the way the fabric is fed through industrial printing equipment at high speed during large-scale production runs. Press out any fold lines left over from packaging using a warm iron, working carefully around any delicate printed details that might be sensitive to excessive heat or direct steam exposure during pressing, particularly on panels with metallic or specialty ink accents. Once squared and pressed completely flat, layer the panel with batting and backing just as you would a pieced quilt top, basting thoroughly across the whole surface to prevent shifting once you begin the actual quilting process across the printed image itself. Taking the time to double-check that the panel is lying perfectly flat before basting, with no residual bubbling or waviness anywhere across its surface, saves considerable frustration once the quilting stitches actually go in and can no longer easily be removed without leaving visible needle holes behind. A few extra minutes spent here genuinely pays for itself many times over by the time the project is finished.
Choosing A Quilting Design For A Printed Panel
Choosing a quilting design for a printed panel means deciding how much visual attention you want the quilting stitches themselves to draw, relative to the panel’s existing artwork already printed onto the fabric before it ever reached your sewing table for the quilting stage. A common approach uses simple, understated quilting, like straight lines or a gentle overall grid, that adds texture and holds the layers together without competing visually with the printed design itself for the viewer’s attention once it’s finished. A more elaborate approach uses quilting stitches that specifically echo or outline elements within the printed image, adding dimensional texture that enhances rather than distracts from the artwork, sometimes called echo quilting when it traces just outside a printed shape’s edges over and over in a repeating pattern. Many quilters find it helpful to sketch a rough quilting plan directly onto a printed copy of the panel’s design first, working out the stitching path before committing it to the actual fabric with permanent thread and stitches. Testing your planned design on a scrap of similar fabric first is also a smart way to preview how the finished texture will actually look and feel once it’s stitched.
Following Vs Ignoring The Panel’s Printed Lines
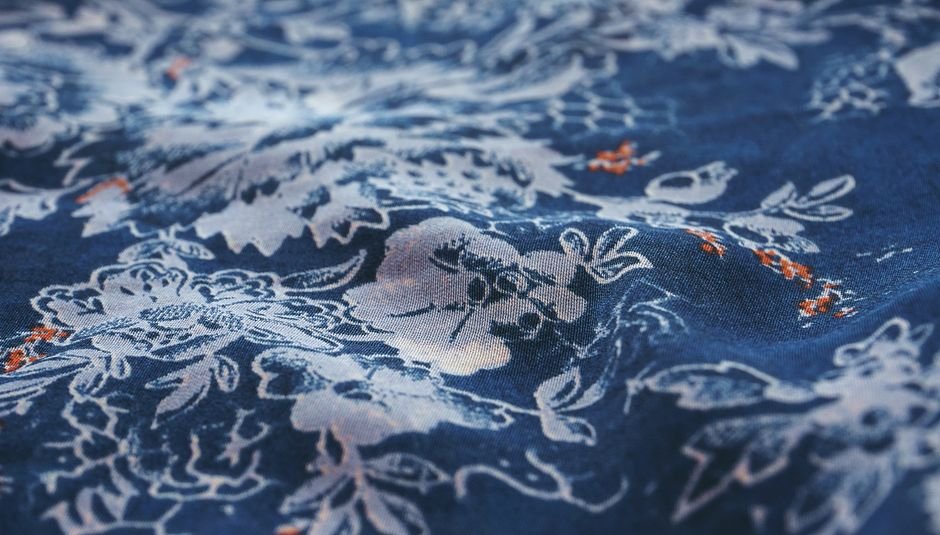
Many panels include printed quilting guidelines directly on the fabric itself, and deciding whether to follow them versus designing your own approach is largely a matter of personal preference and available confidence with free-motion stitching techniques. Following the printed lines offers a genuinely convenient built-in guide, ensuring your quilting stitches complement the design exactly as the manufacturer intended when the panel was originally designed and printed for sale to quilters. Designing your own quilting pattern instead gives you considerably more creative control and a more personalized finished result, though it requires more planning and confidence to execute well without a printed guide to follow along the way as you stitch through every layer. Some quilters choose a hybrid approach, following the printed guidelines for the busiest, most detailed sections of the image while adding their own simpler quilting across quieter background areas of the panel where less detail needs to be preserved.
Machine Quilting A Panel Without Puckering
Machine quilting a panel without puckering requires the same fundamentals that apply to any quilting project, applied with a bit of extra attention given the panel’s fixed, non-repeating design that can’t easily hide an inconsistency once it’s been stitched permanently into place. Thorough basting before you start stitching is essential, since any shifting during quilting is immediately obvious on a large, detailed printed image in a way it might not be on a busy pieced pattern full of seams and color changes that naturally distract the eye from small flaws. Using a walking foot for straight-line quilting helps feed all three layers evenly through your machine without one layer dragging behind the others, and quilting from the center of the panel outward toward the edges helps push any excess fabric outward rather than trapping it in the middle where it would create visible puckering across the finished design. Working in smaller sections and stopping periodically to smooth the layers by hand also helps catch a developing pucker before it becomes a permanent, visible problem in the finished piece that’s difficult to correct after the fact.
Adding A Border Around A Panel
Adding a coordinating border around a printed panel serves two practical purposes at once: it increases the finished project’s overall size to something more genuinely useful for its intended purpose, and it visually frames the printed design with a clean, deliberate edge that reads as intentional rather than accidental or rushed at the last minute. Choosing border fabric in a color pulled directly from the panel’s own printed palette helps the border feel like an intentional design choice rather than an afterthought added simply to reach a larger size for the intended use of the finished quilt. A single, simple border often works better than multiple busy borders for a panel project, since the goal is framing the existing artwork rather than adding competing visual elements that pull attention away from the printed center of the piece and its carefully chosen detail. A narrow accent strip between the panel and the outer border can also add a subtle finishing touch without overwhelming the printed design itself.
Binding A Panel-Based Quilt
Binding a panel-based quilt follows the exact same process used for any other quilt, regardless of what’s happening on the front surface of the finished piece you’ve spent so much time preparing, layering, and carefully quilting. Trim the layered and quilted edges evenly and square using your ruler, then cut and piece binding strips, attaching them around the entire perimeter with mitered corners for a clean, professional finish that matches the care taken with the rest of the project’s overall construction. Fold the binding to the back and stitch it down by hand or machine to complete the project, giving your panel quilt the same polished, finished edge as any other quilting project you might undertake, pieced or otherwise, from the very first cut all the way to the very last stitch of binding. Once bound, a panel quilt often becomes a genuine conversation piece precisely because the printed artwork and the quilting work together as a single, cohesive finished statement rather than two separate elements competing for attention.
Ready to finish quilting your panel? Browse our Quilting Techniques and Skills guides for more finishing tips, or explore our Fabric collection to see what’s currently available.
Frequently Asked Questions
How do I prepare a panel before quilting it?
Square up the panel’s edges with a large ruler, press out any fold lines from packaging, and layer it with batting and backing just like a pieced quilt top.
Should I quilt along the panel’s printed lines?
Many panels include printed quilting guidelines you can stitch directly for a coordinated look, though designing your own quilting pattern is also an option.
How do I avoid puckering when machine quilting a panel?
Baste thoroughly to prevent shifting, use a walking foot for straight lines, and quilt from the center outward to push excess fabric toward the edges.
Should I add a border around a printed panel?
Adding a coordinating border is common practice, both to reach a larger finished size and to frame the printed design with a clean visual edge.
How do I bind a panel-based quilt?
Binding a panel quilt follows the same process as any other quilt: trim the layered edges square, then attach binding strips around the perimeter.
This article is intended for general educational and informational purposes only, based on common quilting practices. Panel designs and printed guidelines vary by manufacturer. Bee’s Quilt Shop shares this guide as part of our ongoing library of quilting and sewing resources.