Quick answer: The best iron for sewing and quilting balances heat range, weight, and soleplate material to your typical fabric and pressing style, since preferences vary by project and budget. Steam helps relax stubborn wrinkles while dry heat protects bias edges from stretching, so most quilters end up using both depending on the task.
Choosing the right iron matters a lot more to a quilter or sewist than it does to someone just pressing shirts before work, since a good iron gets used constantly throughout piecing, pressing seams, and finishing garments, not just occasionally on laundry day. A poorly matched iron can actually work against your project, stretching bias edges, leaving scorch marks, or simply not producing the crisp, flat seams a finished piece needs to look professional. This guide walks through what to actually look for when shopping for the best iron for sewing and quilting, and how to avoid the most common pressing mistakes along the way. There’s no single model that qualifies as the best iron for every sewist, since the right choice depends heavily on the fabrics you work with most and how you personally prefer to press. Budget matters too, and a mid-range iron cared for properly will often outperform a premium model that gets neglected, so it’s worth weighing purchase price against the maintenance habits you’re realistically likely to keep up with. Reading reviews from other quilters specifically, rather than general household reviews focused on everyday laundry pressing, also tends to surface details about heat consistency and control that matter most for piecing work.
What To Look For In An Iron For Sewing And Quilting
Heat range, weight, and soleplate material are the three factors worth paying closest attention to when shopping for an iron meant for sewing and quilting. Heat range matters because different fabrics need different temperatures, cotton generally tolerates the highest heat while synthetics and delicate fabrics need much lower settings, so an iron with precise, reliable temperature control across a wide range gives you more flexibility across different projects. Weight affects both control and fatigue, a heavier iron can press seams flatter with less effort since gravity does some of the work for you, but it can also tire your arm faster during a long piecing session, so many quilters prefer a mid-weight iron that balances pressing power with comfortable extended use. Soleplate material affects glide and durability, stainless steel soleplates tend to glide smoothly and resist scratching, while ceramic soleplates often heat more evenly, and ceramic or nonstick coatings can sometimes wear down over years of heavy use in a way that stainless steel typically doesn’t. Auto shut-off features are also worth checking, since many sewists get pulled away mid-project, and an iron that powers down automatically after a period of inactivity adds real peace of mind without interrupting a busy pressing routine.
Steam Vs Dry Ironing For Fabric Projects
Steam versus dry ironing is a decision that comes up constantly during a sewing or quilting project, and knowing when each approach makes sense saves a lot of frustration. Steam helps relax fibers and press out stubborn wrinkles more effectively than dry heat alone, which is genuinely useful for pressing finished seams flat or removing wrinkles from yardage before cutting. That said, steam can also distort fabric if used carelessly, particularly on bias-cut edges or loosely woven fabric, since the added moisture makes fibers more pliable and therefore more prone to stretching under the weight and movement of the iron. Many quilters use dry heat for careful piecing work where precision matters most, like pressing seam allowances during block construction, and save steam for finishing steps like pressing a completed quilt top or garment where a bit more aggressive wrinkle removal is the priority. A burst-of-steam feature, giving an extra concentrated shot of steam on demand rather than a continuous stream, is a genuinely useful middle ground many quilters look for specifically when evaluating what actually makes a particular model the best iron for their own pressing habits.
Iron Size And Shape Considerations
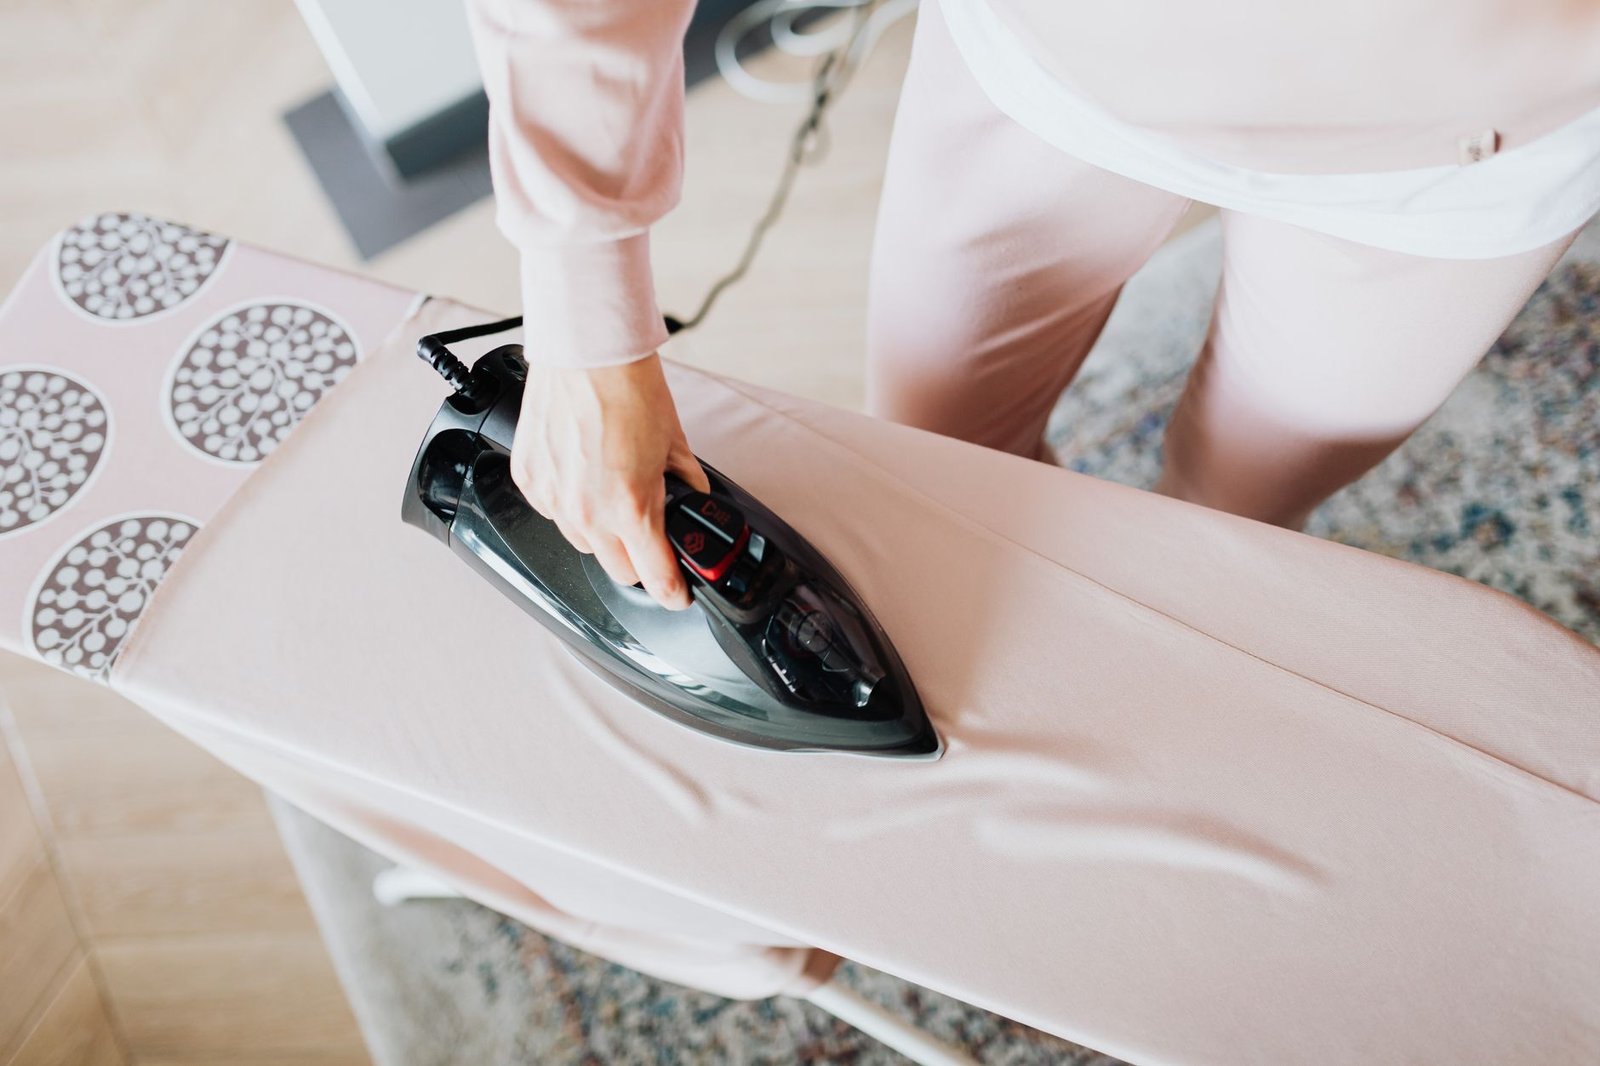
Iron size and shape carry real tradeoffs worth considering based on the kind of pressing you do most often. Mini irons, small enough to fit into tight corners and detailed applique work, offer precision that a full-size iron simply can’t match, making them a favorite specialty tool for intricate piecing or small seam allowances. Full-size irons remain the workhorse choice for most general pressing tasks, offering enough soleplate surface area to cover larger sections of fabric efficiently without excessive repositioning. Specialty pressing irons, sometimes shaped specifically for seams or curves, split the difference, offering more precision than a full-size iron while covering more ground than a true mini iron, though they represent a more specialized purchase that not every sewing room needs. Many experienced quilters end up owning more than one size specifically because no single model handles every pressing task equally well, keeping a full-size iron for general use and a mini iron on hand for the occasional detailed project.
Ironing Boards And Pressing Surfaces That Pair Well
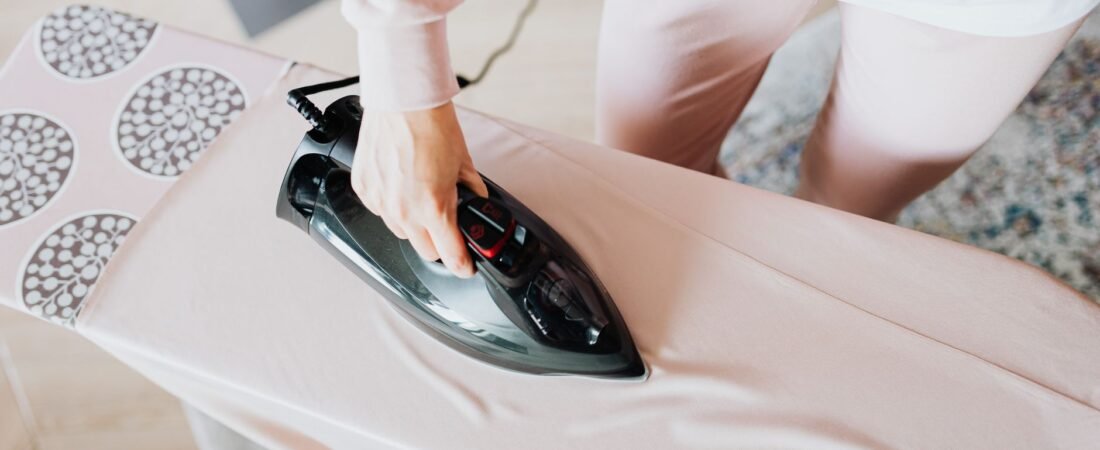
An iron rarely works alone, and pairing it with a good ironing board or dedicated pressing surface makes a real difference in how efficiently and safely you can press throughout a project. A stable, well-padded ironing board gives you a flat, even surface that helps seams press cleanly without the unevenness a wobbly or thinly padded board can introduce. Many quilters also keep a dedicated wool pressing mat or a small portable pressing station near their sewing machine specifically to avoid constant trips back and forth to a full-size ironing board during piecing, since that kind of pressing station genuinely speeds up the workflow when you’re pressing seams after nearly every stitched pair of blocks. A wool pressing mat in particular reflects heat back up through the fabric from both sides at once, which many quilters find sets seams flatter and faster than pressing on a standard cotton-covered ironing board alone.
Common Ironing Mistakes In Quilting
Common ironing mistakes in quilting tend to repeat themselves across skill levels, and knowing what to watch for helps you avoid them before they become a habit. Scorching, usually from too high a heat setting for the specific fabric or leaving the iron resting too long in one spot, can permanently damage fabric, so testing heat on a scrap piece first is always worth the extra minute, especially with an unfamiliar fabric. Stretching bias edges is a particularly common mistake in quilting specifically, since pressing rather than ironing, meaning lifting and lowering the iron rather than sliding it back and forth, helps avoid distorting fabric that’s cut on an angle to the grain. Uneven pressing, where seam allowances end up pressed inconsistently across a quilt top, can throw off block alignment in a way that’s frustrating to fix later, so developing a consistent pressing routine, pressing every seam the same direction as you go rather than saving it all for the end, tends to produce noticeably better results. Pressing seams to one side rather than pressing them open is another habit-driven choice worth being consistent about, since mixing the two approaches across a single quilt top can create subtle bulk and alignment inconsistencies that only become obvious once the blocks are sewn together.
Caring For And Maintaining Your Iron
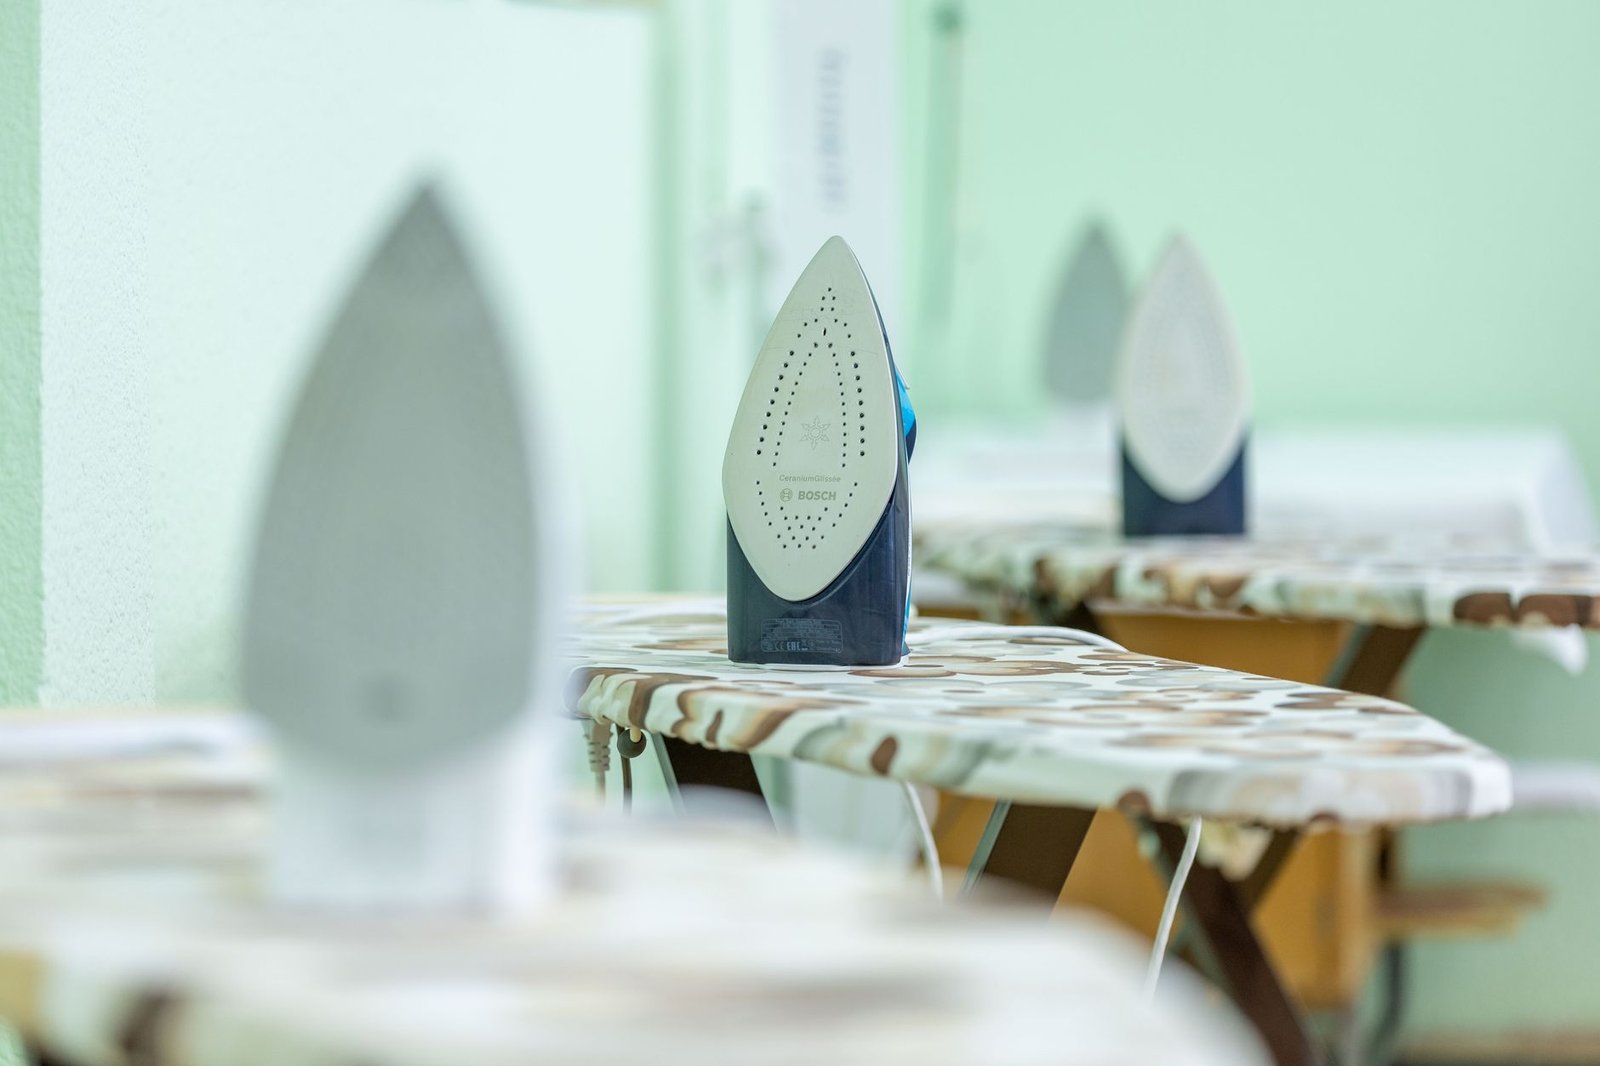
Caring for and maintaining your iron helps it perform well for years rather than degrading quickly, which matters given how often a sewing or quilting iron actually gets used compared to one that only comes out occasionally for laundry. Regular cleaning of the soleplate, especially after using fusible products like interfacing or fusible web that can leave residue behind, keeps the surface gliding smoothly rather than dragging or catching on fabric. Using distilled water in irons with a water reservoir helps prevent mineral buildup and clogging in the steam vents, which is a common cause of sputtering or uneven steam output over time. Storing an iron upright and allowing it to cool completely before putting it away also helps protect both the iron itself and whatever surface it’s stored near, a small habit that Bee’s Quilt Shop has always found worth building into a regular sewing routine. Ultimately, the best iron for your own sewing room is simply the one that matches your fabric mix, your pressing habits, and your budget, cared for consistently enough to keep performing reliably project after project, season after season, for years of piecing and pressing to come.
Ready to find the right pressing setup for your sewing space? Explore our Notions and Tools library here at Bee’s Quilt Shop for more sewing room advice, and browse our current notions collection to see what’s currently available. Explore more Notions & Tools guides on the blog, or browse our Notions collection to see what is currently available.
Frequently Asked Questions
Do I need a special iron for quilting, or will any iron work?
Any iron can technically work, but one with reliable, precise temperature control tends to give better results for the range of fabrics quilters typically press. Weight and soleplate material also affect how comfortable and effective pressing feels over a long session.
Should I use steam or dry heat when pressing quilt blocks?
Many quilters use dry heat for careful piecing work, especially with bias edges, since added steam moisture can make fabric more prone to stretching. Steam tends to work better for finishing steps like pressing a completed quilt top.
Why does my ironing keep stretching my fabric out of shape?
This usually happens from sliding the iron back and forth instead of gently pressing up and down, especially on bias-cut edges. Bee’s Quilt Shop always suggests lifting and lowering the iron rather than dragging it across delicate seams.
What’s the difference between a mini iron and a full-size iron?
A mini iron offers more precision for tight corners and detailed applique work, while a full-size iron covers more surface area efficiently for general pressing. Many sewing rooms keep both for different tasks.
How often should I clean my iron’s soleplate?
Cleaning regularly, especially after using fusible interfacing or fusible web, helps prevent residue buildup that can drag or catch on fabric. Using distilled water also helps prevent mineral buildup in the steam vents over time.
This article is intended for general educational and informational purposes only, based on common sewing and quilting practices. Results vary by iron model, fabric type, and technique, and normal common-sense handling around a hot iron is always recommended. Bee’s Quilt Shop shares this guide as part of our ongoing library of quilting and sewing resources.