Quick answer: A safety pin uses a coiled spring and a covered clasp to hold fabric securely while protecting its point, making it a go-to tool for quilt basting, marking, and quick repairs. Sizes range from small pins for delicate fabric to larger curved basting pins built for pinning through a full quilt sandwich.
A safety pin might be one of the simplest tools in any sewing room, but its usefulness goes well beyond the basic clothing repair job most people first think of. For quilters especially, the humble safety pin plays a surprisingly central role in one of the most important steps of the whole quilting process, and understanding how to choose and use them well makes a real difference in a finished project. It’s easy to overlook a tool this common and this cheap, but a handful of the right safety pins, chosen deliberately rather than grabbed at random from a junk drawer, can genuinely change how smoothly a large quilting project comes together. This guide breaks down what quilters actually need to know before their next basting session, whether that means buying a fresh bulk supply or simply organizing what’s already tucked away in a drawer somewhere. This guide covers the basic mechanics of a safety pin, the different sizes available, and how quilters and sewists put them to work beyond simple repairs.
The Basic Anatomy Of A Safety Pin
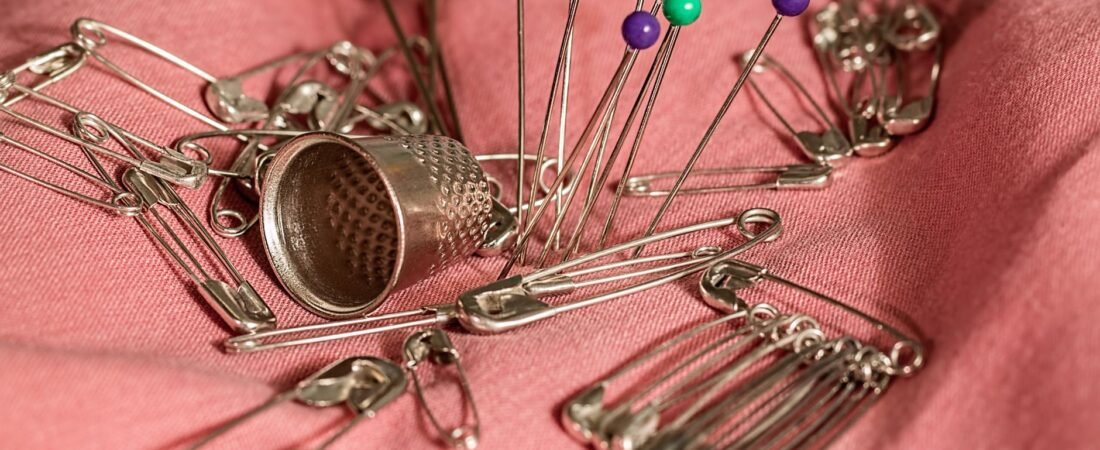
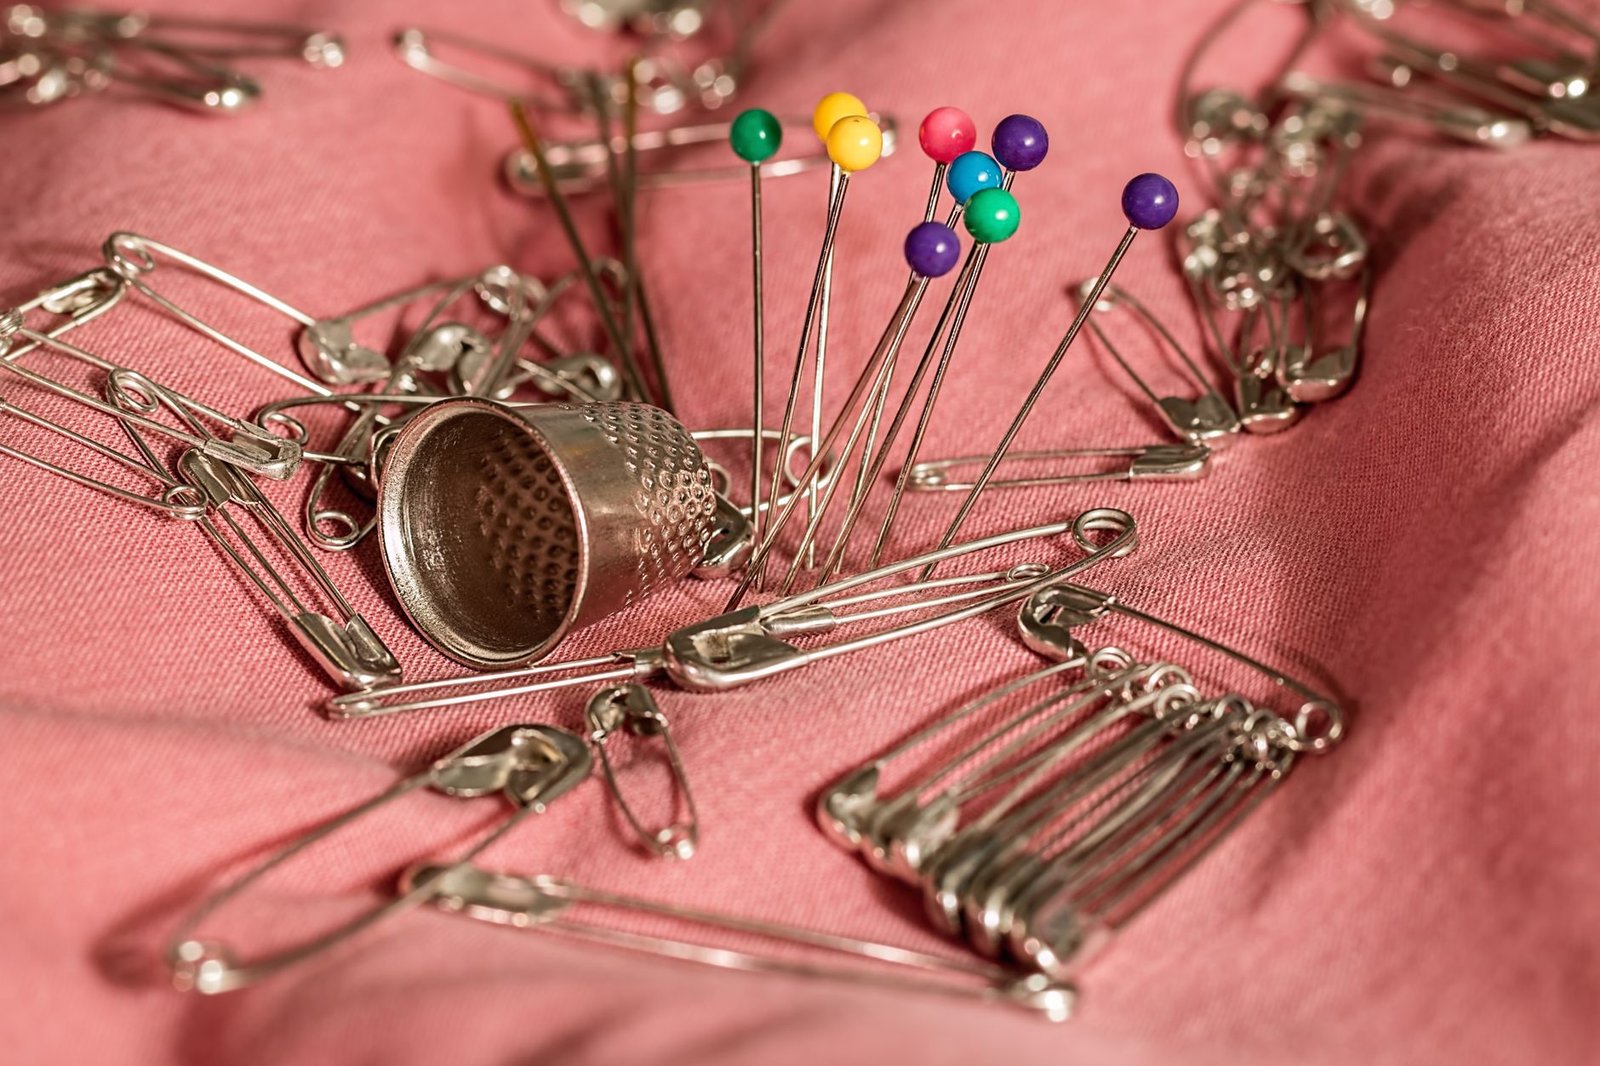
The basic anatomy of a safety pin is simple but genuinely clever once you look closely at how the pieces work together. A coiled spring at one end connects the pin’s shaft to its clasp, providing the tension that keeps the pin closed and holds it in place once fastened. The clasp itself covers the sharp point when closed, which is the entire reason safety pins earned their name in the first place, protecting fingers and fabric from an exposed point the way an ordinary straight pin can’t. The point itself is sharpened to pierce through fabric layers cleanly, and on quality safety pins, that point stays sharp through repeated use far longer than a cheaper, poorly made pin will. Most quality safety pins are made from either brass or steel, sometimes with a nickel or other protective coating, and that base material affects both durability and rust resistance more than most people realize when simply grabbing a handful from a bag. Checking a package’s material listing before buying in bulk is a small step that pays off later, especially for anyone planning to store pins long term between projects rather than using them up within a single basting session.
Safety Pin Sizes And When To Use Each
Safety pins come in a genuinely wide range of sizes, and matching the right size to your fabric weight and project makes a noticeable difference in how well they perform. Smaller sizes, generally under an inch, work well for lightweight fabrics and delicate work where a larger pin would leave visible holes or feel disproportionate to the task. Mid-size safety pins, often used for general sewing and quilting basting, offer a good balance of holding power and ease of handling for most standard cotton weight fabrics. Larger safety pins, sometimes called blanket pins or curved basting pins depending on the shape, handle thicker fabric layers and heavier projects like basting a full quilt sandwich, where you need enough shaft length to pierce through several layers of fabric and batting without struggling. Buying pins in bulk, sorted by size ahead of time, is genuinely worth it for anyone quilting regularly, since running out of the right size mid-basting session on a large quilt is a frustrating way to interrupt an otherwise smooth process. A quick inventory check before starting a large project, counting out roughly how many pins the quilt’s dimensions will realistically require, helps avoid that mid-session scramble entirely, well before the first pin ever goes in.
Safety Pins In Quilting: Basting A Quilt Sandwich
Basting a quilt sandwich together is probably the single most common quilting-specific use for safety pins, and it’s a step nearly every quilter learns early on. Before machine or hand quilting can begin, the quilt top, batting, and backing need to be temporarily held together in the correct alignment, and safety pins spaced every few inches across the entire surface accomplish exactly that without the permanence of stitching. Pinning through all three layers at once, working from the center outward to avoid puckering or shifting, keeps the layers stable enough to quilt through without the fabric bunching or sliding out of place as you work. Many quilters develop a personal spacing rhythm over time, though a pin roughly every three to four inches is a commonly cited starting point for most quilting projects. Working on a large table, or even the floor if a table isn’t big enough, and smoothing the layers flat with your hands before pinning also helps prevent the small tucks and puckers that become much harder to fix once quilting stitches are already in place.
Safety Pins Vs Curved Basting Pins
Safety pins and curved basting pins, which are specifically bent to make it easier to catch all three quilt layers at once without lifting the fabric off the table, both serve this same basting purpose but with a slightly different feel in hand. Curved basting pins are designed specifically for quilting and tend to glide through the layers more smoothly since their curve matches the natural dip you get when pinning fabric flat against a table or floor. Standard straight safety pins work perfectly well too and are what a lot of quilters already have on hand in bulk, so many stick with them simply out of convenience and familiarity rather than switching to a specialty pin. Neither option is objectively better, it really comes down to personal preference and what feels most comfortable and efficient in your own hands during a long basting session. A basting spoon or a similar small tool, designed to help push the pin’s point back up through the fabric layers without straining your fingers, is worth trying if repeated pinning on a large project starts to feel physically tiring over time.
Storing Safety Pins So They Don’t Rust Or Scatter
Storing safety pins so they don’t rust or scatter is worth a bit of thought, especially for quilters who go through them in bulk for basting large projects. A dedicated tin, jar, or magnetic pin dish keeps a bulk supply organized and easy to grab from during a basting session, rather than digging through a junk drawer looking for enough pins to finish a quilt. Keeping pins dry and away from humid storage areas helps prevent rust, since a rusted pin can leave a small stain on fabric, which matters more for light-colored or heirloom-quality projects than for everyday items. Sorting pins by size into separate containers also saves time mid-project, since reaching for the wrong size repeatedly during a long basting session gets tedious fast. A quick rinse and thorough drying before storing pins that have been exposed to moisture also helps, since even a brief spell of dampness can start the rusting process on lower quality pins faster than most people expect.
Other Sewing Room Uses For Safety Pins
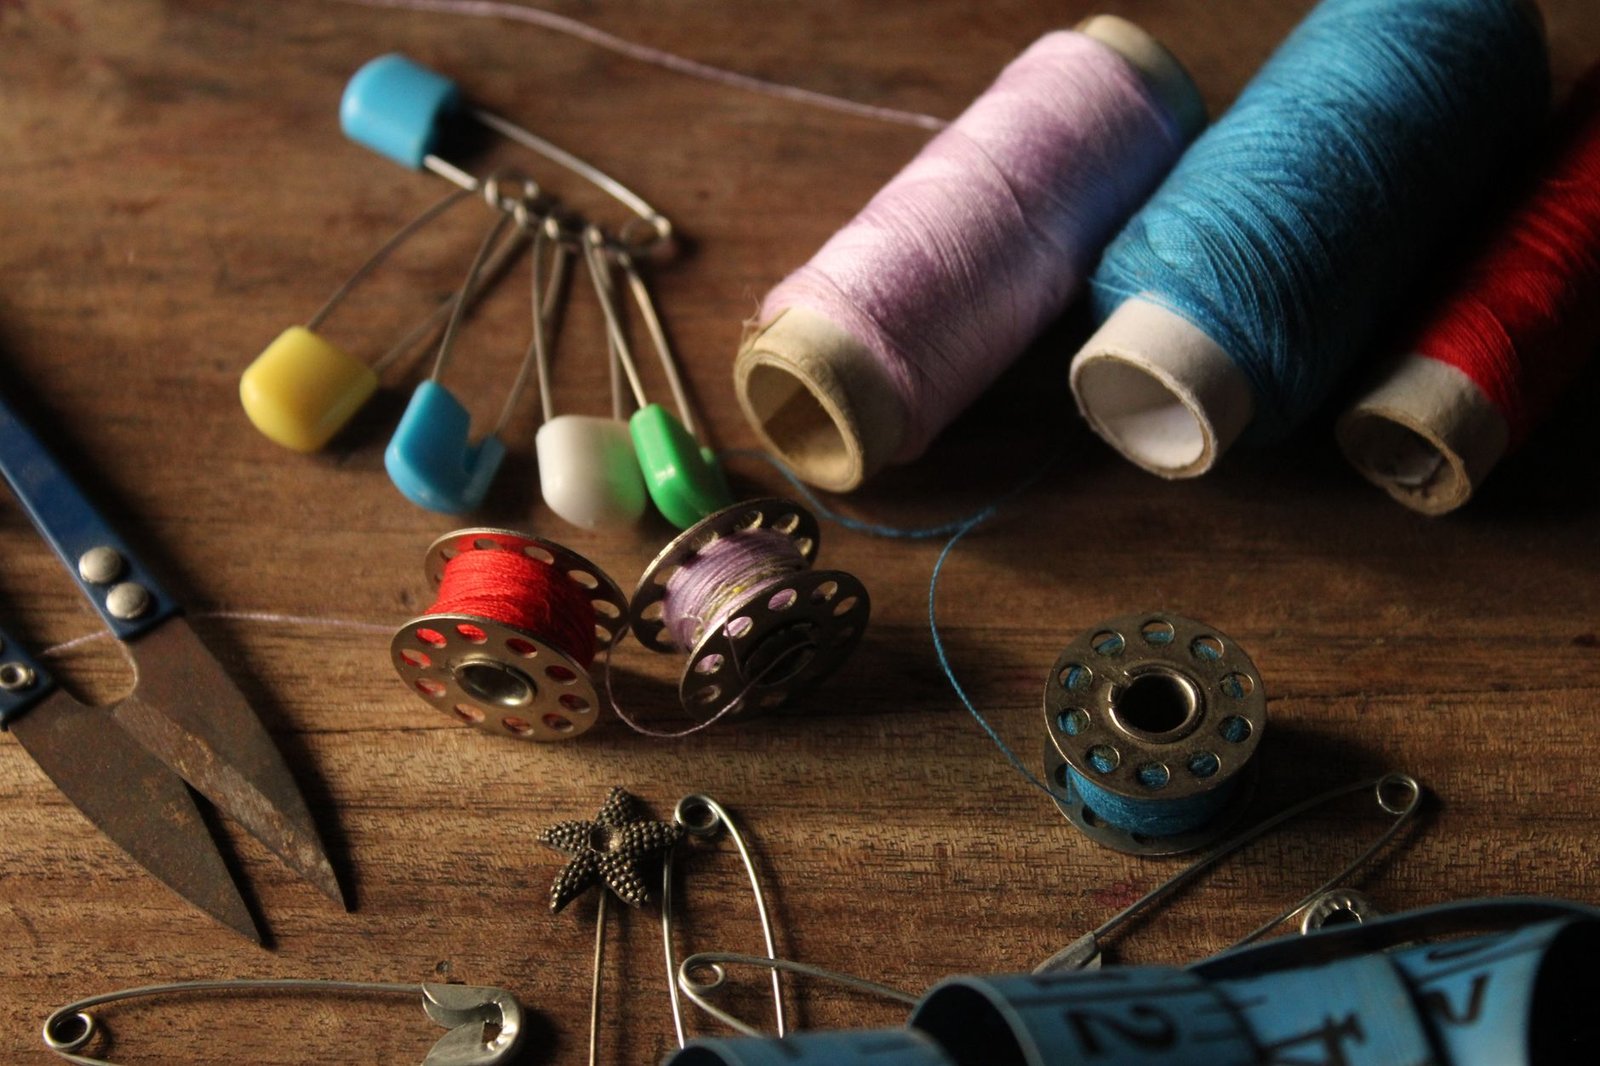
Beyond quilting, safety pins earn their keep in a lot of other sewing room situations that have nothing to do with basting a quilt sandwich. Marking a specific spot on a pattern or garment, like where a button needs to go or where two pieces need to align, is a quick and reliable use that doesn’t require any special tool. Bundling cut fabric pieces together for a project, so matching pieces stay grouped and don’t get lost or mixed up before sewing, is another practical everyday use many sewists rely on. Emergency repairs, from a popped hem to a loose button, remain the classic use most people think of first, and it’s worth keeping a small stash of assorted safety pins in a sewing kit specifically for those quick, on-the-go fixes that come up more often than you’d expect, something Bee’s Quilt Shop always recommends keeping handy. Even outside a sewing context entirely, safety pins turn up in a costume emergency, a broken zipper pull, or securing a name tag at a guild meeting, which is part of why so many quilters end up with a small assorted supply tucked into nearly every bag they own.
Ready to stock up on safety pins for your next basting session? Explore our Notions and Tools library here at Bee’s Quilt Shop for more sewing room advice, and browse our current notions collection to see what’s currently available. Explore more Notions & Tools guides on the blog, or browse our Notions collection to see what is currently available.
Frequently Asked Questions
What size safety pin is best for basting a quilt?
Mid-size to larger safety pins, or curved basting pins made specifically for quilting, tend to work best since they need to pierce through the top, batting, and backing all at once. Smaller pins can work but may require more effort on thicker projects.
How far apart should I space safety pins when basting a quilt?
A pin roughly every three to four inches is a commonly cited starting point for most quilting projects, though many quilters develop their own spacing preference over time. Working from the center outward helps keep the layers from shifting.
Are curved basting pins better than regular safety pins for quilting?
Curved pins are designed to glide through fabric layers a bit more smoothly since their shape matches how fabric naturally dips against a table. Bee’s Quilt Shop finds it really comes down to personal preference, since regular safety pins work perfectly well too.
Why do my safety pins rust over time?
Rust usually comes from humid storage conditions, so keeping pins dry in a tin or jar helps prevent it. A rusted pin can leave a small stain on fabric, so it’s worth checking pins before using them on light-colored or heirloom projects.
Can safety pins be used for anything besides quilting or repairs?
Yes, they’re handy for marking spots on a pattern, bundling matching fabric pieces together before sewing, and general sewing room organization. Many sewists keep a small assorted stash on hand for these everyday uses beyond their obvious repair function.
This article is intended for general educational and informational purposes only, based on common sewing and quilting practices. Results vary by pin quality, fabric weight, and personal technique, and normal common-sense handling around pins is always recommended. Bee’s Quilt Shop shares this guide as part of our ongoing library of quilting and sewing resources.